Kitchen Shelves That Wipe Clean
 Callum Reith-Sowande
Most people think they need a workshop full of noisy, expensive machinery just to figure out how to build a kitchen shelf, but they’ve got it backwards. I’ve spent forty years on site and another ten in the classroom, and I’ve seen more blokes ruin a perfectly good piece of oak with a jittery circular saw than I care to count. You don't need a mountain of plastic power tools that’ll end up in a landfill in three years; you just need a bit of patience and a properly honed chisel. If you try to force a cut with a blunt blade or a heavy machine, you’re not building—you’re just fighting the timber.
In this guide, I’m going to show you the right way to go about it, the slow way that actually gets results. We won't be chasing any fancy shortcuts or buying disposable kits. Instead, I'll walk you through selecting the right timber, making your marks, and using hand tools to get those clean, crisp joinery edges that make a shelf look like it belongs in a home rather than a scrap heap. We're doing this properly, one shaving at a time.
Guide Overview
Tools & Supplies
- Measuring tape for accurate dimensions
- Power drill for securing hardware
- Level to ensure even mounting
- Sandpaper for smoothing edges
- Stud finder to locate wall supports
- Wood planks (e.g., pine or oak) 2-3 pieces
- Wood screws 1 box
- Shelf brackets 2-4 units
- Wood glue 1 bottle
- Wall anchors 1 pack
Step-by-Step Instructions
- 1. First things first, you need to pick your timber. Don't go wandering into the big-box stores and grabbing some cheap, moisture-heavy pine that's going to warp the moment it hits your kitchen air. I prefer a bit of oak or even a decent hardwood if the budget allows. Once you've got your board, check it for straightness. If the wood is already fighting you before you've even picked up a saw, it'll be a nightmare once it's on the wall.
- 2. Now, get your marking gauge and a sharp pencil out. I don't care what the modern crowd says about laser levels; a well-set marking gauge gives you a physical line that the wood actually understands. Mark out your shelf dimensions and, more importantly, mark where your supports will sit. Measure twice, and for heaven's sake, don't rely on your eyes when a piece of steel will tell you the truth.
- 3. It’s time for the cutting. If you’re using a handsaw, make sure your stroke is long and steady. Don't try to force the saw through the grain; let the teeth do the work. If you find yourself hacking away, your blade is likely dull, and you're just making a mess of the end grain. A clean, controlled cut is worth more than any speed a power saw can offer.
- 4. Once you've got your pieces cut, you'll need to square them up. This is where most people get lazy and reach for the sander, but that's a mistake. A sander just rounds off your edges and hides your errors. Instead, get a block plane—one that’s actually sharp—and take fine shavings off the faces until everything is dead flat and square. If you can't feel the difference with your thumb, you aren't finished yet.
- 5. For the joinery, I'm a fan of simple but honest construction. If you're making a frame, a basic mortise and tenon is the way to go. Use a chisel to clear out your mortises, and don't be afraid to take your time. A tight joint is a permanent joint. If you have to hammer it home with a mallet, it’s too tight; if it falls out when you turn it sideways, it’s far too loose.
- 6. Before you even think about glue or screws, do a dry fit. Put the whole thing together without any fasteners. This is your last chance to see if your cuts are true or if you've made a mess of things. It’s much easier to fix a mistake now than it is when you're staring at a pile of dried glue and wasted timber.
- 7. Finally, assembly and finishing. Apply a thin, even layer of wood glue to your joints, clamp them up, and check for square one last time. Once the glue is set, give it a light pass with that plane again to remove any squeeze-out. I like a simple oil finish; it lets the grain speak for itself and is easy enough to maintain over time without needing a complete strip-down and redo.
Essential Woodworking Tools for Beginners Who Value Sharpness
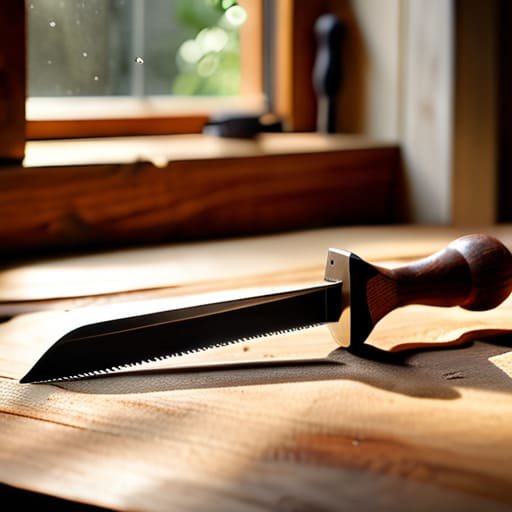
If you’re just starting out, don't let the big-box stores convince you that you need a garage full of noisy, plastic-cased machinery to get a decent result. When it comes to selecting woodworking tools for beginners, I always tell my students to start with the basics that you can actually feel in your hands. You need a decent set of chisels, a reliable mallet, and a sharp saw. If you buy a cheap, dull chisel, you aren't woodworking; you're just fighting the grain and praying you don't slip. I'd rather have one high-quality blade that I've spent an hour honing on a stone than a dozen cheap ones that won't even slice through a piece of soft pine.
Beyond the cutting edge, you'll need the right bits for the job, especially when you move on to the actual floating shelf installation. You can't rely on guesswork here. A solid spirit level and a good tape measure are non-negotiable if you want your work to look professional rather than amateur. If your level is off by even a hair, that shelf will look crooked the moment you put a single mug on it. Invest in tools that last, tools you can maintain yourself, and you'll never find yourself struggling with a job that should have been simple.
Mastering Measuring and Leveling Shelves Without the Clutter
You don't need a workshop full of laser levels and digital gadgets to get this right. Most of the lads I taught at the college would reach for a fancy electronic level the second they hit a tricky spot, but they usually end up fighting the wall more than the wood. When it comes to measuring and leveling shelves, I always tell my apprentices to trust a good, solid spirit level and a sharp pencil. If you’re working on a floating shelf installation, precision is everything. If your mounting points are off by even a fraction, that shelf will sag under the weight of a few ceramic mugs, and you’ll be cursing your luck all evening.
Take your time marking out your wall mounting brackets. I’ve seen too many people rush the layout, only to find they’ve drilled straight into a pipe or a stud they didn't account for. Slow down and check your marks twice. Once you’ve got your holes drilled and your supports set, the shelf should sit true without you having to force it. It’s about working with the house, not against it.
Five things I wish my apprentices had learned before they touched the wood
- Don't trust your eyes alone; a spirit level is fine, but a bit of string and a plumb bob will tell you if your wall is actually straight or just playing tricks on you.
- Check your grain direction before you start paring; if you try to force a chisel against the grain, you'll end up with tear-out that no amount of sandpaper can ever truly fix.
- Stop trying to use a dull saw to save time; a slow, steady cut with a sharp tenon saw is much faster than fighting a vibrating jigsaw that's tearing the edges to pieces.
- Mind your joinery depth; if you're cutting a housing for that shelf, make sure you aren't going so deep that you weaken the carcass, or the whole thing will sag under a tea kettle within a month.
- Treat your workspace like a professional site, not a junk drawer; if you can't find your marking gauge because it's buried under sawdust and scrap, you've already lost the battle.
A Bit of Final Advice
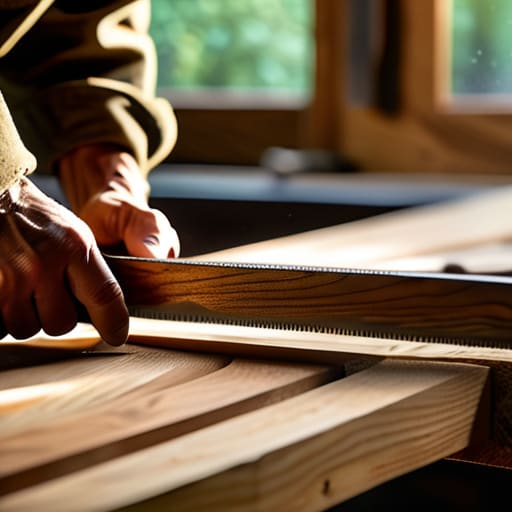
At the end of the day, building a kitchen shelf isn't about how many expensive power tools you can pull out of a plastic case. It comes down to the basics: getting your measurements right, ensuring your spirit level isn't lying to you, and—most importantly—making sure your blades are actually capable of cutting. If you’ve taken the time to sharpen your chisels and work with the grain rather than against it, you’ll see the difference in the finish. Don't let the rush of a modern workshop trick you into thinking speed comes from a motor; real speed comes from precision and a keen edge.
Once that shelf is mounted and holding your mugs or spices, take a moment to look at the joinery. There is a quiet sort of satisfaction in knowing that every cut was made by your own hand and that the tool you used is still in good enough nick to be used again tomorrow. I've spent forty years on sites and classrooms, and I can tell you that the best work always leaves a mark of the maker. Stop fighting the timber and start listening to it. A well-built shelf isn't just a place to put things; it's proof that you took the time to do it right.