A Side Table as a First Project
 Callum Reith-Sowande
Most people think you need a workshop full of screaming, vibrating power tools to figure out how to build a side table, but they’re usually just masking poor joinery with a thick coat of veneer. I remember a student of mine back at the college who spent three days fighting a router to get a clean edge, only to end up with a wobbly mess. I sat him down, handed him a well-tuned chisel and a mallet, and told him to actually feel the timber. Once he understood how to work with the grain rather than against it, he realized that the loudest tool in the room is rarely the most effective one.
In this guide, I’m going to show you how to build a side table using methods that actually last. We aren't going to rely on cheap plastic jigs or disposable hardware that'll snap in a year; instead, I'll teach you the proper way to layout your joints and prepare your surfaces. You’ll learn how to get a perfectly square fit using nothing more than a sharp blade and a bit of patience. No hype, no unnecessary gadgets—just the honest, steady work required to make something that stays in the family.
Guide Overview
Tools & Supplies
- Drill/Driver for fastening screws
- Sandpaper for smoothing surfaces
- Tape measure for precise cutting
- Hammer for assembly
- Wood boards (e.g., pine or cedar) 1x4s and 2x2s
- Wood glue for strong joints
- Wood screws 1.25 inch
- Wood stain or paint for finish
Step-by-Step Instructions
- 1. Start with your stock. I don’t care what the shopkeeper tells you about "pre-planed" timber; it’s rarely straight. Get your boards for the legs and the apron, and take a hand plane to them until you can see the true grain running straight through. If you try to build a table on wood that’s already twisted, you’ll be fighting it every single step of the way.
- 2. Layout your joinery. Don't go reaching for a laser level or some fancy digital gauge. Get a sharp marking knife and a square. Use the knife to score the lines for your mortise and tenon joints. A pencil line is too thick; it's a suggestion, not a precise boundary. You want that knife to bite into the wood so your chisel has a physical track to follow.
- 3. Cut the mortises. This is where most people give up and reach for a drill bit, but that’s a mistake. Use a mortise chisel and a mallet to work the waste out. Work from the center towards the edges, and keep your striking motion steady. If you rush it with a power tool, you’ll end up with a hole that’s too big, and once you’ve gone too far, there’s no going back.
- 4. Shape the tenons. Once the holes are cut, it’s time to prepare the ends of your rails. Use a tenon saw to cut your shoulders, then take a wide paring chisel to clean them up. You want a fit that is snug but sliding. If you have to hammer the joint together with everything you've got, it’s too tight and you'll split the leg. If it falls in by gravity, it's too loose and the table will wobble for the next fifty years.
- 5. Dry fit the whole frame. Before you even think about touching a bottle of glue, put the entire table together. Walk around it. Check that the legs are square and the top sits flush. This is your chance to find the hidden errors before they become permanent. If a joint is sticking, don't force it—take a sharp chisel and pare a hair's breadth off the shoulder.
- 6. Glue up and clamp. Once you're sure it's right, apply a thin, even layer of glue to the joints. Use clamps to pull it together, but don't overdo it. You want to see a tiny bit of squeeze-out, but you don't want to starve the joint of glue by squeezing it all out the sides. Wipe the excess away with a damp cloth immediately; dried glue is a nightmare to get off later.
- 7. Flatten the top. While the frame is drying, take your largest plane to the tabletop. You aren't looking for perfection, just a surface that's flat and free of dips. Work with the grain, not against it, and listen to the sound of the shaving. A good, long, continuous shaving tells you that your tool is sharp and your work is honest.
Mastering Measuring and Marking Lumber Before the First Cut
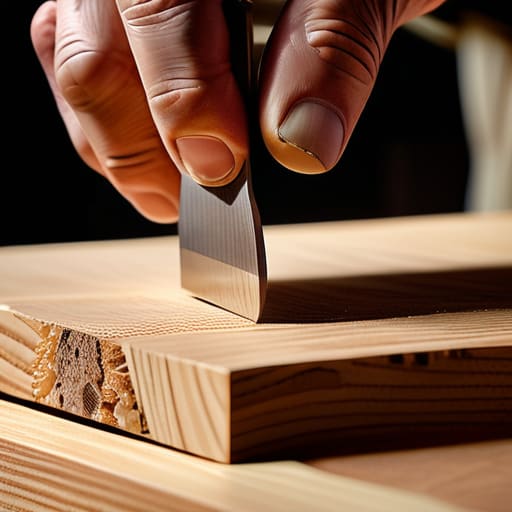
Before you even think about touching a saw, you need to get your lines right. Most people rush this, scribbling messy pencil marks all over the timber, but that’s how you end up with gaps in your joints. I’ve seen too many lads try to build a side table only to find their legs are uneven because they relied on a blunt carpenter's pencil. If you want precision, put the pencil aside and pick up a marking knife. A knife cut severs the fibres and gives your blade a physical track to follow, which is far more reliable than a thick graphite line.
When you're measuring and marking lumber, remember that your eyes can lie to you, but a sharp blade won't. I always use a try square to ensure my lines are perfectly perpendicular to the edge. If your marks are off by even a fraction, your woodworking joinery types—whether you're doing simple butt joints or something more refined—will never sit flush. It’s about the preparation. Take your time to mark once, mark accurately, and never measure twice if you can mark once with certainty.
Choosing Woodworking Joinery Types That Outlast a Cheap Router
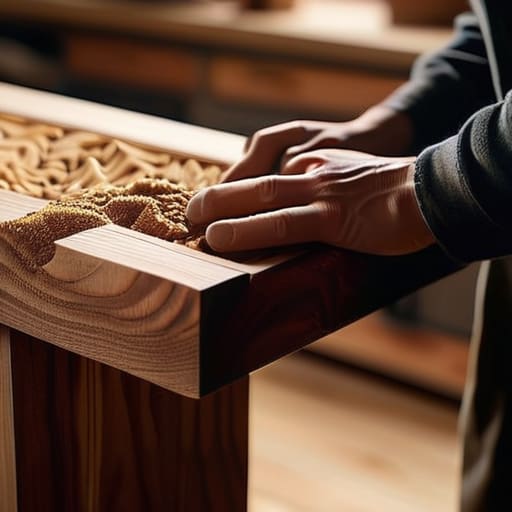
Now, when you’re looking at the skeleton of this piece, you’ll see plenty of people reaching for a router to cut out fancy finger joints or rabbets. They think the machine does the thinking for them. But if you want this table to stay level for the next forty years, you need to look closer at your woodworking joinery types. I’ve always preferred a well-cut mortise and tenon. It’s a bit more work on the hands, sure, but there isn't a mechanical bit in the world that can match the structural integrity of a joint that actually fits because you carved it to the grain.
Don't get caught up in the trap of relying solely on wood glue and fasteners to do the heavy lifting. A screw might hold for a month, but wood moves—it breathes, it swells, and it shrinks. If you rely on cheap hardware instead of solid joinery, the table will eventually wobble or split. Take your time with a mallet and a sharp chisel; a joint that seats itself with a firm tap is a joint that won't let you down when the seasons change.
Five things they don't tell you in the instruction manuals
- Don't trust your eyes or a cheap tape measure; use a marking knife to score your lines so the saw or chisel has a physical track to follow.
- Check your timber for twists and bows before you even think about marking a single cut, or you'll spend the whole afternoon fighting the wood instead of shaping it.
- If you're using a hand saw, don't try to force the cut; let the weight of the tool do the work and keep your strokes long and steady.
- Glue is strong, but it won't fix a sloppy joint, so spend more time on your paring and fitting than you do on the assembly.
- Keep your chisels honed to a mirror finish throughout the entire build; a dull edge will tear the grain and leave you with a mess you can't sand your way out of.
The Final Check
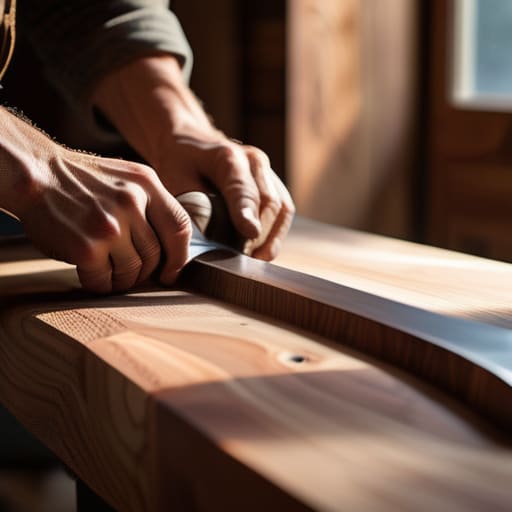
Now that the joinery is seated and the last bit of glue has dried, take a proper look at what you’ve actually done. You didn't just follow a set of instructions; you made decisions. You chose the right timber, you took the time to mark your lines with a knife instead of a wandering pencil, and you relied on the precision of a sharp chisel rather than the mindless vibration of a machine. If there are any slight ridges left, don't reach for that electric sander just yet. Grab a well-tuned smoothing plane and feel the grain under the blade. It’s that connection between the hand and the wood that separates a piece of furniture from a mere assembly of parts.
Building a side table like this isn't about how fast you can get to the finish line. It’s about the discipline of the process. In a world that seems hell-bent on making everything disposable and cheap, there is a quiet, stubborn dignity in making something that is built to last. When you run your hand over a surface you've finished by hand, you aren't just feeling smooth wood; you're feeling the result of patience and respect for the craft. Keep your tools sharp, keep your eyes steady, and remember that the best work always happens when you slow down.