Making a Shed Usable in January
 Callum Reith-Sowande
Most people think that learning how to set up a workshop in a shed means rushing out to buy every shiny, cordless gadget the local hardware shop can throw at them. They see a catalog of vibrating, plastic-cased junk and think that’s the secret to productivity. I spent forty years on-site and another ten in the classroom, and I can tell you that most of that gear is just expensive clutter that'll end up in a landfill before you've even finished your first joint. A shed isn't a showroom for power tools; it's a place where you master your craft.
I’m not here to sell you on a lifestyle or a fancy brand of battery-operated nonsense. Instead, I’m going to show you how to build a space that actually works for a man with real tools. We’ll go over the essential layout for a proper workbench, how to organize your kit so you aren't hunting for a chisel in the dark, and why you should prioritize a steady light source over a mountain of power cords. If you want to build something that lasts, you need to start with a foundation that makes sense.
Guide Overview
Tools & Supplies
- Drill/Driver for securing shelving and workbenches
- Level to ensure flat surfaces and stable tool mounting
- LED Shop Lights for high-visibility illumination
- Extension Cords for power distribution
- Workbench lumber (2x4s and plywood) for construction
- Heavy-duty shelving units for storage
- Power strip/Surge protector for electrical access
- Pegboard and hooks for tool organization
Step-by-Step Instructions
- 1. First things first, you need to sort out your workbench. Don't go buying some flimsy, flat-pack thing from a big-box retailer that’ll wobble the moment you put a plane to a piece of oak. You want something heavy, solid, and ideally built from thick timber that won't move when you're working. If it isn't rock-steady, you'll spend more time fighting the bench than you will working the wood.
- 2. Next, you’ve got to think about your light. Most sheds have one sad little bulb in the corner that leaves half your workspace in the shadows, and that's how you end up with a slip and a nasty cut. Get yourself some decent LED task lighting and position it so it shines directly onto your work area without casting your own shadow over the grain. You can't sharpen a chisel or scribe a line if you can't actually see what you're doing.
- 3. Now, let's talk about your storage. I don't care for those plastic bins full of loose bits; they're a recipe for losing your best tools. Instead, get some shadow boards or a proper tool cabinet. I want to see every chisel, every mallet, and every gauge at a glance. If a tool doesn't have a home, it'll end up buried under a pile of sawdust, and you'll never find it when you're in the middle of a joint.
- 4. You'll need a dedicated spot for your sharpening gear, too. This isn't an afterthought. Set up a small, stable area with your stones, your honing guides, and your oils. This area needs to be spotlessly clean because even a tiny bit of grit from a nearby saw can ruin a fine edge. Treat your sharpening station with the same respect you'd give a kitchen counter.
- 5. Don't forget about your floor and your dust. Sheds get filthy fast, and walking on a layer of fine sawdust is a good way to lose your footing. Get yourself a decent, heavy-duty shop vac and a stiff broom. Keeping the floor clear isn't just about being tidy; it's about safety and precision. You can't accurately measure or mark out a piece of timber if you're tripping over scraps and shavings.
- 6. Finally, organize your consumables, but don't go overboard. You need your adhesives, your waxes, and your sandpaper, but keep them tucked away in a dry, organized drawer. Most importantly, make sure you have a reliable way to manage waste. A bin that's always overflowing will make your workspace feel cramped and cluttered before you've even finished your first project.
A Smart Workshop Workbench Layout Beats Mindless Clutter
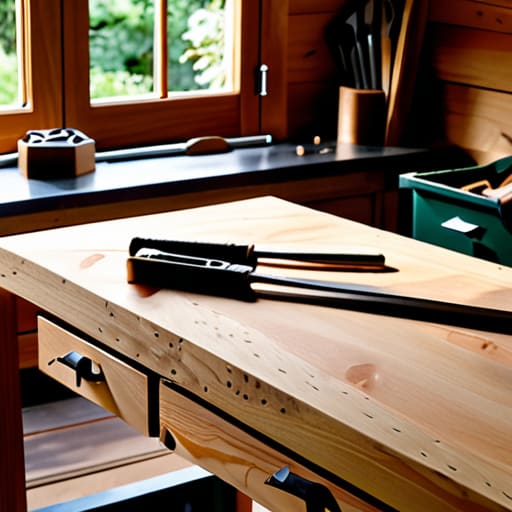
You can have the finest chisels in the world, but if you’re spending half your time tripping over scrap timber or digging through a pile of sawdust to find a marking gauge, you aren't working—you're just tidying. A proper workshop workbench layout isn't about making things look pretty for a magazine; it’s about keeping your most essential tools within an arm's reach of where you actually stand. I’ve seen too many lads waste their energy pacing around a cramped space because they put their vise on the wrong side of the bench. Keep your heavy work area clear and your most-used hand tools organized in a way that makes sense to your muscle memory.
Don't let the clutter creep up on you, either. I always tell my students that a messy bench is a dangerous bench. When you start organizing workshop tools by frequency of use, you stop the mindless searching that breaks your concentration. If you have to move three things just to get to your plane, your layout is wrong. Keep the surface clear, keep your tools accessible, and you'll find you get more done in an hour than most do in a whole afternoon.
Organizing Workshop Tools for a Faster Sharper Workflow
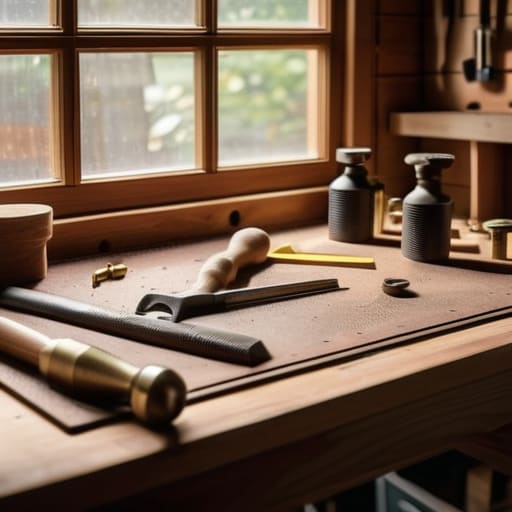
Once you’ve got your bench positioned, the next thing is deciding where the tools actually live. I’ve seen too many lads waste half their afternoon hunting for a specific paring chisel because they’ve tossed it into a communal drawer. If you want to work with any sense of flow, you need to be organizing workshop tools based on how often you reach for them. Your most used items—your marking gauge, your favorite mallet, and your primary chisels—should be within arm's reach of the bench. Everything else can go on the wall, but keep it logical. If it’s a finishing tool, it stays near the light; if it’s a heavy striking tool, it stays low.
Don't go buying those fancy, plastic modular storage bins you see in the catalogues. They’re just more junk that’ll crack in a year. I prefer a simple, sturdy tool cabinet or even just a well-maintained pegboard. The trick is to create a dedicated home for every single piece of steel you own. When a tool has a specific spot, you’ll know the second it’s missing, and more importantly, you won't be tripping over clutter when you're trying to make a precise cut.
Five things you’ll regret if you ignore them
- Get the lighting right before you start. A shed is a dark box by nature, and if you're squinting to see the grain or the edge of a chisel, you're going to make a mistake. I don't care how much money you spend on tools; if you can't see what you're doing, you're just making expensive sawdust.
- Don't skimp on the floor. If you're working on bare, uneven ground, your workbench will wobble, and a wobbling bench is a dangerous bench. Get it level, get it solid, and if you can, put down some decent runners so you aren't standing on cold concrete all day.
- Think about your dust. A shed doesn't have the airflow of a proper workshop, and if you start planing or sanding in a small space, you'll be breathing that fine grit for a week. Even a simple way to direct the shavings away from your face will save your lungs.
- Plan for your power, but don't rely on it. You’ll want a socket or two for a lamp or a small machine, but don't let a lack of plugs stop you from setting up. The best work I ever did was done with nothing more than a mallet, a chisel, and a bit of natural light.
- Leave room for your mistakes. Most people try to cram every single tool they own into a shed the moment they get it. Don't do that. Leave a bit of breathing room so you can actually move around your bench without tripping over a pile of scrap timber.
Getting the Job Done
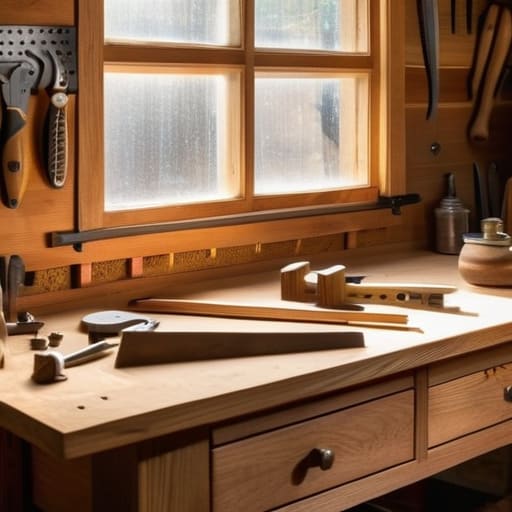
At the end of the day, setting up a shed isn't about buying the most expensive cabinets or the latest cordless kit that'll be dead in two years. It’s about creating a space where you can actually think while you work. You’ve got your layout sorted, your workbench is positioned to catch the light, and your tools are within reach but not in the way. If you’ve followed what I’ve said, you aren't just storing gear in a wooden box; you've built a functional environment where your tools are ready to perform the moment you pick them up. Keep it simple, keep it tidy, and most importantly, keep your edges sharp.
Don't get discouraged if the shed feels a bit cramped or disorganized at first. A workshop is a living thing; it grows and changes alongside your skills. You’ll find that as you master a new joint or finish a piece of furniture, you’ll find yourself tweaking the layout again to suit the work. Just remember that the best workshop in the world is useless if you don't respect the tools inside it. Stop chasing the gadgetry and start mastering the basics. Once you have a space that works for you, you'll realize that the real magic isn't in the shed itself, but in the steady, quiet satisfaction of a job done right.