Getting Another Five Years From a Bench
 Callum Reith-Sowande
Most people think that once a garden chair starts wobbling or the wood begins to grey, it’s time to head down to the big-box store and buy a cheap replacement. They’ll tell you it's easier to scrap it than to learn how to repair outdoor furniture for another season, but that’s a load of rubbish designed to keep you spending. I remember a set of teak benches my father built back in the seventies; they’ve sat through frost, heat, and heavy rain, and they still stand true because we didn't treat them like disposable junk. You don't need a shed full of expensive electric sanders to fix a bit of rot or a loose joint; you just need a bit of patience and a tool that actually holds an edge.
In this guide, I’m going to show you how to do things the proper way, without the unnecessary noise. We’ll go over how to spot the real damage, how to clean away the grit without ruining the grain, and how to use a few basic hand tools to make those joints solid as a rock again. I’m not here to sell you any fancy chemicals or power tools you can't fix yourself. We're just going to get stuck in and make sure your furniture lasts long enough to see the next decade.
Guide Overview
Tools & Supplies
- Sandpaper (various grits for smoothing surfaces)
- Screwdriver (to tighten loose joints or hardware)
- Paintbrush (for applying sealant or stain)
- Pressure washer or garden hose (for initial cleaning)
- Outdoor wood sealant or stain (1 quart)
- All-purpose cleaner (1 bottle)
- Microfiber cloths (2-3 cloths)
- Wood filler (1 small tube for cracks)
Step-by-Step Instructions
- 1. First, you need to get the old grit out of the way. Don't bother lugging out that heavy sander just to fix a few splinters; grab a sharp chisel and a steady hand, and you'll be done before the coffee gets cold. Use a wide, flat chisel to scrape away the flaking varnish or the grey, weathered wood fibers. It’s a bit more work than a machine, but you aren't going to gouge the good timber if you listen to what the wood is telling you.
- 2. Once you've cleared the surface, check your joints. I’ve seen too many lads try to paint over a loose tenon, and it's a waste of good time. Take a small screwdriver or a narrow chisel and work into the gaps where the wood meets. If it wobbles, the glue has failed. You'll need to take the joint apart, clean out the old, crusty glue, and prepare it for a proper reset.
- 3. Now, if you've found some cracks or splits, don't go reaching for that cheap, runny wood filler from the supermarket. It'll just pop out the first time the sun hits it. Instead, I prefer to make a bit of a paste using fine sawdust and a bit of resin or a decent quality exterior wood glue. It stays with the wood because, well, it is the wood.
- 4. If you've got some serious structural rot—usually near the feet where the rain sits—you can't just patch it. You'll need to cut out the soft, punky bits with a sharp saw and a chisel until you hit sound, bright timber. It’s better to have a slightly shorter chair leg that's solid than a full-length one that collapses when someone sits down.
- 5. Before you even think about applying a finish, the wood needs to be bone dry. I know it's tempting to get stuck in while the sun is out, but if there's moisture trapped in the grain, you're just sealing a problem inside. Give it a day or two of dry weather; I usually wait until I can feel the wood is completely thirsty before I move on.
- 6. When you're ready to protect it, skip the thick, plastic-looking lacquers. They crack, they peel, and they're a nightmare to fix once they go. Use a high-quality oil or a breathable stain that soaks into the fibres instead of sitting on top like a coat of paint. It’s much easier to top up an oiled surface next year than it is to sand a cracked lacquer back to nothing.
- 7. Finally, give everything a once-over with a fine-grade abrasive just to knock off any raised grain from the oil. It shouldn't take long. A quick, steady pass is all you need to make sure the finish is smooth to the touch. If it feels right under your hand, you've done the job properly.
Restoring Weathered Teak Wood With a Keen Eye
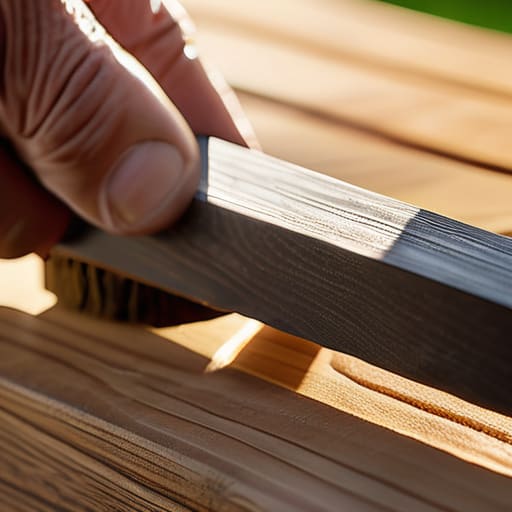
Now, if you’ve got teak, you’re dealing with a different beast entirely. Most people see that silvery-grey patina and think the wood is dead, but they’re wrong. It’s just sleeping. When I’m restoring weathered teak wood, I don't reach for a heavy-duty orbital sander that’ll chew through the grain and leave it looking like a child's project. Instead, I take a well-honed scraper. You want to peel back that grey layer to find the honey underneath, working with the grain, not against it. It takes a bit more patience, but you won't end up with those messy swirl marks that power tools love to leave behind.
Once you've got the grain clean and bright, you have to think about the long haul. Teak is hardy, but it isn't invincible. If you're planning on keeping that rich colour, you need to be meticulous with your wood sealant application techniques. Don't just slap it on thick like you're painting a fence; apply thin, even coats so the oil actually penetrates the fibres rather than just sitting on top like a greasy film. If you do it right, that wood will be ready to face the sun and rain without breaking a sweat.
Mastering Wood Sealant Application Techniques by Hand
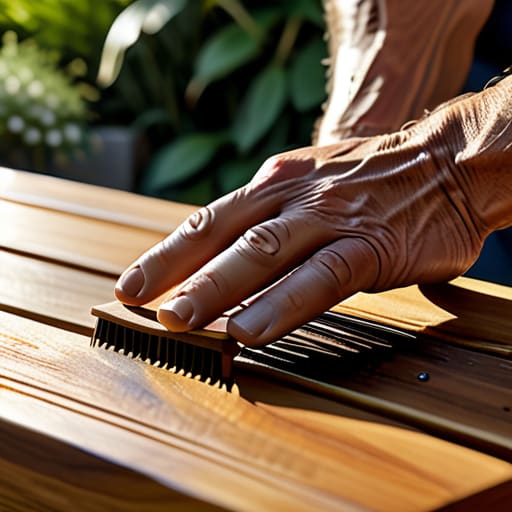
Now, once you’ve got that wood cleaned and prepped, you can’t just slap on a coat of sealant like you’re painting a garden fence. If you want to actually succeed at protecting patio furniture from UV damage, you have to work with the grain, not against it. I’ve seen too many lads pour a tin of oil onto a chair and call it a day, only to find it’s gone blotchy and uneven within a month. Take your time. Use a high-quality brush or a lint-free cloth, and apply thin, even layers. It’s better to do three light coats than one heavy, gloopy one that’ll just peel off when the first frost hits.
The real trick to mastering these wood sealant application techniques is knowing when to stop. You want the wood to drink it in, not sit in a puddle. If you see the liquid pooling in the joints or the end grain, wipe the excess away immediately. If you leave it to build up, you're just creating a sticky mess that’ll attract dust and grit all summer. Do it right, and that furniture will be sturdy enough to outlast us both.
Five things to remember before you put the tools away
- Don't go chasing every little crack with filler; if the wood is still sound, a bit of cleaning and a fresh coat of oil will do more for the structure than a bucket of plastic putty ever could.
- Check your joints before you even think about sanding, because if a mortise has loosened, no amount of sealant is going to stop that chair from wobbling under someone's weight.
- Listen to the wood when you're working it; if you're forcing a chisel into a weathered grain and it's splintering rather than slicing, stop and check your edge—you're fighting the material, not fixing it.
- Avoid the temptation to slap on three thick layers of sealant in one afternoon; it's better to do two thin, even coats that actually soak in than one heavy mess that just sits on the surface and peels come winter.
- Keep your sharpening stones near the work area while you're at it, because you'll find yourself needing to touch up that paring chisel more often than you'd expect when dealing with old, thirsty timber.
A Bit of Final Advice
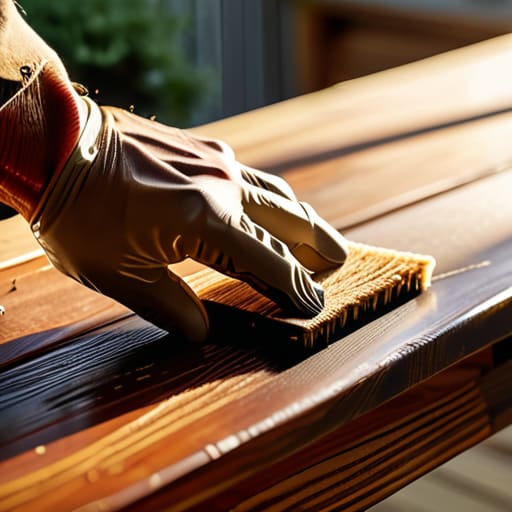
At the end of the day, it comes down to the basics. You’ve cleaned away the grime, used a sharp chisel to tidy up those weathered edges, and applied your sealant with a steady hand rather than rushing it with a spray can. It isn't about how much money you spend on fancy chemicals; it’s about the patience you put into the wood. If you’ve taken the time to address the splinters and the grain, you aren't just fixing a chair—you are preserving the integrity of the timber. Doing it right now means you won't be struggling with a broken slat when the first warm weekend of next spring rolls around.
I know there is a temptation to just buy something new and plastic when the old stuff looks tired, but there is a real satisfaction in something you’ve mended yourself. There is a certain dignity in a piece of furniture that shows its age but still holds its shape because you cared enough to maintain it properly. A well-kept garden set becomes part of the home, not just another bit of clutter to be tossed in a skip when it fails. So, put the power tools away, keep your edges keen, and take pride in the work. It’s a slower way to live, perhaps, but it’s a much more rewarding one.