Sawing to a Line Consistently
 Callum Reith-Sowande
Most people think that if their cut is wandering off-line, they just need a bigger saw or a more expensive brand. That’s a load of rubbish. I spent forty years on sites and another ten in the classroom, and I’ve seen more lads ruin perfectly good timber because they were fighting the tool instead of working with it. The truth is, learning how to use a hand saw accurately isn't about brute strength or fancy gear; it’s about understanding the rhythm of the steel and the grain. If you're struggling to keep a straight line, it's usually because you've forgotten that the saw should be doing the hard work for you.
I’m not going to give you any of that polished, textbook nonsense you find in those glossy magazines. I’m going to show you the real way to steady your stance, how to find that sweet spot with your starting notch, and why your grip might be your biggest enemy. We’ll go through the practical, no-nonsense steps to ensure your cuts are dead straight every single time. By the time we're done, you'll see that a well-handled saw is a much more precise instrument than any vibrating motor.
Guide Overview
Tools & Supplies
- Hand saw (standard crosscut or rip saw)
- Square (to ensure straight lines)
- Wood scrap (2-3 pieces)
- Pencil (1 unit)
Step-by-Step Instructions
- 1. Before you even touch the steel to the wood, you've got to set your stance. Stand with your feet shoulder-width apart, feeling solid on the floor. If you’re leaning too far forward or standing with your weight all on one leg, you’ll fight the saw instead of letting it work. You want your body to be a steady tripod that supports the motion, not a pendulum swinging wildly.
- 2. Find your line and mark it well. Don't just eyeball it; use a sharp marking knife rather than a blunt pencil if you want real accuracy. A knife cut gives the saw a tiny physical groove to nestle into. Once that line is there, use the heel of the saw—the part closest to the handle—to make a few light, tentative strokes. You aren't trying to cut through the timber yet; you're just seating the blade so it doesn't skitter across the surface.
- 3. Now, pay attention to your grip. Don't white-knuckle the handle like you're trying to choke it. Hold it with a firm but relaxed grasp, letting the weight of the saw do the heavy lifting. If you squeeze too hard, your muscles will tense up and your stroke will become jerky. A saw is a precision instrument, not a hammer, and it needs a fluid motion to perform.
- 4. When you start the actual stroke, remember that a saw works on the pull or the push depending on what you've got in your hand. Most of the power comes from the long, sweeping motion of your entire arm, not just your wrist. If you only move your wrist, you'll end up with a curved cut that's useless for anything meaningful. Keep your elbow and shoulder in the rhythm to ensure the blade stays true.
- 5. Keep your eye on the line, but don't stare at it like a hawk. You need to watch the relationship between the blade and the wood. If you see the saw starting to wander or tilt, stop immediately. Don't try to force it back on track mid-stroke. Back out, reset your position, and re-establish the groove before you continue. It's better to pause for ten seconds than to ruin a good piece of oak.
- 6. As you get deeper into the cut, the saw might want to bind or pinch. This usually happens because the wood is shifting or the kerf is getting tight. If you feel that resistance, don't just push harder—that's how you break a tooth or lose control. Instead, check your clamping. Make sure your workpiece is immovably secure in the vice; if the wood moves even a fraction, your cut is gone.
- 7. Finally, as you approach the end of the cut, slow your pace. This is where most beginners make their biggest mistake by rushing the finish and splintering the bottom of the timber. Lighten your pressure and let the remaining teeth shave away the last bit of waste. If you finish with the same steady composure you started with, you'll have a clean, square edge every single time.
The Art of Marking Wood for Cutting With Surgical Intent
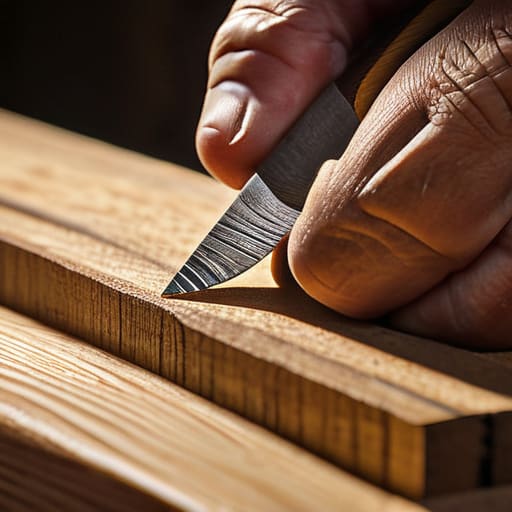
You can have the finest, sharpest saw in the workshop, but if your line is rubbish, your cut will be too. I’ve seen many a young apprentice reach for a pencil to mark their work, but a pencil line is thick and fuzzy—it’s a suggestion, not a boundary. If you want real woodworking cutting precision, you need to get a marking knife into your hand. A knife slices through the fibres, leaving a physical groove that acts as a track for your saw to follow. It takes a bit more patience, but that tiny valley tells your blade exactly where to sit.
Once you’ve got that line, don't just dive in. Use the knife to create a small notch or a "kerf starter" on the waste side of your mark. This helps with controlling saw stroke right from the first pull. If you try to force a blade into a flat surface, it’ll wander, and you'll spend the next hour trying to fix a crooked edge. Take your time; a steady hand starts with a steady mark.
Controlling Saw Stroke for Unmatched Woodworking Cutting Precision
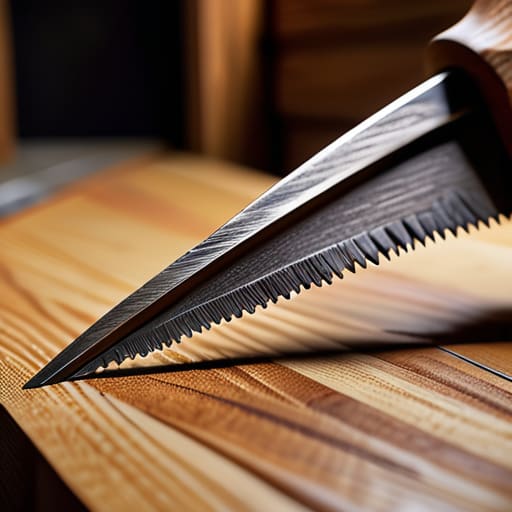
Once you’ve marked your line, the real work begins. Most young lads I taught at the college made the mistake of trying to muscle the saw through the timber. They’d lean into it, fighting the grain, and end up with a wandering blade and a ruined piece of oak. You have to learn that controlling saw stroke isn't about strength; it’s about rhythm. Think of it like a slow, steady breath. Let the weight of the saw do the heavy lifting. If you find yourself pressing down hard, stop. You aren't driving a nail; you’re guiding a fine edge.
The secret to true woodworking cutting precision lies in your elbow and wrist. You need to maintain a consistent saw blade angle relative to the wood throughout the entire length of the cut. If you tilt the saw too far forward or let it wander upward, you’ll finish with a bevel you didn't ask for. I always tell my apprentices to keep their eyes on the top edge of the blade rather than the kerf itself. If you watch the line you've drawn, your hand will naturally find the track.
Five ways to stop fighting the grain and start cutting true
- Let the saw do the heavy lifting; if you’re leaning into the stroke like you’re trying to muscle through a door frame, you’ve already lost the line.
- Watch your elbow, not just your hand, because if your arm isn't moving in a straight plane, that saw is going to wander off like a lost apprentice.
- Keep the saw teeth level with the wood; if you tilt the blade too far forward or back, you'll end up with a cut that's more of a curve than a straight line.
- Listen to the sound of the cut; a good, steady rhythm tells you you're working with the wood, while a stuttering sound means you're fighting a knot or a dull tooth.
- Check your saw's edge before you even touch the timber, because no amount of technique can save you from a blade that's lost its bite.
The long road to a straight cut
At the end of the day, getting a saw to run true isn't about magic; it’s about the fundamentals. You have to respect the preparation, from the way you lay down your knife lines to the way you control your breathing during that first, crucial stroke. If your marks are sloppy, your cut will be too. If you fight the tool instead of letting the teeth do the work, you'll end up with a jagged mess and a sore shoulder. Remember, accuracy comes down to three things: a perfectly sharpened blade, a clean line to follow, and the patience to let the saw find its own path through the grain.
I know the temptation to reach for the circular saw when the job gets big, but I’m telling you, don't. There is a quiet, steady satisfaction in watching a hand saw glide through a piece of timber exactly where you intended it to go. It’s a skill that takes years to truly master, and you won't get there by rushing. Take your time, listen to the sound of the steel, and trust your hands. Once you stop viewing your tools as disposable bits of hardware and start treating them as extensions of yourself, you'll realize that the old ways aren't just slower—they're better.