Closing a Split Without Making It Worse
 Callum Reith-Sowande
Most people think that once a piece of timber splits, it’s nothing more than expensive firewood or a reason to head to the local timber yard for a replacement. They see a crack running through a tabletop or a door frame and assume the damage is permanent. I spent forty years on-site seeing lads try to hide these flaws with cheap fillers and a thick coat of varnish, but you can't lie to the grain. Learning how to repair a split board isn't about masking the mistake; it’s about understanding the wood well enough to mend it so the repair becomes part of the piece's history.
I’m not going to give you any of that modern, quick-fix nonsense that fails the moment the seasons change. Instead, I’m going to show you how to do it properly, using the right glue, the right pressure, and a bit of patience. We’ll talk about cleaning out the split, choosing a binder that won't shrink, and why a sharp chisel is often better than a hammer when you're prepping the joint. By the time we're done, you'll have a fix that's stronger than the original timber.
Guide Overview
Tools & Supplies
- Sandpaper (various grits for smoothing)
- Clamps (to hold the split together)
- Utility knife (to clean out debris)
- Wood glue (high-strength PVA)
- Wood filler (small amount for surface gaps)
- Microfiber cloth (for cleanup)
Step-by-Step Instructions
- 1. First thing you need to do is stop and look at the split. Don't just reach for the glue; you need to see if the wood is actually moving or if it's just a surface crack. Take a thin, sharp chisel—one you've actually taken the time to hone—and gently probe the end of the split. If the wood feels spongy or if the crack keeps opening up as you touch it, you aren't looking at a simple repair; you're looking at a structural failure that might need a patch or a complete replacement.
- 2. Once you've decided it's worth saving, you have to clean out the debris. A split is often full of dust, old finish, or even tiny bits of loose wood that will prevent the glue from actually biting into the grain. I use a small, narrow chisel to carefully scrape out the crack. You aren't trying to widen it, mind you; you're just making sure the path is clear so the adhesive can get deep into the heart of the timber.
- 3. Now, get your glue ready. I don't care what the fancy bottles say; for a proper repair, you want a high-quality PVA or a resorcinol glue if you're working outdoors. Apply the glue not just into the crack, but onto the edges of the split itself. Use a small brush or even a thin strip of wood to work the glue deep into the fissure. If you just smear it on the surface, you're wasting your time and your money.
- 4. This is where most people lose their patience and fail. You need to clamp it, and you need to clamp it properly. Don't just throw a single clamp on it and hope for the best. Use several clamps to apply even pressure across the entire length of the split. If you're working on a wide board, use some scrap timber as "cauls" between the clamp and your workpiece to prevent the metal from denting the wood. You want a tight, even squeeze that forces the glue into every microscopic gap.
- 5. Keep a clean cloth handy. As you tighten those clamps, you'll see glue squeezing out of the crack. This is a good sign—it means you've got enough in there. Wipe it away immediately with a damp rag. If you let that glue dry on the surface, you'll be fighting it for hours later when you try to sand or finish the piece, and nobody has time for that.
- 6. Leave it alone. This is the hardest part for the modern worker who wants everything done in five minutes. A proper bond takes time to cure. Leave those clamps exactly where they are for at least a few hours, though I always prefer to let it set overnight. If you rush this stage, you'll find the split reappears the moment the wood reacts to the humidity in the air.
- 7. Finally, once the glue is fully cured, you can remove the clamps and clean up the area. If there's a slight ridge where the glue was, don't reach for the orbital sander immediately. Take a well-sharpened block plane and take a few light, careful passes to level the surface. It’s much more satisfying to shave the wood smooth than it is to grind it away with sandpaper.
Choosing Epoxy for Wood Cracks Over Cheap Fillers
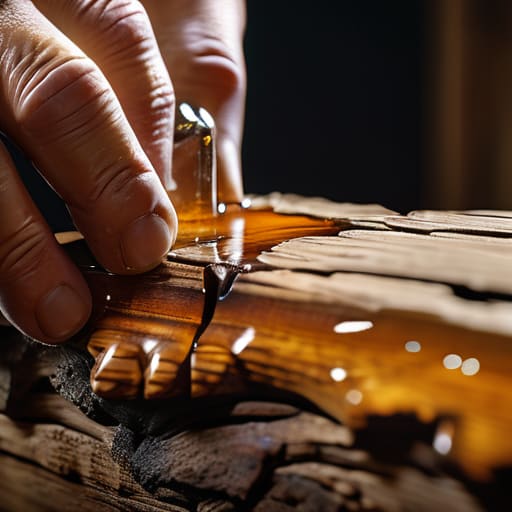
Now, don't go running to the DIY shop and grabbing the first tub of lightweight wood filler you see. I’ve seen too many youngsters try to patch a proper split with that stuff, only to have it crumble out like dried mud a month later. If you’re looking for a real structural wood repair, you need to be looking at epoxy. Unlike filler, which just sits in the gap like a cosmetic mask, a decent epoxy actually bites into the grain and becomes part of the timber. It fills the void completely, ensuring that once it sets, that split isn't coming back to haunt you.
The real difference between wood filler vs epoxy comes down to strength and stability. Fillers shrink as they dry, which leaves you with a hairline crack all over again—a waste of time if you ask me. When you're repairing cracked timber, you want something that won't budge. A high-quality epoxy provides the integrity needed to hold the fibres together, making the repair nearly as strong as the original wood. It’s about doing the job once and doing it right, rather than constantly patching up a failure.
Mastering Woodworking Clamp Pressure for Structural Wood Repair
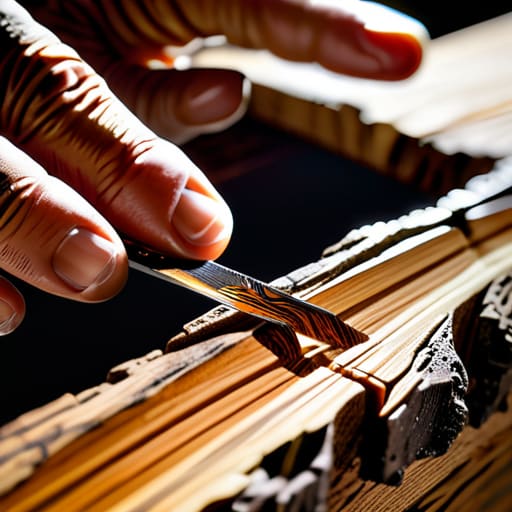
Now, don't go rushing in with the clamps the second you’ve applied your epoxy. I’ve seen many a lad ruin a perfectly good piece of oak because he thought more force meant a better bond. When you're dealing with structural wood repair, you have to remember that epoxy doesn't behave like standard PVA. While wood glue needs heavy pressure to squeeze out the excess, epoxy needs a bit of breathing room to actually knit those fibers back together. If you squeeze it too hard, you'll just starve the crack of the very material meant to fix it.
I always tell my apprentices: listen to the wood. You want enough woodworking clamp pressure to draw the two sides of the split together firmly, but not so much that you're bruising the grain or forcing the board into a permanent warp. I prefer using soft cauls—scrap pieces of pine—between the clamp jaws and my workpiece. It spreads the load evenly and prevents those nasty indentations that you'll only notice once the finish goes on. Take your time; a steady hand and a bit of patience will always beat a heavy hammer.
Five things I’ve learned from forty years of fixing what’s broken
- Clean the split properly; if you leave sawdust or old glue inside that crack, your new resin won't bite, and you'll be back where you started.
- Don't just slap glue on the surface; use a thin needle or a syringe to get the epoxy deep into the heart of the split so it actually holds.
- Watch your grain direction when you're cleaning out the crack with a chisel—one wrong move with a blunt edge and you've turned a small split into a massive disaster.
- Use more clamps than you think you need; a split is a sign of tension, and if you don't squeeze that wood back together tight, the tension will just pull it apart again.
- Patience is a tool in itself; if you try to sand or finish that board before the repair has fully cured, you'll just end up pulling the filler right out of the wood.
The Final Cut
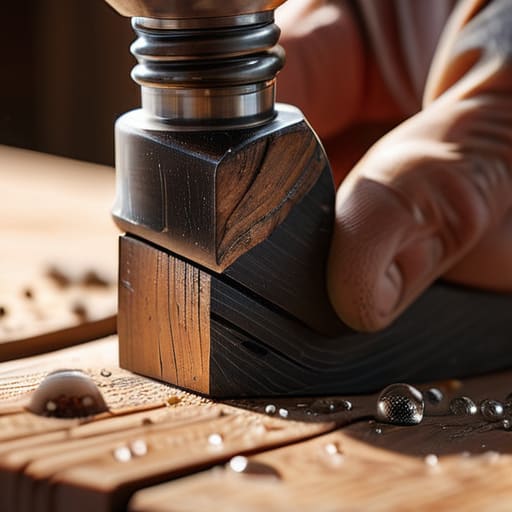
At the end of the day, fixing a split board isn't about finding a magic product that hides your mistakes; it’s about the preparation. You’ve seen why we don't reach for those cheap, pre-mixed fillers that just crumble away after a season. By cleaning out the debris, selecting a proper epoxy, and—most importantly—applying the correct clamp pressure, you aren't just patching a hole. You are restoring the structural integrity of the timber. If you take the time to do the prep work properly, you won't find yourself fighting the wood later on. It’s the difference between a job that looks okay for a week and a repair that lasts a lifetime.
I know it’s tempting to just grab the power sander and try to buff out the evidence, but there is a real satisfaction in doing things the right way. Wood is a living material, and it deserves a bit of respect when it fails. Don't be in such a rush to finish that you end up doing the work twice. Slow down, trust your tools, and remember that a steady hand is worth more than any expensive gadget. Once that glue sets and you see the grain align again, you'll realize that patience is the best tool in your kit. Now, get back to it.