Regluing Properly Instead of Twice
 Callum Reith-Sowande
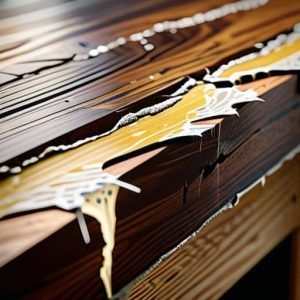
Most people think that if a chair leg starts wobbling, you just squeeze some fresh PVA into the gap and clamp it tight. That’s a recipe for a joint that’ll fail again before the glue even fully cures. I spent years watching apprentices try to "fix" things by layering new glue over old, dried-out mess, and let me tell you, it’s a complete waste of time. If you want to learn how to reglue a loose joint properly, you have to stop thinking about the glue and start thinking about the wood. You can't build a new house on a rotten foundation, and you certainly can't bond new timber to a crust of old, brittle adhesive.
I’m not going to give you any of that fancy, high-tech nonsense you see in the glossy magazines. Instead, I’m going to show you the proper, old-fashioned way to get a joint back to its original strength. We’ll talk about why a sharp chisel is your best friend for cleaning out those old surfaces, how to check for structural damage, and exactly when you should stop trying to repair it and just start over. It’s about doing the job right the first time.
Guide Overview
Tools & Supplies
- Clamps to hold the joint under pressure
- Sandpaper for cleaning old residue
- Utility knife or scraper to remove old glue
- Wood glue (PVA) 1 small bottle
- Microfiber cloth for cleanup
- Tack cloth or damp rag for dusting
Step-by-Step Instructions
- 1. First thing you need to do is get that joint apart. If it's a mortise and tenon or a dovetail that’s gone dodgy, don't go trying to force it while it's still stuck with the old, brittle glue. You'll end up splitting the grain before you've even started. Use a rubber mallet and a scrap block of wood to gently tap it loose. If it's stubborn, you might have to use a bit of heat or even a little moisture, but go slow.
- 2. Once it's open, you have to get rid of every trace of that old, dried adhesive. Modern PVA is fine for new work, but it won't bond to old glue—it'll just sit there like a layer of grease. Grab a sharp chisel, one you've actually taken the time to hone properly, and scrape the surfaces clean. You want to see fresh wood fibers, not a shiny film of old resin. If you leave even a thin layer of the old stuff, the new joint will fail you within a month.
- 3. Take a close look at the surfaces once they're clean. If the wood has become compressed or "crushed" from years of being wiggled about, the joint won't be tight anymore. This is where most people reach for wood filler, but that's a waste of time. Instead, I usually take a very thin shaving of matching timber and glue it onto the tenon to build the thickness back up. It's better to have a tight, structural fit than a gap filled with sawdust and glue.
- 4. Now, check your fit before you even touch the glue bottle. A good joint should be able to slide together with a bit of firm hand pressure, but it shouldn't feel sloppy. If it's too loose, you'll need to shim it as I mentioned, or perhaps use a bit of veneer. You want a snug, piston-like fit. If you have to hammer it home, you're asking for trouble down the line.
- 5. Apply your glue sparingly. You don't need to drown the wood; you just need enough to coat the entire mating surface. I prefer using a small brush to work the glue into the grain of the mortise. If you're using a traditional hide glue, you'll have a bit more time to work with, but with modern stuff, you've got to move with purpose. Spread it thin, even, and don't let it pool in the corners.
- 6. Once the joint is assembled, get it in the clamps immediately. But listen to me: don't over-tighten them. I've seen many a lad crack a beautiful piece of oak because they thought more pressure meant a better bond. You only want enough pressure to squeeze out the excess glue. If you see small beads of glue appearing around the seam, you've done it right.
- 7. Wipe away the squeeze-out with a damp cloth right away. Don't let it dry into hard lumps that you'll have to sand off later; sanding just dulls your edges and ruins the crispness of the joinery. Leave it in the clamps for at least an hour, but honestly, I prefer to leave it overnight. Let the glue do its job without you fussing over it.
Removing Old Adhesive Residue With Surgical Precision
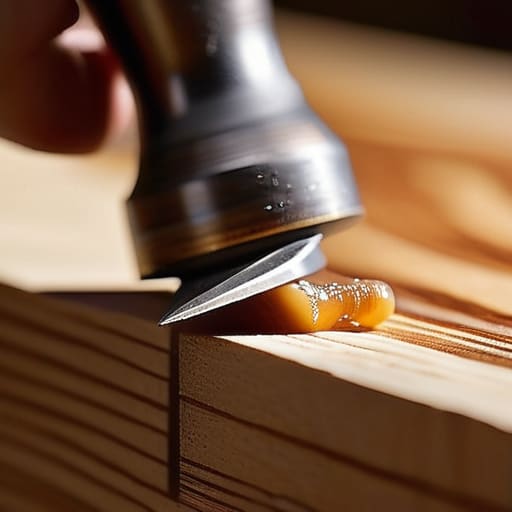
Now, don't go grabbing a sander and hoping for the best. If you start grinding away at those old glue spots with a power tool, you’ll end up with uneven surfaces and a joint that’ll never sit flush again. Instead, I always reach for a wide, razor-sharp chisel. You want to scrape the grain, not gouge it. By removing old adhesive residue with a clean edge, you’re ensuring that the new bond makes direct contact with the wood fibres. If there’s even a thin film of dried PVA in the way, the new glue is just sitting on top of the old stuff, and that’s a recipe for a failure down the line.
I’ve seen many apprentices try to rush this bit, thinking they can just smear more glue over the mess. That’s a mistake. You need to see the bare wood. Once you’ve cleared the way, take a moment to check the fit. If the wood has swollen slightly, you might need to pare it back just a hair. It’s this bit of patience that maintains the structural integrity of joints over the long haul. Remember, we aren't just sticking two pieces together; we're making them one again.
Finding the Best Glue for Furniture Repair
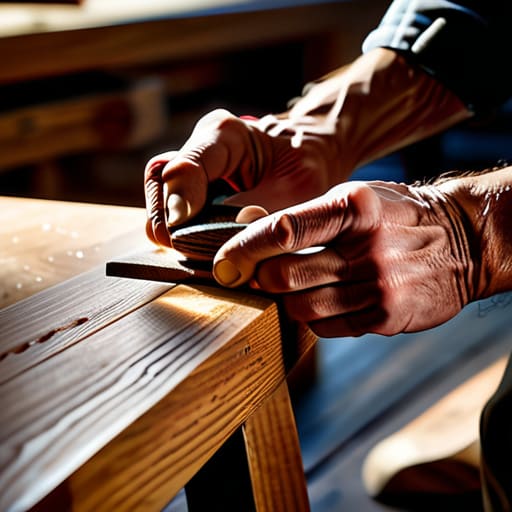
Now, don't go wandering down the aisles of the local hardware shop and picking up the first bottle of yellow stuff you see just because it's cheap. If you're looking for the best glue for furniture repair, you need to think about what the piece is actually meant to do. For most indoor furniture, a standard PVA is fine, but if you're working on something that might see a bit of moisture or heavy use, you might want something a bit more robust. The goal isn't just to stick two pieces of timber together; it's about restoring the structural integrity of joints so they last another forty years.
The real mistake I see most often, though, isn't the type of glue, but how it's used. You can have the finest adhesive in the world, but if you don't manage your woodworking clamp pressure correctly, you'll end up with a mess. Too little pressure and the bond is weak; too much, and you'll squeeze every bit of glue out of the seam, leaving you with a dry, brittle connection. You want just enough to see a tiny bead of squeeze-out, nothing more.
A Few Things I've Learned the Hard Way
- Don't just pump glue into the gap and hope for the best. If you haven't cleared out the old, crusty bits of dried adhesive first, you're just layering new glue on top of a failure, and it won't hold a thing.
- Check your fit before you even touch the glue bottle. If the joint is wobbling because the wood has shrunk or the tenon is undersized, a bit of PVA isn't going to fix a structural gap. You might need to shim it with a thin shaving of veneer.
- Use clamps, but don't be a butcher with them. I've seen too many lads over-tighten and squeeze every single drop of glue out of the joint. You need a film of glue left in there to do its job, not a dry, starved connection.
- Keep a damp rag handy and work steadily. If you're too slow, the glue skins over and you'll spend an hour scraping it off the surface; if you're too fast, you'll smear it everywhere. Find a middle ground.
- Give it time. I know it's tempting to get back to the workbench, but leave those clamps on for a full day. Rushing a glue-up is the quickest way to end up doing the same job twice.
Don't Rush the Finish
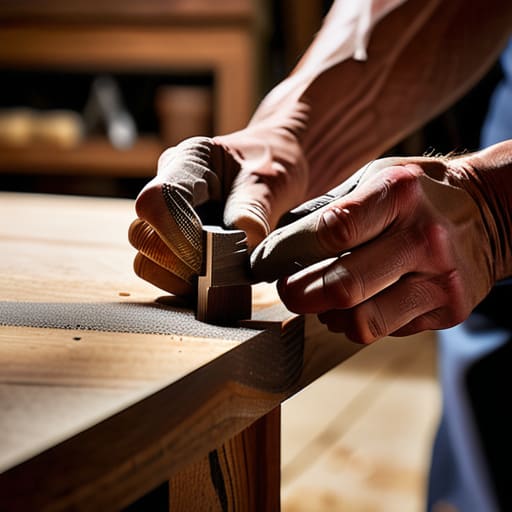
At the end of the day, fixing a loose joint isn't about how much glue you can squeeze into a gap; it’s about the preparation. If you’ve done it right, you’ve cleared out that old, crusty residue with a sharp chisel, chosen a glue that actually suits the timber, and ensured the surfaces are perfectly clean before the bond is made. It takes a bit more patience than just slapping some modern construction adhesive into a crack and hoping for the best, but that’s the only way to ensure the joint stays tight for another forty years. Remember, a clean surface is the foundation of a lasting repair.
I know it’s tempting to just grab a power sander or a quick-dry resin to get the job done so you can move on to the next task. But there is a certain satisfaction in doing things the proper way, with tools that are maintained and a process that respects the wood. When you take the time to do it right, you aren't just fixing a piece of furniture; you are preserving its history. A well-made joint, repaired with care, will always outlast a rushed job made with cheap shortcuts. Stick to the method, keep your tools sharp, and let the work speak for itself.