Cabinet Doors That Hang Level
 Callum Reith-Sowande
You don't need to go out and buy a whole new set of kitchen units just because a door won't stay shut. Most people see a sagging cupboard and think it’s a sign of cheap manufacturing or a reason to call in a specialist, but that’s just nonsense. Usually, it’s just a bit of stripped timber or a screw that’s lost its bite. I spent forty years on site seeing folks try to force things with power tools, only to make the damage worse. Learning how to repair a cabinet hinge isn't about fancy machinery; it’s about understanding the wood and having the patience to fix it properly the first time.
I’m not going to give you any of that flashy, complicated nonsense you see in those glossy magazines. I’m going to show you the honest, steady way to get those doors aligned and tight again using basic tools you likely already have in your drawer. We’ll look at filling those blown-out screw holes and securing the metal so it stays put for another twenty years. My aim is to teach you how to stop the wobbling and do the job right without wasting a penny on replacements you don't actually need.
Guide Overview
Tools & Supplies
- Screwdriver (Phillips or flathead depending on screw type)
- Hammer (for tapping loose hinges into place)
- Drill (if new pilot holes are required)
- Replacement screws (small pack of wood screws)
- Wood filler or toothpicks (to fill stripped screw holes)
- Wood glue (to reinforce stripped holes)
Step-by-Step Instructions
- 1. First, you need to get that door off the frame. Don't try to fiddle with the screws while the weight of the door is pulling on the hinge; you'll only end up stripping the heads or worse. Unscrew the hinge from the cabinet carcass entirely and set the door aside on a piece of scrap timber so you don't scuff the finish.
- 2. Once the hinge is out, look closely at the screw holes in the wood. Most of the time, the problem is simply that the pilot hole has become too large because someone kept forcing a screw into the same spot. If the hole is blown out, you've got nothing for the screw to bite into, and that's when the whole thing starts to sag.
- 3. Now, take a handful of wooden matchsticks or some decent quality toothpicks. Dip the ends in a bit of PVA wood glue—don't use superglue, it's too brittle for this—and jam them into the loose hole until it's tightly packed. You aren't just filling a gap; you are creating new, solid timber for the screw to grip.
- 4. Take a sharp chisel and a small hammer, and carefully pare back the excess wood sticking out of the hole. You want the surface to be flush with the cabinet side so the hinge sits flat. If the surface isn't level, the door will never hang true, no matter how many screws you throw at it.
- 5. Let that glue dry completely. I know it's tempting to rush, but patience is a tool in itself. If you try to drive a screw into wet glue, you'll just turn the whole mess into mush. Give it a few hours, or better yet, leave it overnight.
- 6. Pre-drill a new, small pilot hole right through the center of your repair. If you don't drill a hole first, you'll just split your new wooden plug and end up right back where you started. Use a drill bit that is slightly smaller than the shank of your screw.
- 7. Finally, position your hinge and drive the screws back in. Don't go mad with a power driver here; use a manual screwdriver and feel the tension. You want the screw to go in firm and steady until the hinge is tight against the wood, but stop before you strip the threads again.
Fixing Stripped Screw Holes in Wood Without the Heavy Machinery
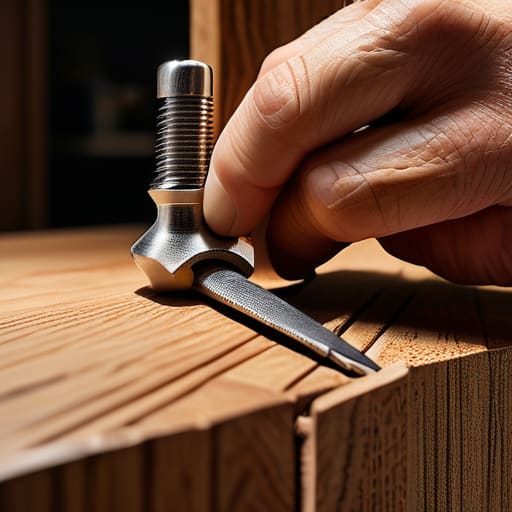
Now, if you’ve gone through the motions of tightening those screws only to find they just spin and spin in the void, you’ve run into the real headache: fixing stripped screw holes in wood. Most people see this and think they need to rip the whole unit out and start over, or worse, buy some plastic expanding plug that’ll fail in six months. That’s not how we do things.
I always tell my former students that you don't need a workshop full of heavy machinery to fix a bit of hollowed-out MDF or pine. All you really need is a handful of wooden matchsticks or some decent quality toothpicks and a bit of decent wood glue. Jam them into the hole until it's packed tight, let it dry, and then snip them flush. It creates a solid new foundation for those loose cabinet hinge screws to bite into. Once that's set, you aren't just patching a hole; you're essentially rebuilding the timber itself. It’s slow, steady work, but it’ll hold long after a quick-fix spray or a plastic shim has given up the ghost.
The Art of Adjusting Concealed Hinges With Precision
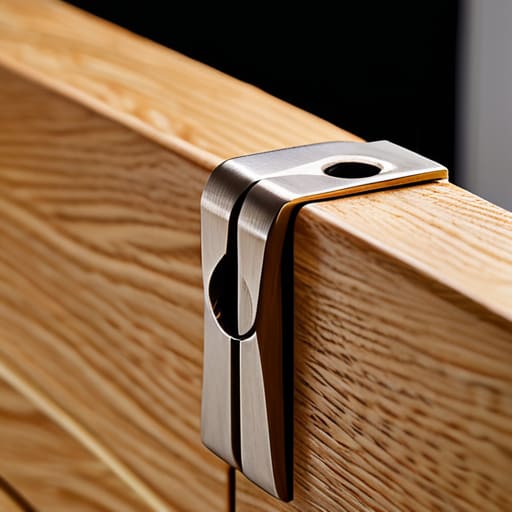
Once you’ve sorted the wood and tightened the screws, you’ll often find the door still sits a bit wonky. That’s where most people lose their patience and start buying new hardware, but you don't need to go replacing kitchen cabinet hardware just because a door hangs crooked. Most of these modern clips are designed to move. You’ve got three screws on the hinge head: one for depth, one for side-to-side play, and one for the height.
Don't go cranking them like you're tightening a lug nut on a tractor. It’s a game of tiny, incremental turns. I’ve seen too many lads strip the heads of these small screws because they thought they needed more force. If you’re adjusting concealed hinges, treat them with respect. Turn the screw a quarter notch, close the door, and check the gap. If you rush it, you'll end up fighting the door all afternoon. Take your time; a steady hand beats a frantic one every single time.
A few things to remember before you start banging away
- Don't go buying a new set of hinges just because the old ones are wonky; most of the time, they just need a bit of a nudge or a tightened screw to sit right.
- If you're working with those modern concealed hinges, stop turning them like you're trying to win a race; those tiny adjustment screws are meant for fine movements, not brute force.
- Always check the wood around the hinge first; if the timber is crumbling or soft, no amount of tightening is going to save a hinge that's sitting in sawdust.
- Keep your screwdriver tip clean and matching the screw head exactly; if you use a bit that's too small, you'll just strip the head and end up with a much bigger headache.
- Take your time to feel the tension; a hinge should move smoothly, and if you feel it catching or resisting, something is misaligned, not broken.
Doing it right the first time
At the end of the day, fixing a cabinet hinge isn't about finding a fancy new gadget or replacing the whole unit. It comes down to the basics: filling those stripped holes with something solid, getting your screws seated straight, and taking the time to fine-tune the adjustment until the door hangs true. If you’ve followed these steps, you haven't just patched a problem; you’ve restored the integrity of the piece. You don't need a workshop full of loud, expensive machinery to fix a simple bit of joinery. You just need a bit of patience and the proper manual approach to ensure that screw isn't just sitting there, but is actually biting into the wood.
I see too many people these days throwing things away the moment they squeak or sag. They think a loose hinge is a sign that the furniture is finished, but they're wrong. There is a quiet satisfaction in taking something that’s failing and making it work better than it did when it was new. Don't be in such a rush to buy something replacement; take the time to repair what you have. When you master these small, steady fixes, you stop being a consumer and start being a craftsman. It might take a few extra minutes, but I promise you, it’s worth the effort.