Three Glues and When Each Wins
 Callum Reith-Sowande
I remember sitting in my workshop back in the nineties, staring at a joint that had just split clean through on a piece of seasoned oak. I’d followed the instructions on the tin to the letter, but the bond had nothing on a handshake. Most people think you review an adhesive by reading the fancy marketing on the back of the bottle or looking at some lab certificate, but that’s nonsense. If you want to know how to review glue properly, you don't look at the label; you look at the failure point. You need to see if the wood breaks before the bond does, otherwise, you’re just paying for expensive, dried-up water.
I’m not here to give you a chemistry lesson or sell you on some high-tech polymer that costs a week's wages. I’m going to show you how to test these things the way a man who’s spent forty years on a job site would. We’ll look at open time, squeeze-out, and most importantly, the actual strength of the bond under pressure. I’ll give you the straight truth on what works and what’s just a waste of a good afternoon, so you can stop trusting the hype and start trusting your hands.
Mastering Precise Adhesive Testing Methods
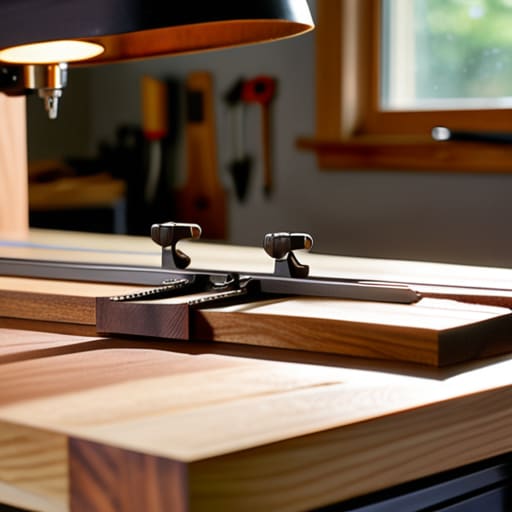
You can’t just smear a bit of glue on two scraps, wait ten minutes, and call it a day. That’s how you end up with a joint that looks fine in the shop but fails the moment the seasons change. To get a real sense of bond strength evaluation, you need to be systematic. I always run a few test strips using the exact same pressure and clamping force I’ll use on the actual project. If you’re working with hardwoods like oak or mahogany, you have to pay close attention to material compatibility testing; some glues just won't bite into a dense grain no matter how much you squeeze.
Once you’ve got your samples, don't rush the verdict. A proper curing time assessment means letting those pieces sit for the full duration specified on the tin—not just until it feels dry to the touch. I’ll take a hammer or a heavy mallet and give the joint a proper-looking whack. If it splinters the wood before the glue line snaps, you know the bond is stronger than the timber itself. If the glue peels away clean, you've wasted your time and your materials.
The Truth About Real Bond Strength Evaluation
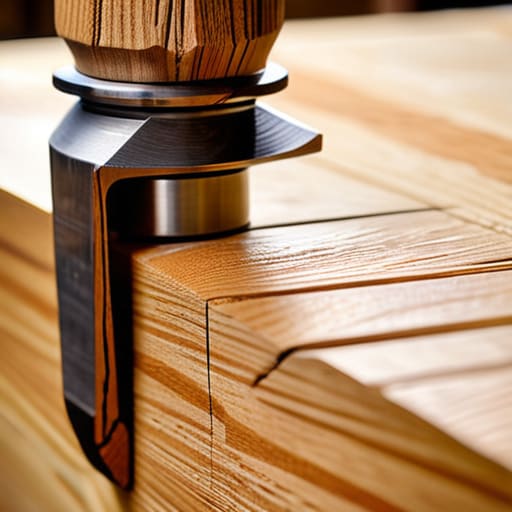
You can run all the laboratory tests you want, but a glue isn't truly proven until it’s been put to work on a joint that actually matters. In my years on site, I’ve seen plenty of lads rely on what the tin says rather than doing their own bond strength evaluation. A proper test isn't just about pulling two pieces of timber apart; it’s about understanding how that glue behaves when the wood expands or contracts. If you’re just checking if it sticks in a controlled environment, you're missing the point.
I always tell my apprentices that you need to look at the failure point. If the glue itself snaps, you’ve got a strong bond, but if the wood fibers pull away, you’ve got a failure in substrate adhesion performance. You have to see whether the glue has actually bitten into the grain or if it’s just sitting on the surface like a layer of grease. Don't trust a manufacturer's claim blindly; if you haven't pushed that joint to its absolute limit, you haven't really tested it at all.
Five Ways to Tell if a Glue is Worth Your Time
- Don't just trust the label; test the open time. If a glue sets up before you’ve even finished clamping your joints, it’s nothing more than an expensive way to ruin a good piece of oak.
- Watch how it spreads. A decent adhesive should flow into the grain, not sit on top like a thick, stubborn paste that refuses to soak in.
- Check the cleanup. If you’re spending more time scrubbing dried-on sludge off your workbench than you are on the actual joinery, that glue isn't worth the headache.
- Look for the failure point. When you test a bond, you want to see the wood fibers tear, not the glue line snap clean. If the glue pulls away in one neat, easy piece, it’s a weak bond.
- Mind the squeeze-out. You want a little bit of bead to show you've got enough in the joint, but if it’s oozing out like a wound, you’ve wasted your material and made a mess for yourself.
Stop Guessing and Start Testing
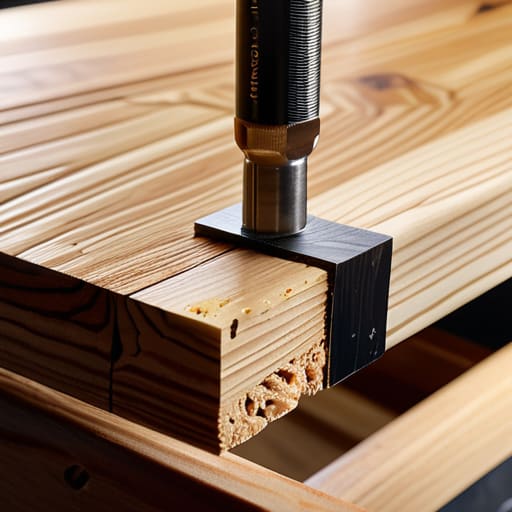
At the end of the day, reviewing a glue isn't about reading the fancy claims on the back of a bottle; it’s about what happens when you actually put it to work. You’ve got to look at the open time, how it handles a bit of moisture, and most importantly, whether the bond fails in the wood or the adhesive itself. If you aren't testing for actual shear strength and checking how that bond holds up under real workshop stress, you're just playing with expensive sludge. Don't let a brand name fool you into thinking a joint is permanent when it’s really just waiting to fail.
I’ve spent forty years seeing men rush through a job only to have their hard work come apart because they used a shortcut instead of a proper bond. A good tool, and a good adhesive, should be an investment in the longevity of the piece, not a consumable you throw away when the project is done. Take the time to do your testing properly. When you know exactly how your materials behave, you stop fighting your work and start mastering it. There is no substitute for certainty in the workshop.