A Desk Sized to a Person
 Callum Reith-Sowande
Most people think that if you want to build a proper piece of furniture, you need a workshop full of expensive, screaming power tools that'll leave your ears ringing and your lungs full of dust. They'll tell you that you can't possibly learn how to build a desk without a table saw or a heavy-duty router. I spent forty years on-site and another ten in the classroom, and I’m telling you, that’s a load of rubbish. You don't need a mountain of plastic and wires; you just need a steady hand and a blade that actually cuts.
In this guide, I’m going to show you how to approach this project the right way—the slow, methodical way that actually lasts. I won't be throwing any fancy jargon or useless gadgets at you. Instead, I’ll walk you through selecting the right timber, setting up your joints, and ensuring your edges are true. We are going to focus on the fundamentals of joinery so that when you finish, you aren't just looking at a flat surface on four legs, but a piece of furniture that’s built to outlive us both.
Guide Overview
Tools & Supplies
- Power Drill and bits for driving screws
- Tape Measure for accurate cutting and placement
- Sandpaper for smoothing edges and surfaces
- Level to ensure a flat workspace
- Wood Desktop (1 piece)
- Wooden Legs or Sawhorse bases (4 pieces)
- Wood Screws (1 box)
- Wood Glue (1 bottle)
Step-by-Step Instructions
- 1. Start by selecting your timber, and for heaven's sake, don't just grab whatever's cheapest at the big-box store. If you're building a proper desk, you want something stable like oak or even a decent walnut. Lay your boards out on a flat surface and let them sit in your workshop for a few days to acclimatise to the humidity before you even think about marking a single line. If the wood is still moving, your joinery will be a nightmare.
- 2. Once the wood is settled, it's time for the layout. I don't care how much you like your digital gadgets; get a sharp marking knife and a try square. A pencil line is too thick and imprecise for real work. Use that knife to score the grain exactly where you want your joints to sit. That tiny physical groove gives your saw and your chisel a track to follow, which means you aren't guessing where the edge is halfway through the cut.
- 3. Now, we tackle the frame. Instead of reaching for those metal corner braces that look like they belong on a garden shed, I want you to cut some simple mortise and tenon joints. It takes more patience, certainly, but a well-fitted tenon is what makes a desk feel solid rather than wobbly. Use a mortise chisel to clear out the waste, and remember to work from both sides so you don't blow out the timber when you reach the end of the cut.
- 4. When you're fitting those joints, don't go forcing them with a heavy mallet like you're trying to break them. A joint should be snug enough that it stays put by itself, but you should still be able to tap it home with a light touch. If it's too tight, don't shave off huge chunks; just take a thin slice with a razor-sharp paring chisel. You can always take more off, but you can't put it back once it's on the floor.
- 5. For the desktop itself, you'll want to join your boards together to create a seamless surface. I prefer using tongue and groove or simple dowels, depending on the look you're after. Apply a bit of glue, clamp them up firmly, and use a few cauls—just straight pieces of scrap wood—across the top to ensure the pressure is even. This prevents the clamps from leaving those ugly indentations in your hard work.
- 6. Once the glue is dry and the structure is sound, it's time for the surface work. Now, I know the temptation is to grab a belt sander and get it over with, but I'd suggest a hand plane instead. A well-tuned smoothing plane will leave a surface so flat and even that you'll barely need any sandpaper at all. It’s about respecting the wood fibers rather than just grinding them into dust.
- 7. Finally, we finish it. Avoid those thick, plastic-feeling polyurethane coatings that sit on top of the wood like a sheet of ice. They hide the grain and they're a pain to fix when they inevitably crack. Use a high-quality hardwax oil instead. It soaks into the timber, protects it, and—most importantly—it's something you can repair locally with a bit of fine abrasive and more oil when life happens to the desk.
Mastering Ergonomic Desk Dimensions With a Sharp Edge
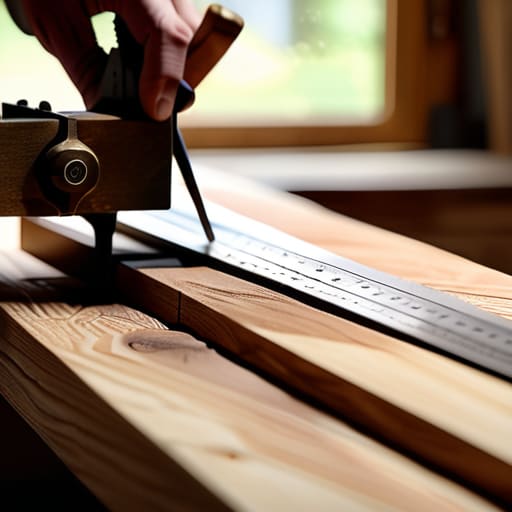
When you're sitting down to map out your layout, don't just eyeball the height. Most folks make the mistake of building for a standard height without considering how they actually sit. If you’re looking into ergonomic desk dimensions, remember that your elbows should rest at a natural ninety-degree angle. I’ve spent too many years watching apprentices ruin a perfectly good piece of oak by cutting it too low, only to find they're hunching over it like a question mark. Measure your seating position first; the wood should adapt to you, not the other way around.
Once you have your measurements, pay attention to the edge profile. This is where a sharp chisel beats a router every day of the week. Instead of a harsh, machine-cut edge that bites into your forearms, use a well-honed blade to create a gentle chamfer. It takes a bit more patience, but a hand-planed edge feels much more natural during a long day of work. When you're selecting your desk surface materials, aim for something stable that won't warp under the weight of your gear. A solid, well-prepared surface is the foundation of a lifetime of work.
Choosing Desk Surface Materials That Respect the Grain
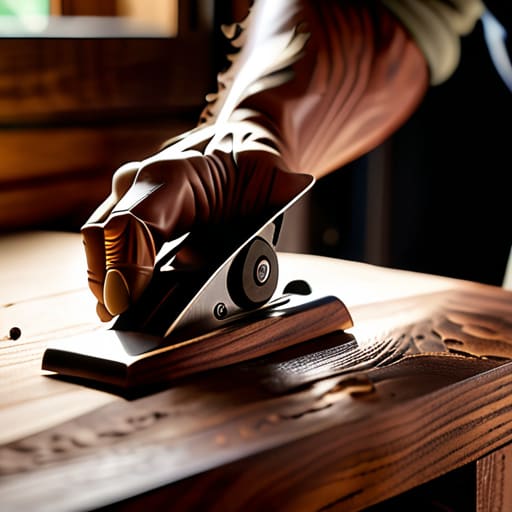
When you start looking at different desk surface materials, don't just pick what looks pretty in a catalogue. Most modern timber is grown so fast it’s practically straw, lacking the density you need for a proper workspace. If you're looking for something that holds an edge and feels substantial, I always steer people toward hardwoods like oak, ash, or walnut. These woods have a grain structure that actually responds to your tools. If you try to plane a piece of cheap, soft pine, you'll find yourself fighting the fibres rather than guiding them.
A common mistake I saw during my years teaching is choosing a material that fights your hand. If the grain is erratic or the wood is poorly seasoned, even the sharpest chisel will tear the surface rather than slicing it. You want a piece that allows for clean, predictable shavings. Whether you are working on custom desk design ideas or a simple slab, respect the direction of the grain. If you don't, you'll spend more time sanding out mistakes than you would have spent just cutting it right the first time.
Five things I’ve learned the hard way about desk making
- Don't trust your eyes alone; use a square every single time you make a cut. A desk that looks straight until you actually try to join the legs is a waste of good timber and a lot of my time.
- Respect the grain direction when you're paring your joints. If you force a chisel against the grain just to speed things up, you'll tear the fibres and end up with a surface that no amount of sanding can truly fix.
- Stop relying on those cheap, pre-made screws for everything. If you want a desk that lasts another forty years, take the time to cut proper mortise and tenon joints. It's slower, yes, but it's honest work.
- Check your tool edges before you even touch the wood. There is nothing more frustrating than fighting a dull blade halfway through a project; it’s better to spend ten minutes at the sharpening stone than two hours fixing a botched cut.
- Listen to the wood while you work. If the timber starts to protest or the grain feels uneven, stop. It's telling you something about the moisture or the direction, and ignoring it is how mistakes happen.
The Final Cut
Building a desk isn't just about slapping some boards together and hoping for the best. It’s about the marriage of the right dimensions, a material that respects your effort, and the discipline to use tools that are actually fit for purpose. We’ve talked about getting your ergonomics right so your back doesn't pay the price later, and we’ve looked at how to choose timber that won't fight you every step of the way. But most importantly, remember that the quality of your work is tied directly to the state of your edge. If you’ve followed these steps and kept your chisels scary sharp, you haven't just built a piece of furniture; you’ve built something that carries the mark of a craftsman.
At the end of the day, a desk is more than a flat surface for a computer; it is a place where ideas take shape. Don't be in such a rush to finish that you skip the fine details or settle for a blunt blade just to save ten minutes. There is a quiet, steady satisfaction in seeing a joint fit perfectly because you took the time to do it properly. Stop chasing the speed of a machine and start finding the rhythm of the hand tool. Once you find that flow, you won't just be building a desk—you'll be making something that lasts.