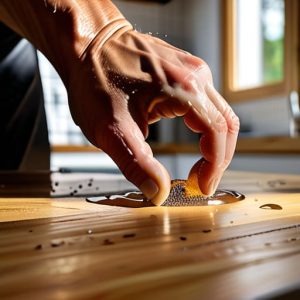
A Step Stool That Will Not Tip
 Callum Reith-Sowande
Most folks think you need a workshop full of noisy, expensive power tools just to figure out how to build a step stool. They’ll point you toward a circular saw and a cordless drill, telling you it’s the only way to get the job done quickly. But I’ve spent forty years on site and ten more in a classroom, and I’m telling you: that’s a load of rubbish. If you rely on a blunt machine, you’re just fighting the timber. I remember a student of mine once trying to rush a project with a cheap, vibrating jigsaw; he ended up with a wobbly mess that wouldn't stand straight. If you want a stool that actually lasts, you need to respect the grain and use tools that actually cut instead of just tearing.
In this guide, I’m going to show you how to build a step stool using nothing but a few basic hand tools and a bit of patience. We aren't going to talk about fancy jigs or high-tech gadgets that you'll just throw in a drawer next week. Instead, I'll walk you through selecting the right wood, making clean, precise joints, and ensuring every piece is square. I promise you a solid, honest piece of furniture that you can actually rely on when you're reaching for the top shelf.
Guide Overview
Tools & Supplies
- Circular saw or handsaw for cutting lumber
- Power drill for driving screws
- Measuring tape for precise dimensions
- Sandpaper for smoothing edges
- Speed square for ensuring 90-degree angles
- 2x4 lumber (two 8ft boards)
- 1/2 inch plywood (one 2ft x 2ft piece)
- 2.5 inch wood screws
- Wood glue for joint stability
Step-by-Step Instructions
- 1. First, you need to pick your timber. Don't go grabbing some flimsy, pressure-treated rubbish from a big-box retailer; find yourself some decent, stable hardwood or a clear piece of pine. Once you've got your stock, lay it out on the bench and mark your lines using a sharp pencil and a marking knife. A knife cut gives you a physical groove for your saw to sit in, which is far more reliable than any wobbly plastic ruler.
- 2. Now, it's time to get to the cutting. Instead of reaching for the jigsaw and making a mess of the grain, grab your tenon saw. Take your time to follow those knife lines. You aren't trying to cut through the wood in one go; you're looking for a clean, controlled separation. If you rush it with a power tool, you'll end up with splintered edges that no amount of sanding will ever truly fix.
- 3. Once you have your pieces cut, you'll need to prepare the joints. I’m suggesting simple mortise and tenon joints for this stool because they actually hold weight. Use a mallet and a well-sharpened chisel to clear out the mortises. If your chisel isn't keen enough to shave the hair off your arm, don't even bother starting. You want to see the wood curl away from the blade, not get crushed by it.
- 4. After the joints are cut, it’s time for the dry fit. This is where most beginners fail—they go straight for the glue. Put the pieces together without any adhesive first. You want the fit to be snug but not forced. If you have to hammer a joint home with everything you've got, the fit is too tight and you'll split your timber. A proper joint should slide home with a firm, steady hand.
- 5. Once the fit is right, apply a thin, even layer of wood glue to the surfaces and bring the stool together. Use your clamps to hold everything square. While the glue is drying, take a moment to check your work with a try-square. If the frame isn't perfectly square now, it never will be. Let it sit undisturbed; patience is a tool just as important as any plane.
- 6. Now we deal with the surface. Skip the electric sander; they just burn the wood and clog up the pores. Take a smoothing plane—one that you've spent the morning honing to a mirror finish—and take light, shaving passes across the grain. You’ll see the wood transform from a rough plank into something silky to the touch. It’s much more satisfying than watching a machine do the work for you.
- 7. Finally, give the stool a simple finish. A bit of linseed oil or a hard wax is all you need to protect the wood without making it look like it's been dipped in plastic. Rub it in with a clean rag, let it soak, and wipe away the excess. You'll end up with a stool that isn't just a piece of furniture, but a solid bit of joinery that'll outlast any modern equivalent.
Plywood vs Solid Wood Step Stools Choosing Your Grain
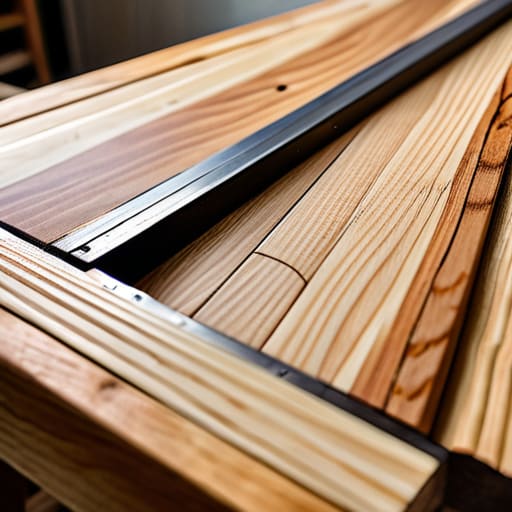
Now, you’ll need to make a choice before you even pick up a saw: are you going with plywood or solid timber? Most folks these days reach for plywood because it’s stable and cheap, which is fine for a utility piece. If you’re looking at plywood vs solid wood step stools, remember that plywood won't warp on you, but it lacks that soul you get from a piece of oak or pine. If you go the solid route, you’ve got to be mindful of the grain direction; if you cut against it, you’re asking for splits.
For a beginner, I usually suggest a high-quality birch plywood. It’s predictable, and more importantly, it stays flat. When you're securing joints for weight capacity, plywood gives you a consistent surface to work with, whereas solid wood can move as the seasons change, potentially loosening your glue lines. Just make sure you aren't using the thin, flimsy stuff you find in a bargain bin. If the material is rubbish, even the best joinery won't save the stool from failing when someone actually puts their weight on it.
Measuring for Step Stool Height With Surgical Precision
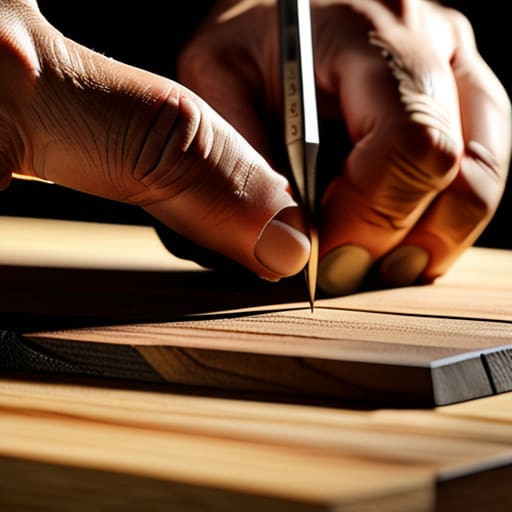
When you're measuring for step stool height, don't just eyeball it or rely on a quick mark with a pencil. If your measurements are off by even a fraction, you'll find that the stool wobbles the moment you put any weight on it. I’ve spent forty years on site, and I can tell you that a wobble isn't just annoying; it's a safety hazard. Use a sharp carpenter's pencil and a high-quality steel rule. You want to mark your lines clearly and measure twice before you even think about touching a saw.
One thing I tell my students is that height isn't just about how high you can reach; it's about the ergonomics of the climb. If you’re aiming for a stable, non-slip step stool design, you need to account for the thickness of your treads in your total height calculation. If you forget to subtract the material thickness from your leg lengths, you'll end up with a stool that's taller than you planned and likely uneven. Precision in the planning stage saves you from the frustration of trying to plane down a leg that’s too long later on.
Five things to remember before you take the first cut
- Don't trust a dull blade to do the work of a sharp one. If you’re using a chisel to clean up your joints, make sure it’s keen enough to shave the hair off your arm. A blunt tool won't just make the job harder; it'll tear the grain and ruin your workpiece.
- Check your square more often than you think you need to. I've seen plenty of lads get halfway through a build only to realize their base isn't sitting true because they were too lazy to check their layout. A step stool needs to be rock solid, not a wobbly mess.
- Stop relying on the power sander for everything. If you want those edges to feel right and the joints to fit tight, use a block plane. It gives you a level of control a machine simply can't match, and it leaves a finish that looks like it was made by a craftsman, not a factory.
- Listen to the wood. When you're sawing or paring, you can feel when the tool is working with the grain versus fighting against it. If it feels like you're forcing it, stop. You're likely about to split a board, and I don't have the patience to replace good timber.
- Glue is a supplement, not a substitute for good joinery. I don't care how much wood glue you pour into a gap; if the joint isn't tight, the stool won't last. Build your joints to fit snugly first, then let the glue do its job of holding a perfect connection together.
Putting the pieces together
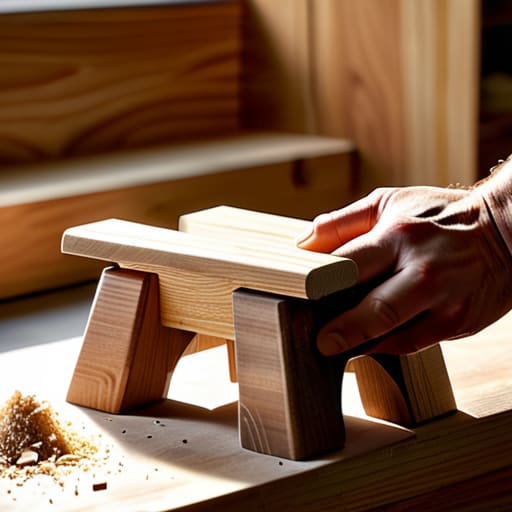
You’ve gone through the lot now—from picking out the right timber to getting those measurements dead on. It isn't just about slapping some boards together; it's about the discipline of the work. Whether you decided on the stability of solid wood or the versatility of plywood, the secret to a stool that won't wobble underfoot is in the accuracy of your joinery. Remember, if your chisel wasn't keen when you were cutting those housing joints, you’ve already lost the battle. Don't rush the assembly. Take your time to ensure every corner is square and every surface is flush. A stool built with patience and sharp edges is a stool that will last another forty years.
At the end of the day, a step stool is a simple object, but the way you build it says everything about you. Most people see a piece of furniture; I see the evidence of a job done right. There is a particular kind of satisfaction that comes from standing on something you made with your own two hands, knowing it’s sturdy because you didn't rely on a screw to do the work a good joint should have done. Stop looking for the easy way out with a power sander or a nail gun. Trust your hands, trust your tools, and keep building things that are meant to stay.