Grinding Without Burning the Steel
 Callum Reith-Sowande
I remember sitting in my workshop back in '84, staring at a Stanley chisel that had been so badly nicked by a dropped hammer it looked more like a piece of scrap iron than a tool. The young lad I was apprenticing told me to just toss it in the bin and buy a new one—that's what the shops want you to do these days, treat steel like it's disposable. But I knew better. Learning how to grind a new bevel isn't about replacing what's broken; it's about rescuing the tool and giving it a second life that'll last longer than any cheap replacement you'll find on a big-box website.
I'm not going to bore you with fancy laboratory measurements or tell you that you need a motorized grinder to get the job done right. Instead, I’m going to show you how to take a battered, useless piece of metal and turn it back into a cutting edge you can actually trust. We’ll go through the proper way to shape that steel using nothing but a file and a bit of patience, ensuring you have total control over the angle. By the time we're done, you won't just have a sharp tool; you'll have a tool you actually own.
Guide Overview
Tools & Supplies
- Bench Grinder or Belt Sander (for initial material removal)
- Sharpening Stones (various grits for refining the edge)
- Metal File (medium/coarse for shaping)
- Lubricant or Water (to prevent overheating)
Step-by-Step Instructions
- 1. First, you need to find your starting point. Don't just guess at the angle; if you're working on an old chisel I've pulled out of a scrap heap, the original bevel might be gone or won't hold an edge. Use a fine bastard file and rub it against the existing face until you can clearly see where the old metal ends and the fresh, flat surface begins.
- 2. Once you know where you're starting, it’s time to set your angle. I don't care what the fancy plastic guides say; they usually just get in the way. Grab a proper honing guide if you're still finding your feet, but make sure you've tightened the screws well enough so the tool doesn't wiggle halfway through the job.
- 3. Now, get to the actual grinding. If you're using a bench stone, start with the coarsest grit you've got. You aren't looking for a mirror finish yet; you're looking to remove metal and reshape the geometry. Use long, steady strokes, pushing the tool away from you, and don't let yourself get impatient.
- 4. Keep a close eye on the temperature if you happen to be using a powered grinder, though I'd rather you stick to a file. If the steel gets too hot to touch, you've ruined the temper, and that tool will never hold an edge again. It'll be nothing more than a very expensive piece of paperweight.
- 5. As the bevel starts to flatten out, you'll feel the resistance change. This is the part where most people rush, but you need to keep your pressure even across the entire width of the blade. If you create a hollow in the middle, you'll spend the next three hours trying to fix a mistake that should have taken three minutes.
- 6. Once you've got the shape right, switch to a finer grit stone to smooth out those deep scratches from the bastard file. You’re looking for a consistent, flat plane that meets the back of the tool perfectly. I always say, you can't polish a lie, so make sure that bevel is dead flat before you move on.
- 7. The final step is the most important: honing the back. Take your freshly ground bevel and lay the back of the tool perfectly flat on your finest stone. Rub it back and forth until the metal starts to shine. This removes the microscopic burr and ensures the tool is actually ready to work instead of just looking pretty.
Precision Angle Grinder Beveling Technique Over Brute Force

Now, I know what some of you are thinking. You see a power tool and you want to get the job done before lunch. I’m not against using a machine to move a lot of metal, but you have to treat that grinder with respect. If you treat it like a sledgehammer, you’ll ruin the steel before you’ve even started. The secret to a proper angle grinder beveling technique isn't about how much pressure you lean into the tool; it's about how little you let it dictate the pace. You want to use light, sweeping motions. If you stay in one spot for even a second too long, you’re asking for trouble.
The biggest mistake I see—and I saw it plenty when I was teaching the lads at the college—is preventing metal overheating by actually paying attention to the color of the steel. If that bevel turns a straw color or, heaven forbid, a deep blue, you’ve gone too far. You’ve drawn the temper out, and that tool is now nothing more than a very expensive paperweight. You can’t fix ruined temper with a whetstone. Keep a bucket of water handy and dip that blade often. It's better to stop every thirty seconds than to spend an hour trying to fix a botched job.
Preventing Metal Overheating to Save Your Edge Geometry
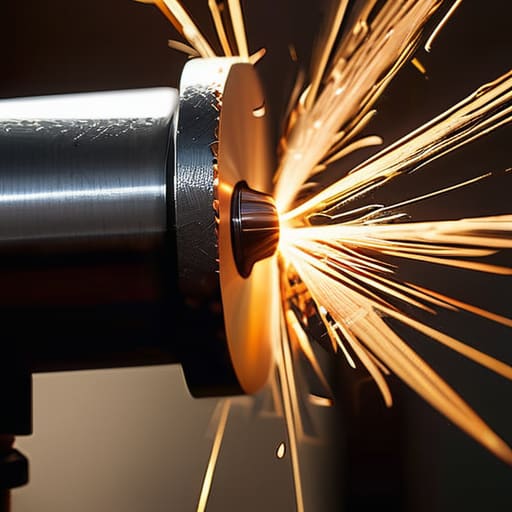
Now, here is where most fellas ruin a perfectly good piece of steel before they’ve even had a chance to use it. When you’re working with a grinder, the heat builds up faster than you can blink. If you see that steel turning a straw color, or heaven forbid, a deep blue, you’ve already lost. That discoloration isn't just a cosmetic issue; it’s a sign that you’ve ruined the temper. Once that heat hits the core, the metal softens, and no amount of honing on a fine stone will ever bring that edge back to life. You'll find yourself fighting a tool that won't hold a bite, and that's a waste of a good chisel.
To avoid this, you need to treat the process with patience. I always keep a bucket of cool water right next to me, and I don't let myself get greedy. Preventing metal overheating means you dip the tool every few seconds, even if you think it’s still cool to the touch. You want to work in short, controlled bursts rather than one long, aggressive sweep. It’s about maintaining edge geometry through steady, deliberate movements rather than trying to rush the job. If you can't feel the heat with your hand, you're moving too fast.
A Few Things I’ve Learned the Hard Way
- Don't go hunting for a fancy jig just yet. A steady hand and a bit of muscle memory will teach you more about how metal behaves than any plastic guide ever could.
- Keep your water bucket close. If you see the steel changing colour, you’ve already lost the battle; you're not grinding an edge anymore, you're tempering the steel into something useless.
- Watch your pressure. You aren't trying to muscle the tool through the metal; you want to let the grit do the work. Too much weight and you'll wander off your angle before you've even started.
- Check your progress often. I always stop every few passes to wipe the metal dry and look at the bevel. If you wait until the end to check, you'll likely find you've ground a lopsided mess.
- Listen to the sound. A good grind has a consistent, rhythmic hum. If the pitch changes or starts to stutter, you're either pressing too hard or your angle is drifting.
A Tool Worth Keeping
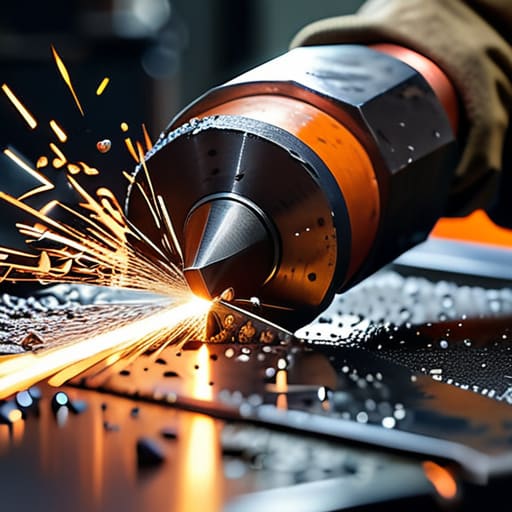
At the end of the day, grinding a new bevel isn't about rushing to get back to the bench; it's about the discipline of doing it right. You’ve learned that the secret lies in the control—using a steady hand on the grinder rather than letting the machine dictate the angle, and keeping a close eye on the temperature so you don't ruin the temper of that good steel. If you’ve been patient, kept the metal cool, and focused on a consistent geometry, you haven't just fixed a tool; you've mastered the fundamental skill of preserving your kit for the long haul.
I know there’s a temptation to just toss a nicked chisel in the scrap bin and buy a new one from the local hardware shop, but that’s how we lose the craft. When you take the time to reshape a bevel by hand, you develop a connection to the steel that no factory-made tool can ever provide. It’s a bit slower, I'll grant you that, but there is a profound satisfaction in knowing that your tools are exactly as sharp as you need them to be. Don't just work with your tools—take care of them, and they’ll never let you down when the real work begins.