A Shelf That Holds Books
 Callum Reith-Sowande
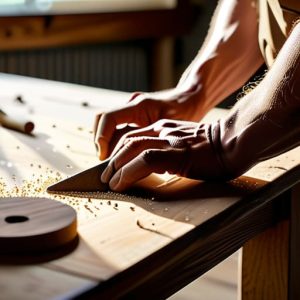
Most people think that building a shelf requires a garage full of expensive, battery-operated gadgets and a mountain of plastic components that'll end up in a landfill by next year. They spend more time hunting for a charger than they do actually working the wood. I've spent forty years on site and ten years in the classroom, and if there's one thing I've learned, it's that you don't need a noisy workshop to get a clean result. When I show someone how to build a simple shelf, I don't reach for the cordless impact driver; I reach for a well-maintained hand saw and a chisel that can actually shave a curl of timber.
I'm not here to sell you a fancy new kit or some complicated, multi-step system that relies on hardware store junk. I’m going to show you how to do this properly using honest methods and tools that you can actually maintain yourself. We’ll walk through selecting the right timber, getting your joints square, and ensuring that final finish is smooth enough to touch. By the time we're done, you'll see that a bit of patience and a sharp edge will get the job done faster and better than any power tool ever could.
Guide Overview
Tools & Supplies
- Tape measure for accurate cutting
- Hand saw or circular saw for wood cutting
- Power drill for making holes
- Sandpaper for smoothing edges
- Level to ensure the shelf is straight
- Wood planks (e.g., 1x6 pine) 3 pieces
- Wood screws (1.5 inch) 1 box
- Wood glue 1 bottle
- Sandpaper (medium grit) 2 sheets
Step-by-Step Instructions
- 1. First things first, you need to pick your timber. Don't go wandering into the big-box DIY stores and grabbing some flimsy, pressed sawdust masquerading as wood. Get yourself some decent, straight-grained pine or even a bit of oak if you've got the budget. Once you've got your boards, take your marking gauge and a sharp pencil to layout your dimensions. You want to measure twice and cut once, though in my experience, most people measure once and then spend an hour swearing at the wood.
- 2. Now, let's talk about the joinery. I'm not going to tell you to go out and buy a fancy biscuit joiner or some plastic dowel system that'll fail in six months. We're going to do this properly with simple, honest lap joints. Use a fine-toothed tenon saw to cut your lines. If your saw is blunt, you'll end up tearing the fibres instead of slicing them, and you'll be fighting the tool the whole way through. A clean cut is the difference between a shelf that lasts decades and one that wobbles by Christmas.
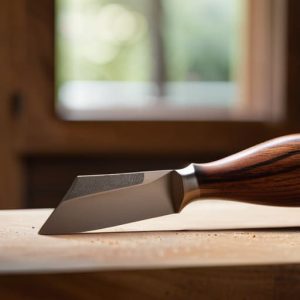
- 3. Once you've made your cuts, it's time to clear out the waste. This is where most youngsters reach for the electric router, but I'd rather see you with a sharp chisel. Take a mallet and a well-honed bevel-edge chisel and slowly work your way out of the joint. Don't try to take the whole chunk out in one go; that's how you split the grain. Work in small, controlled shavings until the shoulder of the joint sits flush against the timber.
- 4. After you've cleared the waste, you'll need to fit the pieces together. This is the moment of truth. If the joint is too tight, don't go grabbing a hammer and smashing it; you'll split the board. Instead, take your chisel and very lightly pare away a hair's breadth of wood from the face. You want a snug, piston-like fit where the pieces slide together with a bit of firm pressure, but don't require a sledgehammer to finish the job.
- 5. Now we move on to the glue-up. Apply a thin, even layer of PVA glue to both surfaces of the joint. Don't be stingy, but don't drown it either. Clamp the assembly together using basic F-clamps. Check that everything is square by measuring your diagonals; if the two measurements aren't identical, your shelf will be wonky. Leave it to dry completely undisturbed—patience is a tool just as important as any saw in my kit.
- 6. Once the glue is set, it's time to tidy up the edges. Forget the orbital sander for a moment; it just rounds off your crisp edges and makes the whole thing look soft and amateur. Use a sharp block plane to take off any high spots or glue squeeze-out. A hand plane will leave a surface so smooth you'll barely need sandpaper to finish it off. It’s about working with the grain, not against it.
- 7. Finally, give the whole thing a light finish. A simple wipe of linseed oil or a decent wax will bring out the character of the wood without masking it under a thick, plastic-looking lacquer. Rub it in by hand, let it soak, and buff it out. When you're done, you won't just have a shelf; you'll have something built to stay, and you'll know exactly why it's standing straight.
Mastering Measuring and Marking Layout Without Digital Crutches
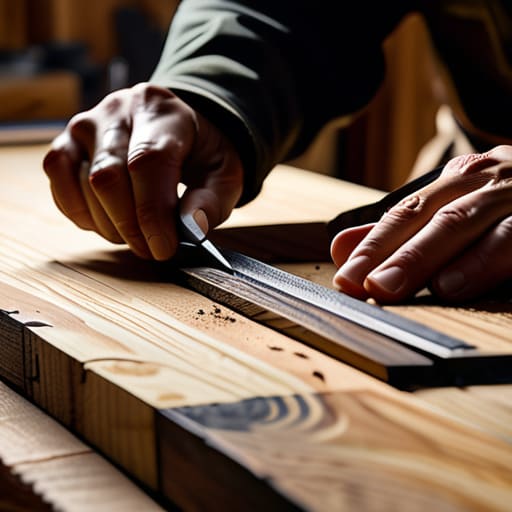
You’ll see plenty of youngsters nowadays relying on laser levels and digital calipers for everything. They aren't bad tools, mind you, but they don't teach you how to feel the wood. When you're measuring and marking layout for a shelf, your eyes and your pencil are your most honest companions. I always tell my students: a line is only as good as the tool that drew it. If you use a cheap, plastic ruler that flexes when you press it against the timber, you've already lost the battle. Grab a solid steel rule or a well-made marking gauge. There’s a certain truth in a physical line that a digital screen just can't replicate.
Before you even think about securing shelves to wall studs, you need to be certain of your marks. I don't trust a single measurement; I always "measure twice, cut once," though I've found it's better to measure three times and then take a breath. Use a sharp carpenter's pencil—not a blunt crayon—to ensure your marks are precise. If your line is thick and fuzzy, your joinery will be too. Accuracy starts with the mark, not the saw.
Essential Woodworking Tools for Beginners Who Value Precision
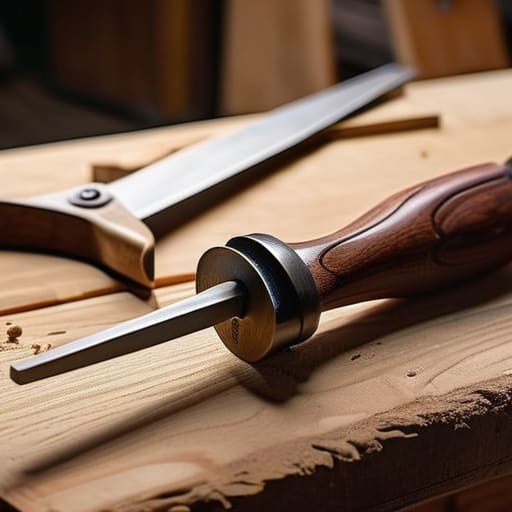
Now, don't go running out to the hardware store and buying every shiny gadget in the aisle. Most of those plastic-bodied kits are nothing more than expensive rubbish designed to end up in a landfill. If you’re looking for real woodworking tools for beginners, start with the basics that you can actually maintain. A decent bevel-edged chisel, a sturdy marking gauge, and a well-tuned hand saw will get you further than any cordless multi-tool ever could. I’ve always said, if you can't sharpen it, you shouldn't own it.
When it comes to the actual assembly, your choice of fasteners is just as vital as the wood itself. If you're planning on securing shelves to wall studs, don't skimp on the screws; use something with a bit of bite that won't strip the moment you apply pressure. You want tools that work with the material, not against it. A simple spirit level and a sharp pencil are your best friends here. Precision isn't about how much money you spend, it's about how much respect you show the timber during the process.
Five Things I’ve Learned the Hard Way
- Don't trust your eyes when it comes to level. A spirit level is fine for a quick check, but if you want a shelf that doesn't make your milk carafe slide off, use a plumb bob or a long, straight edge. Gravity doesn't lie, even if the floor does.
- Stop buying cheap, soft wood just to save a few quid. It's a waste of time. You'll spend more effort fighting the splinters and the bowing than you would just buying a decent piece of seasoned pine or oak. Work with the grain, not against it.
- If you're using a chisel to clean up your joints, make sure it's sharp enough to shave the hair off your arm. A dull blade won't cut the wood; it'll just crush the fibres, leaving you with a messy, weak joint that looks amateur.
- Check your square every single time you make a mark. I've seen lads spend three hours building a beautiful shelf only to find out at the very end that the sides aren't even perpendicular. It’s a heartbreak you don't need.
- Treat your fasteners with respect. If you're driving a screw, don't just force it in with a cordless driver until the head strips. Use a manual screwdriver for the last few turns so you can actually feel when the wood is gripping.
Putting the Work to Bed
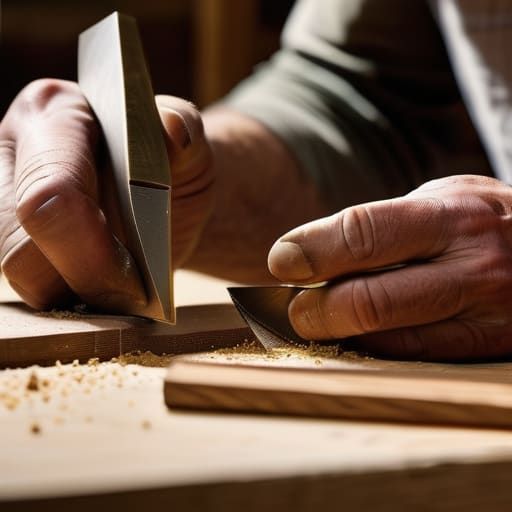
At the end of the day, building this shelf isn't about how much noise you can make or how many batteries you can drain. It comes down to the basics: getting your marks right with a sharp pencil, choosing wood that isn't going to warp on you, and having the patience to use a tool that actually cuts instead of just tearing. If you’ve taken the time to sharpen your chisels and double-check your measurements, you’ve already done the hard part. You aren't just slapping boards together; you're following a process that respects the material. Once those joints are tight and the surface is smooth, you'll see that precision beats speed every single time.
Don't be discouraged if your first few cuts aren't as clean as the ones you see in those glossy magazines. Woodworking is a long game, and even after forty years on the tools, I’m still learning something new from a stubborn grain. The real satisfaction doesn't come from finishing the project quickly; it comes from looking at a finished piece and knowing you did it with your own hands and properly maintained tools. Put the cordless drill back in the drawer, take a moment to appreciate the work you've done, and start thinking about what you're going to build next.