Finding the Right Screw in Ten Seconds
 Callum Reith-Sowande
I remember standing on a job site in '84, staring at a half-finished door frame while some lad scrambled through a plastic tub of mixed-up brass screws, looking for a single 30mm wood screw. The sun was going down, the sawdust was settling, and we were losing time because nobody knew how to organise fixings properly. You see it today too—people buying those massive, expensive, multi-drawer plastic towers that cost more than a decent set of chisels, only to find they've just moved the chaos into a fancier box. It’s a waste of good money and a waste of time.
I’m not here to sell you a system that requires a degree in engineering to use. I’m going to show you how to set up a workshop that works for you, using simple, sturdy methods that actually stay put when you're working hard. We’ll look at the practical way to sort your hardware so you spend your time making things, not hunting for a lost washer. I’ve spent forty years learning that a tidy bench leads to a steady hand, and I'll tell you exactly how to get there.
Mastering Screw and Bolt Storage Systems
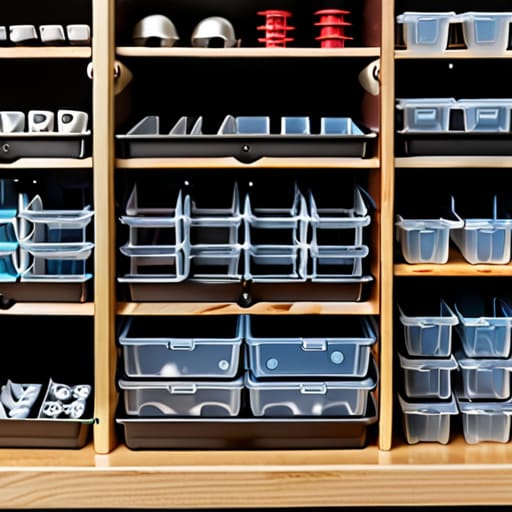
You can’t work with precision if you’re playing a guessing game with your fasteners. I’ve seen too many young lads waste half an hour digging through a communal bucket of mixed brass and steel, only to realise they’ve picked the wrong thread for the job. To avoid that, you need dedicated screw and bolt storage systems that keep your stock separated by type and length. I prefer using heavy-duty hardware organiser bins—the kind that clip together or sit firmly in a cabinet. If it rattles when you move it, it isn't organised; it's just a mess in a box.
Don't bother with those flimsy plastic trays that crack the moment you drop a heavy bolt into them. Invest in something substantial. Once you have your bins, the real work begins with labeling hardware containers. I don't care if you use a proper label maker or a bit of masking tape and a carpenter's pencil; the point is that you shouldn't have to open the lid to know what’s inside. A clear system means you spend your time cutting timber, not hunting for a missing M6 washer.
Sorting Small Parts With Intentionality

When you’re in the middle of a fine joint, the last thing you need is to be hunting through a pile of brass screws for that one specific length. I’ve seen too many young lads waste twenty minutes digging through a communal bucket when they should have been at the bench. True sorting small parts isn't about being tidy for the sake of it; it’s about maintaining your rhythm. If you have to stop your work to search, you've already lost the momentum.
I always tell my former students that your workshop storage solutions should work as hard as your tools do. Don't just throw everything into one large tub. Use dedicated hardware organiser bins that allow you to see exactly what you're holding at a glance. I prefer clear containers, though I’ve learned the hard way that a bit of labeling hardware containers saves more time than you'd think. A simple, handwritten mark on the front prevents that moment of doubt where you pick up a screw only to find it's a fraction too long for the timber you're working on.
Five Rules for a Workshop That Works With You
- Group your fixings by job, not just by size. I don't care if you have fifty different lengths of woodscrew; if they're all for general joinery, keep them in one dedicated area so you aren't hunting through three different bins when you're mid-cut.
- Get rid of the "maybe" pile. If you’ve got a jar of mismatched, rusted, or half-stripped screws that you’ve been hoarding for a decade, bin them. A cluttered bin is just a graveyard for wasted time.
- Use clear containers, no excuses. I’ve seen too many lads wasting twenty minutes digging through opaque plastic tubs. If you can't see the head of the screw through the side of the box, you’re doing it wrong.
- Label everything with more than just a scribble. A handwritten "Screws" label is useless. Write "4x30mm Woodscrews" or "M6 Coach Bolts" so you know exactly what's inside before you even touch the lid.
- Keep your most-used bits within arm's reach of the bench. You shouldn't have to walk across the workshop every time you need a common washer; keep a small, tidy tray of the essentials right where you work.
Getting Your Workshop in Order
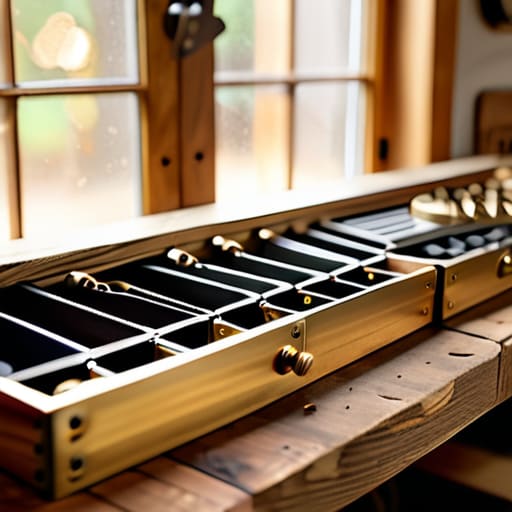
At the end of the day, it isn't about having a fancy, expensive cabinet that looks good in a magazine. It’s about knowing exactly where that specific length of brass screw is sitting when you’re mid-joint and the light is fading. We’ve talked about moving away from the chaos of junk drawers, setting up proper systems for your bolts, and being intentional about how you sort the small bits. If you take the time to bin your fixings properly and label them clearly, you aren't just tidying up; you are removing the friction that stops you from doing real work. A messy bench leads to a messy mind, and a messy mind leads to mistakes you can't un-cut.
I spent forty years on sites and another ten in a classroom, and if there is one thing I learned, it’s that respect for your workspace dictates the quality of your craft. You wouldn't dream of using a blunt chisel, so don't settle for a blunt workflow. When your tools are ready and your fixings are where they ought to be, you stop fighting your environment and start focusing on the timber. Take the time to set it up right now, so that when the inspiration hits, you can get straight to the work without a second of hesitation. Build a workshop that works for you, not one you have to work around.