A Planter That Lasts Longer Than Two Years
 Callum Reith-Sowande
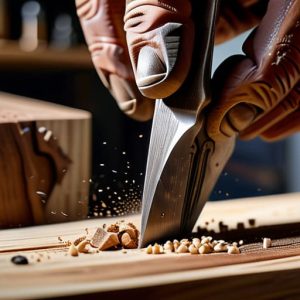
Most people think you need a shed full of expensive, noisy power tools to figure out how to build a garden planter, but they’ve got it backwards. I’ve spent forty years on sites and another ten in the classroom, and I’ve seen more blokes ruin perfectly good timber with a clumsy circular saw than I care to count. You don't need a battery-powered frenzy to get the job done; you just need a bit of patience and a tool that actually cuts instead of just tearing at the grain. If you can manage a decent saw and a sharp chisel, you'll find that building something for your garden is a far more rewarding—and much quieter—process.
In this guide, I’m going to show you the honest way to approach the task without all the unnecessary gadgetry. We’ll go through the selection of the right timber, how to lay out your cuts with precision, and the proper way to join the pieces so they actually last more than one season. I’m not here to sell you a kit or a fancy new machine; I’m here to teach you how to build a garden planter that stands the test of time using proper technique.
Guide Overview
Tools & Supplies
- Measuring tape for marking cuts
- Hand saw or miter saw for cutting wood
- Drill with bits for making holes
- Screwdriver or drill driver for fastening
- Cedar or redwood boards (approx. 3-4 pieces)
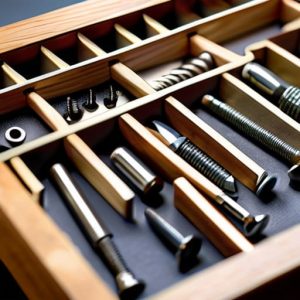
- Exterior grade wood screws (1 box)
- Wood glue (waterproof)
- Sandpaper (medium grit)
Step-by-Step Instructions
- 1. First, you need to pick your timber. Don't go wandering into the big-box DIY stores and grabbing that cheap, pressure-treated stuff that smells like a chemical factory. I prefer using larch or cedar if the budget allows, as they hold up against the rot naturally. Get your boards to a decent thickness—at least 25mm—otherwise, the soil pressure will bow the sides out before the first summer is even over.
- 2. Once you've got your wood, it's time to mark it out. Forget those flimsy plastic rulers; get a good steel rule and a sharp carpenter's pencil. Measure your lengths for the sides and the corner posts, and then use a square to ensure every end is perfectly true. If your cuts aren't square, the whole box will look wonky, and no amount of clever planting will hide a crooked frame.
- 3. Now, grab your saw. I know, everyone wants to reach for the circular saw, but if you want a clean, tight joint, a well-set hand saw is what you need. Take your time to saw through your lengths, staying just on the waste side of your line. A clean cut means less work for you later when you're trying to get the pieces to sit flush against one another.
- 4. For the assembly, I don't care much for fancy screws that strip the moment they hit a knot. I prefer using some decent quality exterior-grade screws, but you must pre-drill your holes first. If you don't, you'll split that expensive timber you just bought, and you'll be back at the timber yard before lunch. Drill your pilot holes slightly smaller than the screw itself to give the threads something to bite into without forcing the grain apart.
- 5. Before you screw the sides to your corner posts, check your alignment one last time. I always like to use a few clamps to hold the frame together while I work. It keeps everything from shifting while you're driving the fixings home. Steady hands and a bit of patience here will save you from a planter that wobbles when you try to fill it.
- 6. Once the frame is sturdy, you'll need to address the bottom. If this is sitting on soil, you can leave it open, but if it's on a patio, you'll need a base. I usually use a bit of heavy-duty landscape fabric to line the inside. It keeps the soil in but lets the water drain away. You don't want a swamp in a box, or you'll kill your plants before they've even taken root.
- 7. Finally, give the whole thing a quick once-over with a bit of sandpaper. You don't need to go overboard, but you want to knock off any splinters or rough edges left by the saw. A smooth finish doesn't just look better; it means you won't be tearing your skin when you go to weed the planter later in the season.
Mastering Wooden Raised Bed Construction With Manual Tools
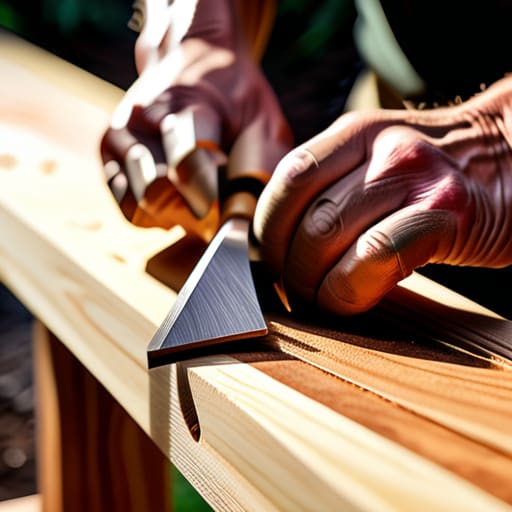
Now, if you’re serious about wooden raised bed construction, don't let the temptation of a cordless impact driver ruin your precision. When you're joining those corner posts, I find that a well-honed chisel and a mallet let you seat the timber far more accurately than any brute-force screw. If your joints aren't tight, you're just inviting rot into the heart of the wood. I always tell my former students: if you can't feel the wood resisting the blade, your tool isn't ready.
Once you've finished the assembly, you need to think about longevity. I don't care what the big-box stores tell you; if you want these beds to last more than two seasons, you must apply a proper weatherproof wood sealant before any dirt touches the frame. It's a bit of extra work upfront, but it beats rebuilding your DIY vegetable garden beds every single spring. While you're at it, line the bottom with some heavy-duty landscape fabric for planters. It keeps the soil in and the weeds out, ensuring you spend your time gardening rather than digging out silt from your walkways.
The Secret to Long Lasting Diy Vegetable Garden Beds
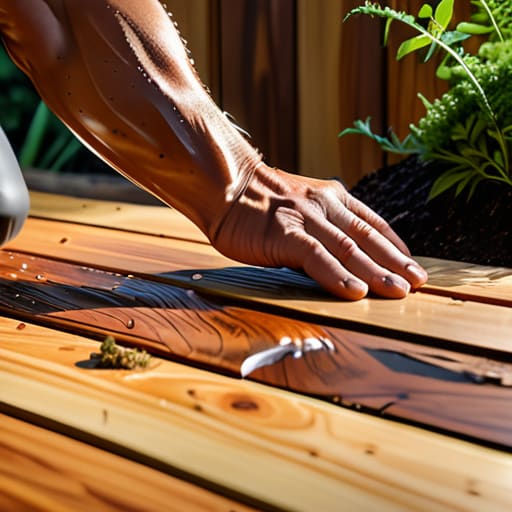
If you want your DIY vegetable garden beds to last more than two seasons, you have to stop thinking about the assembly and start thinking about the environment. Most folks rush through the garden planter assembly steps and forget that wood is a living thing; it breathes, expands, and eventually rots if you don't respect it. I’ve seen too many people use cheap, pressure-treated timber that leaches chemicals or, worse, untreated pine that turns to mush after one wet winter. If you aren't using a naturally rot-resistant timber like cedar or larch, you’d better be applying a high-quality weatherproof wood sealant to every single surface—including the ends where the grain is most exposed.
Another thing people overlook is what happens inside the box. To keep the structure sound, I always recommend lining the interior with a heavy-duty landscape fabric for planters. This helps with soil moisture retention, which keeps your plants happy, but more importantly, it acts as a barrier between the damp earth and the wood. It’s a small bit of extra work, but it’s the difference between a bed that lasts a decade and one that falls apart when you try to move it.
Five things I’ve learned from forty years of working with timber
- Don't go chasing the cheapest softwood at the local yard; if the wood is already warping before you've even brought it home, your planter is finished before it's started.
- Forget those fancy, expensive galvanized screws that claim to last forever; get yourself some proper stainless steel or high-quality coated fasteners, or you'll be rebuilding the whole thing in two seasons.
- A power drill is fine for making holes, but if you want those joints to actually stay tight, you need to use a sharp chisel to clean out your recesses—it's the only way to ensure a flush fit.
- Always line your planter with a bit of heavy-duty landscape fabric rather than plastic; it lets the wood breathe and keeps the soil from washing out through the gaps in your joints.
- Before you even pick up a saw, spend ten minutes checking your timber for knots and grain direction; working with the natural flow of the wood makes the whole build easier on your hands and your tools.
A Bit of Final Advice
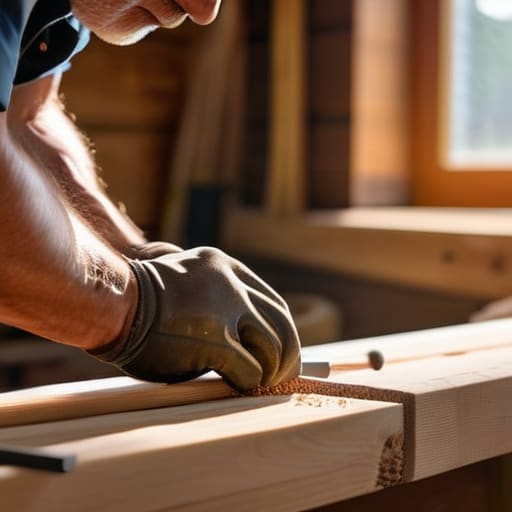
At the end of the day, building a decent planter isn't about how much money you spend at the big-box hardware store. It comes down to the basics: choosing timber that won't rot the moment it touches damp soil, ensuring your joints are tight, and—most importantly—using tools that actually work. If you’ve taken the time to select the right wood and kept your chisels scary sharp throughout the process, you’ve already done more than most. You aren't just slapping some boards together; you've built something with structure and purpose that respects the material.
Don't be in such a rush to finish that you end up with a wobbly mess that falls apart by next spring. There is a particular kind of satisfaction that comes from looking at a piece of joinery you did yourself, with your own hands and your own sharpened steel. It might take you a little longer than if you’d just grabbed a noisy circular saw and rushed through it, but the result is a planter that will stand the test of time. Remember, quality work isn't measured by the clock, but by how well that piece holds up when the seasons change. Get it right the first time, and you won't have to do it twice.