Using the Walls Properly
 Callum Reith-Sowande
I spent thirty years on site and another ten in a classroom, and if there is one thing I’ve learned, it’s that a cluttered bench is a cluttered mind. Most people think they need to go out and buy a stack of expensive, plastic modular bins to get organized, but that is a load of rubbish. Those things are just more junk to eventually throw away when the clips snap. If you want to learn how to build workshop storage that actually lasts, you need to stop looking at catalogs and start looking at your own tools. Real storage isn't about filling space; it's about accessibility and durability.
In this guide, I’m going to show you how to build custom, timber-based solutions that grow with your collection. I won't be wasting your time with fancy gadgets or complicated joinery that serves no purpose other than to look pretty. Instead, I’ll give you the straight truth on constructing sturdy cabinets, tool racks, and bench-side trays that can withstand a lifetime of use. We are going to focus on simple, honest construction that ensures every chisel and mallet has a home where it can be found in a heartbeat.
Guide Overview
Tools & Supplies
- Drill/Driver for assembly and fastening
- Circular Saw for cutting lumber to size
- Tape Measure for accurate layout
- Level to ensure shelves are straight
- 2x4 Studs (6-8 pieces)
- 3/4 inch Plywood (1 sheet)
- Wood Screws (1 box of 2.5 inch)
- Wood Glue for extra stability
Step-by-Step Instructions
- 1. First, you need to clear the decks. You can't design a proper system if you're staring at a pile of half-finished projects and scrap timber. Spend an afternoon sorting your kit into three piles: what you use every day, what you use once a year, and the absolute rubbish you’re only keeping because you feel guilty. If you haven't touched a tool in five years, it shouldn't be taking up prime real estate on your workbench.
- 2. Measure your walls, not your imagination. Most fellas make the mistake of building a massive cabinet first, only to find it blocks the door or sits right where they need to stand. Get a tape measure out and mark out the actual footprint of your tools. I like to use masking tape on the wall to mock up the size of a shelf or a tool rack before I even pick up a saw. It saves you from making a heavy, expensive mistake that you can't undo.
- 3. Build for the tool, not the other way around. If you’re making a rack for your chisels, don't just throw them in a drawer where the edges will knock against each other. Build individual slots or a dedicated wooden block that holds them securely by the handles. A tool that is stored properly is a tool that stays sharp, and a tool that stays sharp is a tool you'll actually use.
- 4. Stick to joinery that lasts. I see too many young lads using nothing but cheap screws and particle board for their workshop storage. If you want a cabinet to hold the weight of heavy planes and mallets, you need to use proper joinery. A bit of stopped housing or even just a well-placed dowel will serve you far better than a screw that's going to strip the wood the first time the shelf gets loaded up.
- 5. Incorporate "shadow" spaces. This is a trick I taught my apprentices for years. When you hang a tool on a wall, the space it leaves behind should be its "home." If you have a dedicated spot for every hammer and every square, you'll know instantly when something is missing. There’s no sense in hunting for a marking gauge for twenty minutes when it should be exactly where you left it.
- 6. Keep your workbench clear by building "floating" storage. Your bench is for working, not for storing your entire inventory. Build shallow trays or small, mobile tool chests that can sit underneath the bench or be tucked away when you need the floor space for a larger piece of timber. If your workspace is cluttered, your mind will be cluttered, and that’s when you start making mistakes with the sharp stuff.
Mastering Custom Workbench Storage for Faster Workflow
When you're in the middle of a delicate joint, the last thing you want is to be hunting through a drawer for a specific chisel. That’s where custom workbench storage earns its keep. I’ve always taught my apprentices that your bench shouldn't just be a flat surface; it should be an extension of your hands. If you have to stand up to reach a tool, you've already lost your rhythm. I like to build small, dedicated troughs or shallow trays directly into the benchtop for my most used items—my marking gauge, a few well-honed chisels, and my square. Keeping them within an arm's length means you stay in the flow.
Don't fall into the trap of thinking a massive pile of tools is the same as an organized shop. Real workshop layout optimization is about frequency of use. If you use a tool every ten minutes, it stays on the bench. If you use it once a week, it goes on the wall. I’ve found that a well-placed strip of timber with routed grooves for my planes works far better than any generic plastic bin. You want your tools visible and ready, not buried under a layer of sawdust and clutter.
Small Workshop Space Saving Without the Clutter
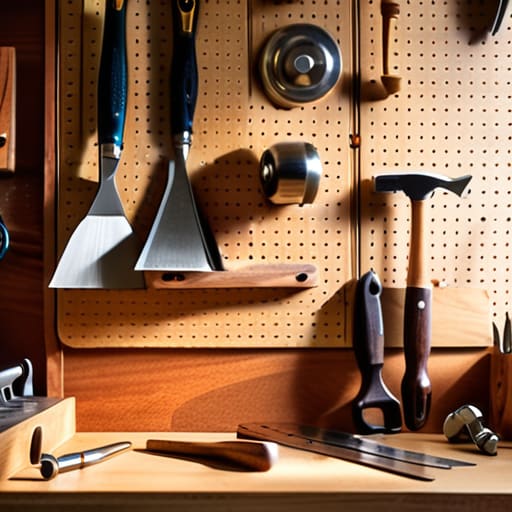
When you’re working in a cramped space, every square inch of floor you lose to a pile of scrap or a stray power tool is an inch you can’t use for actual work. I’ve spent years in sheds no bigger than a garden tool cupboard, and I’ve learned that the secret isn't more floor space; it's better verticality. Instead of letting your tools migrate across the bench, look up. Using pegboard tool organization isn't just about tidiness; it’s about keeping your most essential chisels and planes right at eye level where they belong. If you can't see it, you won't use it, and if you have to dig through a drawer to find a mallet, you've already lost your rhythm.
Don't fall into the trap of buying cheap, flimsy racks that bow the moment you hang a heavy plane on them. If you’re looking for real small workshop space saving, invest in solid timber French cleats or sturdy wall-mounted brackets. You want things that hold weight without wobbling. I’ve always found that if you build your storage around the specific dimensions of your tools, you stop fighting the room and start working with it.
Five Rules for Storage That Actually Works
- Build for the tool, not the space. I’ve seen too many men buy a massive cabinet just to fill a corner, only to find their chisels are buried under a pile of scrap. If you’re building a rack, measure the tool first. A tool that’s shoved into a tight spot is a tool that won't be used.
- Stop using deep drawers for everything. If you have to dig through six inches of timber and sawdust to find a marking gauge, you’ve wasted ten minutes of work. Shallow, wide drawers or open trays are better; you want to see the edge of every tool the moment you glance over.
- Don't forget the weight of the steel. A shelf that looks sturdy when it’s empty will sag the moment you put a set of heavy planes on it. Use solid joinery—dovetails or stout housing joints—to support your storage. If the shelf bows, your tools will slide, and that’s how accidents happen.
- Build in "recovery" space. You’ll never have as many tools as you think you do, but you’ll always have more than you have room for. Leave a bit of breathing room in your custom racks so you can add a new plane or a better set of saws without having to tear the whole workshop down.
- Keep the sharpening gear central. Your storage shouldn't just be for holding tools; it should facilitate their maintenance. I always build my sharpening station within arm's reach of my main tool rack. If you have to walk across the room to find your honing oil, you'll eventually stop sharpening, and then you're just working with blunt, useless iron.
Getting Your Shop in Order
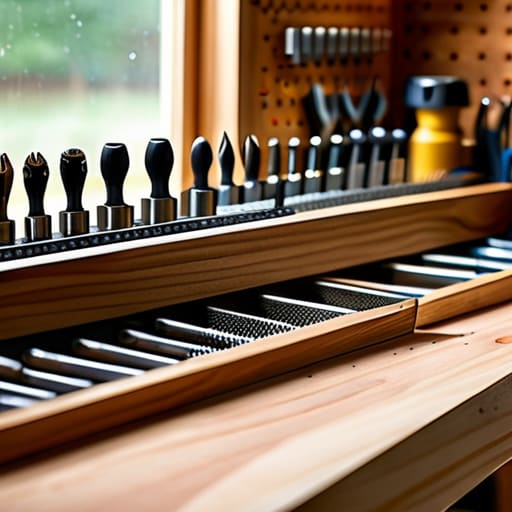
At the end of the day, building workshop storage isn't about buying a fancy modular system from a catalogue; it’s about making sure your tools are exactly where your hands expect them to be. We’ve covered how to tailor your workbench to your specific workflow, how to reclaim floor space in a cramped shop, and why custom-built solutions beat off-the-shelf junk every single time. If you’ve done this right, you won't be hunting for a marking gauge or a specific chisel halfway through a cut. A well-organized shop means you spend your time actually working rather than digging through piles of sawdust and scrap wood. Remember, if your storage system forces you to move three things just to get to the one you need, it’s not a system—it’s a hindrance.
Building these storage solutions takes time and a bit of sweat, but it’s an investment in your craft. There is a certain peace that comes with walking into a workshop where every tool has its place and every surface is clear. When your environment is steady, your mind stays steady too. Don't rush the process; build it once, build it well, and build it so that it lasts as long as the tools themselves. After forty years on the tools, I can tell you that precision starts with your environment. Get your shop sorted, keep your blades sharp, and then get to the real work.