A Folding Bench for a Small Flat
 Callum Reith-Sowande
Most people think that if you don't have a massive, dedicated outbuilding, you're destined to work on a kitchen table or a flimsy folding bench that shakes every time you strike a chisel. They tell you that a proper workshop requires square footage you simply don't have. That’s a load of rubbish. I spent years teaching apprentices that the quality of your work comes from the stability of your surface, not the size of your shed. Learning how to build a workbench for a small space isn't about making compromises; it’s about being clever with your footprint. You don't need a sprawling station to get precision work done; you just need a bench that stays still when you need it to.
In this guide, I’m going to show you how to construct a sturdy, reliable station that fits into a corner or a garage without swallowing the whole room. I won't be suggesting any of those fancy, over-complicated modular systems that fall apart the moment you tighten a screw. Instead, we’ll focus on solid joinery, smart mounting, and choosing a design that actually works for hand tool users. I'll give you the straight truth on materials and dimensions so you can stop fighting your furniture and start focusing on your craft.
Guide Overview
Tools & Supplies
- Drill/Driver for fastening screws
- Circular Saw or Hand Saw for cutting lumber
- Measuring Tape for precise dimensions
- Speed Square for ensuring straight cuts
- 2x4 Studs (qty 6)
- 3/4" Plywood Sheet (qty 1)
- Wood Screws (1 box 2.5")
- Wood Glue (1 bottle)
Step-by-Step Instructions
- 1. First, you need to measure your space, and I don't mean just the floor. Get a tape and measure the height of your hips when you're standing naturally; that's where your bench top should sit. If you're working in a tight corner or a shed, mark out the footprint on the floor with some masking tape. This stops you from building something that looks fine on paper but ends up being a clumsy obstacle in your actual workspace.
- 2. Pick your timber with a bit of sense. You don't need exotic hardwoods to make a decent bench, but you do need something that won't warp the moment the seasons change. I usually go for thick construction-grade pine or even some reclaimed hardwood if I can find it. The key is mass. A light, hollow bench is just a glorified table; you want something with enough weight to stay put when you're driving a chisel through a piece of oak.
- 3. Build the frame using mortise and tenon joints. I know, I know, it takes longer than just slapping some screws into a corner, but screws loosen over time and make the whole thing shaky. If you want a bench that lasts forty years instead of forty minutes, you need to slot those pieces together properly. It’s about creating a solid skeleton that can handle the lateral force of you sawing or planing.
- 4. Get your benchtop on, and don't skimp on the thickness here. I like a top that's at least two inches thick, glued up from several boards to prevent twisting. When you're fixing it to the frame, don't just screw it down from the top like a DIY kit; use drawbore pins or heavy-duty bolts from underneath. You want that top to be an immovable slab, not a lid that rattles every time you strike a mallet.
- 5. Now, you have to add the clamping points. A workbench without vises is just a table, and a table won't help you do precision work. If space is your main problem, look into a tail vise or a simple holdfast system. You need a way to secure your workpiece so your hands are free to guide the tool. If you can't hold the wood steady, you're just fighting yourself.
- 6. Finally, flatten the top. This is the step most people try to skip because they're in a hurry, but it's the most important bit. Use a hand plane to get that surface dead level and square to the sides. If your benchtop is wavy, every single measurement you take from that point on will be wrong. Take your time with it; a perfectly flat surface is the foundation of everything else you'll do.
Wall Mounted Workbench Diy Reclaiming Your Vertical Real Estate
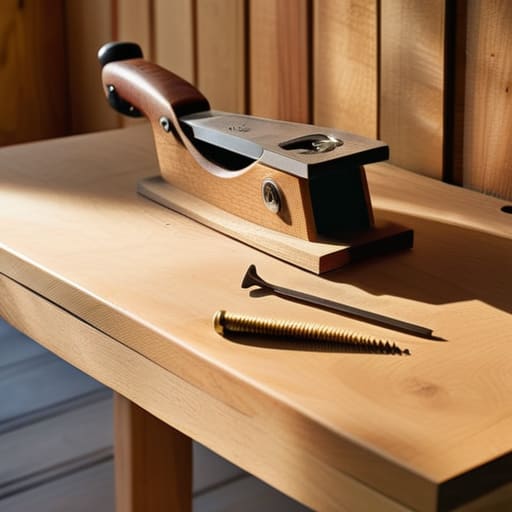
If you’re working in a shed or a spare room where every square inch counts, you have to stop thinking about the floor. Most people make the mistake of trying to cram a massive, heavy timber frame into the middle of the room, but that just turns your workspace into a cluttered obstacle course. I’ve always found that a wall mounted workbench diy project is the smartest way to get your work surface back without losing your walking room. By bolting your bench directly into the studs, you eliminate the need for four bulky legs that just get in the way of your feet.
The trick to making this work is ensuring your mounting system is stout enough to handle a bit of real pressure. I don't care how fancy your folding workbench design plans look; if that bench wobbles when you're paring a joint, you'll end up fighting the tool instead of the wood. Use heavy-duty lag bolts and make sure you're hitting solid timber behind the plaster. If you build it right, you can have a professional-grade station that disappears when you're finished, leaving your floor clear for everything else.
Folding Workbench Design Plans for the Minimalist Maker
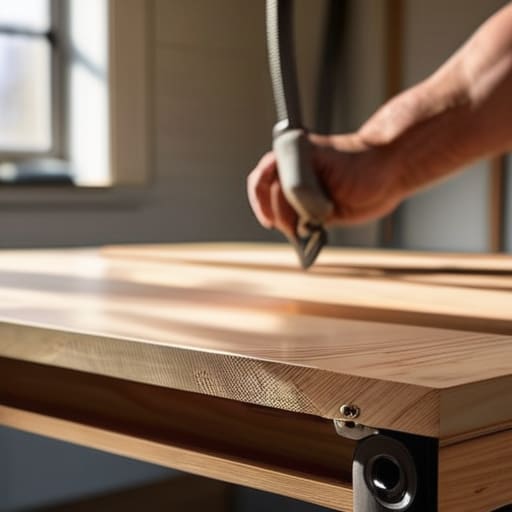
Now, if you can't commit to a permanent fixture on the wall, you’ll need to look at folding workbench design plans that actually hold up under a bit of pressure. I’ve seen too many lads try to build a folding setup out of flimsy plywood and cheap hinges, only to have the whole thing shudder the moment they try to plane a piece of oak. If you’re going this route, don't skimp on the hardware. You want heavy-duty locking mechanisms—the kind that won't give way when you’re putting your weight into a chisel.
A good folding station should be more than just a tabletop on sticks; it needs to be a reliable surface that doesn't move an inch while you're working. I usually suggest a design that uses stout trestles or a folding leg system that can be tucked behind a door or under a bed when the job is done. This is the heart of compact workshop organization: making sure your gear is ready when you are, but out of the way when you aren't. If it's a chore to set up, you won't use it, and a tool you don't use is just a waste of wood.
Five things I wish I’d known before crowding my shop
- Stop thinking about floor space and start thinking about height. In a small room, if your bench is too low, you’ll be hunched over like an old man, and if it’s too high, you can't get any leverage on a chisel. Build it to your specific height, not some standard number from a catalogue.
- Don't go overboard with the heavy timber. I know, I love a solid piece of oak as much as the next man, but if you're working in a cupboard or a corner, a massive, unmovable slab is just an obstacle. Use a sturdy frame but keep the weight manageable so you can actually shift it when you need to.
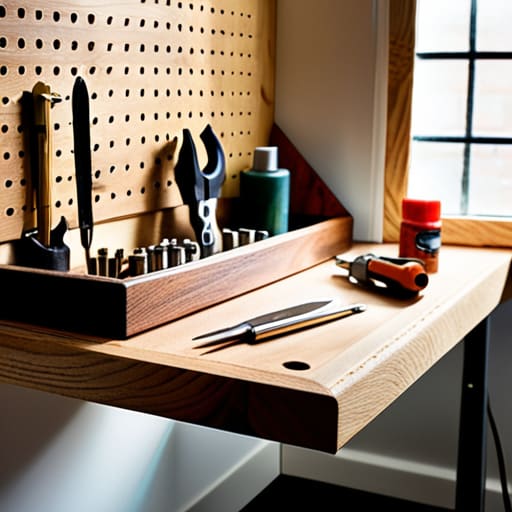
- Get your tools off the benchtop. If you're working in tight quarters, every square inch of your work surface is precious. Build a small tool well or mount a rack right above the bench. If your plane and your chisels are sitting in your way, you aren't working; you're just moving things around.
- Invest in decent clamping, not more bench. You don't need a massive, expensive vise that takes up half your workspace. A few well-placed holdfasts and some sturdy F-clamps will do more for you in a small shop than a heavy, built-in vise that eats your surface area.
- Lighting is everything. Small spaces get dark quickly, especially if you're tucked into a corner. If you can't see the grain or the edge of your tool clearly, you're going to make a mistake. Don't rely on a single overhead bulb; get a dedicated lamp that you can move around.
Final Thoughts on Making Space
At the end of the day, whether you’ve gone with a sturdy wall-mounted setup to clear the floor or a clever folding design that tucks away when you’re finished, the goal remains the same. You don't need a massive, dedicated workshop to do proper work; you just need a surface that is level, stable, and reliable. I’ve seen too many lads waste money on massive, expensive workbenches that end up being nothing more than a glorified dust collector because they simply don't fit the room. By focusing on vertical real estate and smart, adaptable designs, you've proven that a lack of square footage isn't an excuse for a lack of precision.
Don't let the size of your shed or your spare room dictate the quality of your joinery. A man with a sharp chisel and a well-built, compact bench can outwork a man with a workshop full of expensive, vibrating machinery any day of the week. It’s about the connection between the hand and the wood, not how much floor space you can clutter up with power tool stands. Get your bench built, get your tools sharpened, and get to work. The best workshop in the world isn't the biggest one—it's the one where you actually get things done.