A Workbench That Does Not Move
 Callum Reith-Sowande
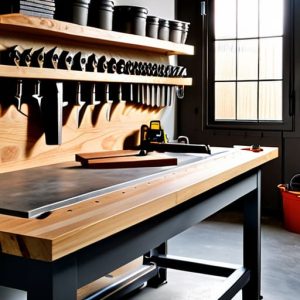
I spent thirty years on site watching lads rush into a project, buying some flimsy, pre-fabricated trestle table from a big-box retailer because they thought it would save them time. They’d spend more time fighting the wobbles and the vibration than actually working the timber. If you want to do proper work, you need to stop looking for shortcuts and learn how to build a workbench that actually stays still when you put your weight behind a saw. A bench isn't just a table; it is the foundation of everything you do in your shop, and if it’s rubbish, your joinery will be rubbish too.
I’m not going to give you some over-complicated design that requires a CNC machine or a mountain of expensive hardwoods to get right. Instead, I’m going to show you how to construct a heavy, dead-steady station using honest joinery and materials you can actually find. We’ll focus on stability, clamping points, and making sure the thing is built to last a lifetime. By the time we’re done, you’ll have a workspace that works with you, not against you.
Guide Overview
Tools & Supplies
- Circular saw or Miter saw for cutting lumber
- Power drill for driving screws
- Tape measure for accurate marking
- Speed square for ensuring 90-degree angles
- 2x4 lumber (approx. 8-10 boards)
- 3/4 inch plywood (1 sheet for tabletop)
- Wood screws (1 box of 2.5 inch and 1 box of 1.25 inch)
- Wood glue (1 bottle)
Step-by-Step Instructions
- 1. Start with the frame. You aren't building a coffee table here; you need something that won't move when you're putting your weight behind a saw. I always go for thick, straight-grained timber—something like oak if you have the budget, but even sturdy construction pine will do if you select it with care. Lay out your four legs and your stretchers, and make sure your joints are tight. If you're using mortise and tenon, take your time. A loose joint in a workbench is a waste of everyone's time once the heavy work starts.
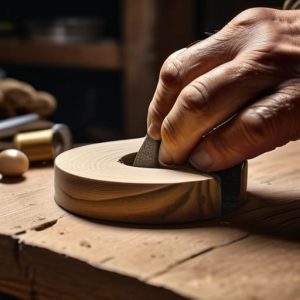
- 2. Flatten the top. This is where most people take a shortcut with a power planer and end up with a wavy surface. Don't do that. I prefer to use a jack plane to get the slab dead level. You want to work across the grain, moving slowly, until you can run your hand across it and feel nothing but smoothness. If the top isn't flat, every single project you build on it afterwards will be a struggle against a crooked foundation.
- 3. Secure the vise. A workbench without a good vise is just a heavy table. I don't care what the shop catalogue says; you want a heavy-duty woodworking vise that can be bolted directly to the benchtop. Position it so you can clamp a long board vertically without it tipping over. When you're tightening the screw, you should feel the jaw grab the wood with absolute authority.
- 4. Add your dog holes. If you want to work like a professional, you need to be able to hold wood in place without a third hand. Drill a series of holes—usually 3/4 inch—in a neat line along the top. I use a dedicated jig to make sure they're all perfectly aligned. Once you have these, you can use bench dogs and holdfasts to keep your workpiece from skittering away while you're working.
- 5. Square the whole assembly. Before you call it finished, grab a framing square and check every corner. A workbench that's even a fraction of a degree out of square will ruin your accuracy on every dovetail or mortise you attempt. If it's leaning, don't just ignore it; adjust your joints or shim the base until it sits true.
- 6. Finish with oil, not lacquer. I've never understood the urge to coat a work surface in thick, plastic-like film. It just gets gummy and peels when you spill something. Instead, rub in a few coats of boiled linseed oil. It soaks into the grain, protects the wood, and most importantly, it's easy to sand down and refresh when the bench inevitably takes a beating. A workbench is a living tool, not a museum piece.
Choosing the Best Wood for Workbenches Over Flimsy Shortcuts
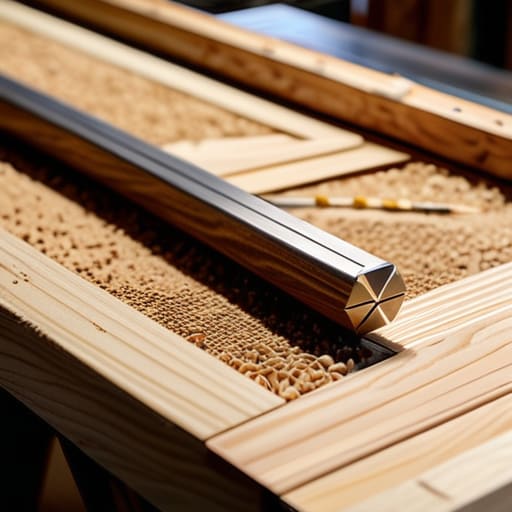
Now, don't go getting carried away with those fancy, expensive hardwoods you see in the showroom. You aren't making a dining table here; you're building a platform for work. Most people look at heavy duty workbench materials and think they need mahogany or oak, but that’s just a waste of good money. I’ve always found that a sturdy, thick piece of beech or even a well-seasoned ash does the job beautifully. If you're on a tighter budget, straight-grained construction timber is fine, provided you aren't buying the wet, twisted stuff that’ll warp the moment it hits your workshop floor.
The real secret isn't the species, though—it's the mass. A workbench needs weight to stay put when you're paring a joint or using a heavy mallet. If you build it too light, it'll dance across the floor every time you apply pressure, and that's when mistakes happen. When you're looking through various DIY woodworking workbench plans, look for designs that prioritize a thick, solid top. You want something that feels permanent, something that won't shudder when you're working hard. Mass is your best friend when it comes to stability.
Mastering Workbench Frame Stability Tips for True Accuracy
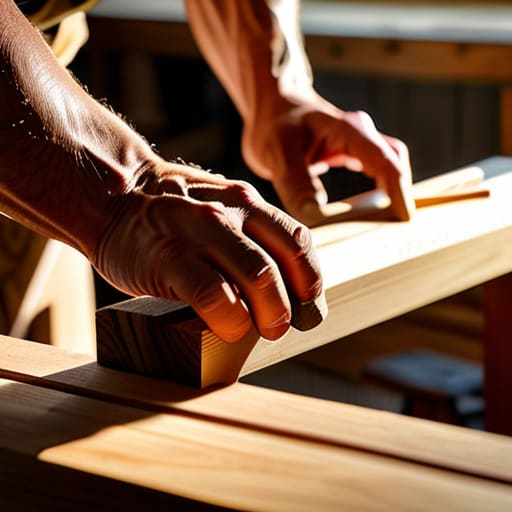
Once you’ve got your timber sorted, the real work begins with the joinery. I’ve seen too many fellas follow flimsy DIY woodworking workbench plans that rely on nothing but screws and glue to hold the weight. If you want a bench that doesn't shimmy when you're planing a long board, you need to focus on mechanical connection. I always lean toward mortise and tenon joints for the main legs; they lock the frame together in a way a pocket screw never could. It’s about mass and how that mass is tied together.
Don't go chasing perfection in a straight line if your base is wobbling. Even if you use the best wood for workbenches, a lack of lateral support will ruin your accuracy. I suggest adding a substantial stretcher low down to tie the legs together. This adds much-needed weight and keeps the frame from racking under pressure. Keep your measurements honest and your cuts tight. If the frame isn't rock-solid, you'll spend more time fighting the bench than you will working the wood.
Five Things Most People Forget Before They Start Sawing
- Don't skimp on the weight; if your bench moves when you're paring a joint, you aren't working, you're wrestling. A heavy bench stays put so your hands can do the thinking.
- Get your vise positioned exactly where you actually work, not where it looks neat in a magazine. If you have to reach too far to tighten it, you'll find excuses not to use it.
- Flatten your top properly from the start. I don't care if it's a piece of thick pine or oak; if that surface isn't dead flat, every single measurement you take after that is a lie.
- Plan for your clamping points. A workbench isn't just a table; it's a massive tool in itself. If you haven't thought about where you'll hold a piece of timber steady, you've only built a glorified dining table.
- Leave some room for error in your joinery. I've seen too many lads try to make everything perfect to the millimeter on a bench that's still settling. Build it solid, let it sit, then fine-tune it.
The Foundation of Everything
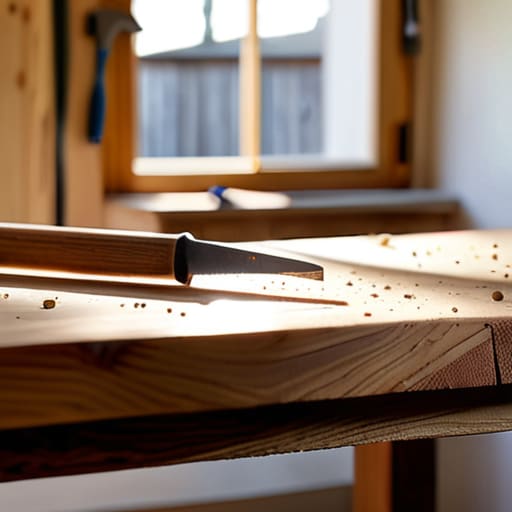
At the end of the day, building this bench isn't about following a set of instructions to the letter; it’s about creating a platform that won't move when you're working hard. You’ve picked the right timber, you’ve ensured the frame is stout enough to resist any twisting, and you’ve avoided those flimsy, pre-made shortcuts that end up vibrating more than they hold. A workbench is the only tool in the shop that doesn't need an edge to be sharp, but it does need to be absolutely immovable. If you've done the work right, you now have a solid, heavy base that will serve you for the next forty years, provided you treat it with a bit of respect.
Don't be in a rush to start your next big project just because the bench is finished. Take a moment to run your hand over the surface and appreciate the stability you've built. A proper bench changes how you work; it invites you to slow down, to listen to the grain, and to rely on your hands rather than a motor. Once you have a workspace you can actually trust, you'll find yourself reaching for a chisel instead of a router more often than you thought. Remember, you aren't just building a piece of furniture; you are building the foundation of your craft.