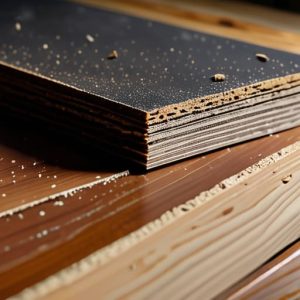
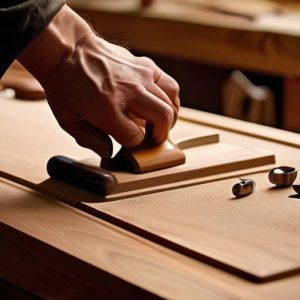
A Cutting Table From a Sheet and Some Timber
 Callum Reith-Sowande
Most folks think that if you want a decent workspace, you need to go out and spend a fortune on a heavy-duty, factory-made workbench that’s built to last about six months before the joints start wobbling. That’s a load of rubbish. I spent thirty years on sites seeing men struggle with flimsy, overpriced gear that’s more plastic than timber, and I’m telling you now: you don't need a massive bank loan to learn how to build a cutting table that actually stays true. I remember my first proper bench back in my apprenticeship; it wasn't fancy, but it was dead level and solid as a rock, and it did more work for me than any of the expensive, disposable junk you see in the shops today.
In this guide, I’m going to show you how to construct a workspace that won't let you down when you're halfway through a delicate cut. I won't be wasting your time with fancy power tools or complicated joinery that requires a degree to understand. Instead, we’ll focus on the fundamentals of stability, a flat surface, and a design that actually works for a man with real tools. We’re going to build something honest, something sturdy, and something you can maintain for the rest of your life.
Guide Overview
Tools & Supplies
- Circular saw or hand saw for cutting lumber
- Power drill for assembly
- Tape measure for precise dimensions
- Speed square for ensuring right angles
- Sandpaper for smoothing edges
- 4x4 lumber posts (2 pieces)
- 2x4 lumber boards (6 pieces)
- 3/4 inch plywood sheet (1 piece)
- 2.5 inch wood screws (1 box)
- Wood glue (1 bottle)
Step-by-Step Instructions
- 1. First, you’ll need to sort through your timber. Don't go buying some flimsy, engineered board from a big-box retailer that'll warp the moment the humidity shifts. Find yourself some decent, straight-grained softwood or, if you can find it, some reclaimed oak. You want something with enough heft to stay put when you're working. Lay your pieces out on a flat surface and check them with a straightedge; if they're bowed, they're useless to me.
- 2. Once you've got your stock, it's time to frame it up. I prefer using mortise and tenon joints for the main legs and rails. I know, I know—it takes longer than just driving a few screws through some plywood, but a table built with proper joinery isn't going anywhere for the next thirty years. Use a sharp chisel to clean out those mortises; if you find yourself struggling to get the wood out, your edge is too dull, so stop and fix it before you go any further.
- 3. Now, you have to get that frame square. This is where most people rush and end up with a table that wobbles like a drunkard. Use a large framing square and check your diagonals constantly. If the measurements from corner to corner aren't identical, you’ve got a problem. I always say, measure twice and cut once, but in this trade, I’d say measure four times and check it with your eyes a fifth.
- 4. After the frame is solid, it's time to prepare the tabletop. If you're using solid planks, you'll need to plane them down so they sit flush against one another. Don't reach for the electric planer just yet; a well-tuned jack plane will give you a much smoother, more consistent surface. You want that top to be so flat that you could lay a spirit level across it and not see a glimmer of light underneath.
- 5. Secure the top to the frame using some slotted screw holes or wooden buttons. You can't just glue it down tight, or the wood won't be able to breathe when the seasons change. If you don't allow for that natural movement, the top will eventually crack or pull your joints apart. It’s about working with the wood, not trying to bully it into submission.
- 6. The final step is the finish, and I don't mean some thick, plastic-looking polyurethane that sits on top of the grain. That's just a waste of time and money. I prefer a simple way of working: sand it back through the grits by hand, then apply a bit of boiled linseed oil. It soaks in, protects the fibres, and lets you feel the grain when you run your hand across it. It's honest work, and it lasts.
Mastering Stable Workshop Table Design Over Clunky Power Solutions
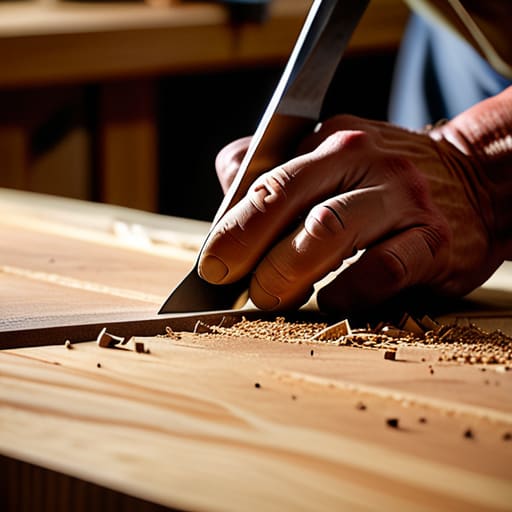
You don't need a motorized assembly line to get decent results; you just need a surface that doesn't move when you put your weight behind a chisel. Most folks jump straight to buying expensive, heavy-duty machinery, but they forget that a stable workshop table design is the foundation of everything else. If your table wobbles even a fraction of a millimetre while you're working, you'll spend more time fighting the furniture than actually shaping the timber. I’ve seen many young lads ruin a perfectly good piece of oak simply because their bench was dancing around the floor like a nervous apprentice.
When you're planning your layout, don't overlook the ergonomic table height for crafting. If you're hunched over like a question mark, you'll be useless by lunchtime. I always tell my students: build it so your elbows sit at a natural angle. Once the frame is solid, think about how you'll protect the top. Instead of just slapping down a cheap sheet, consider a proper mdf sacrificial layer replacement that you can swap out when it gets scarred. It’s better to spend an extra hour getting the height and the surface right now than to spend years fighting a setup that's working against you.
The Secret to Custom Cutting Mat Station Precision
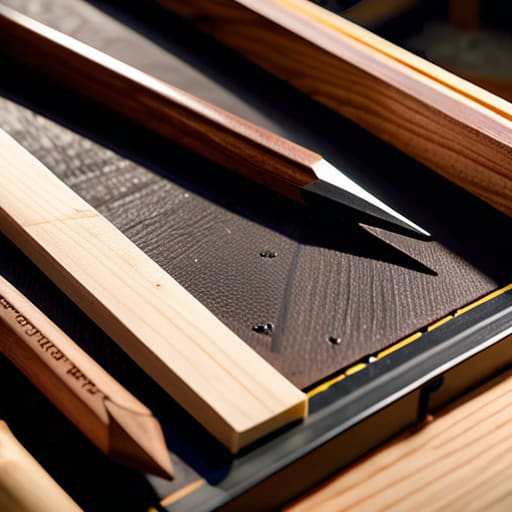
Now, if you’ve got the frame sorted, don’t go rushing to slap a permanent surface on it. Most fellas make the mistake of thinking a table is just a flat piece of wood. If you want real precision, you need a custom cutting mat station that accounts for the life of the surface. I always suggest a modular approach. Instead of one massive, heavy slab, build your tabletop to accept replaceable inserts. I’m partial to a high-density polyethylene sheet or a thick piece of hardboard that sits flush within a shallow rebate.
The real trick, though, is knowing when to swap things out. I don't believe in working on a scarred, uneven surface just because it's "good enough." I treat my mdf sacrificial layer replacement as a regular part of maintenance, much like honing a blade. If the surface is nicked or bowed, your measurements will lie to you. Keep a few spares in your workshop tool organization system so you can swap a tired surface for a fresh, dead-flat one in under two minutes. It keeps the work honest.
Five things I wish my apprentices had learned before they started hammering
- Don't go chasing a massive, heavy-duty workbench if you're just cutting smaller workpieces; a table that’s too big for your space is just more clutter to fight against.
- Check your level three times, not once. If your tabletop isn't dead flat, every single measurement you take after that is a lie.
- Stop buying those cheap, thin plywood tops that bow the moment you look at them sideways; get yourself a proper, thick hardwood or a heavy MDF slab that won't move under pressure.
- Think about where your clamps are going to bite. If you haven't built in some dog holes or a sturdy edge for clamping, you'll spend more time fighting the wood than cutting it.
- Keep the height right for your own frame. If you're hunching over like a question mark all day, you'll be too stiff to hold a steady line by lunchtime.
A Solid Foundation for Real Work
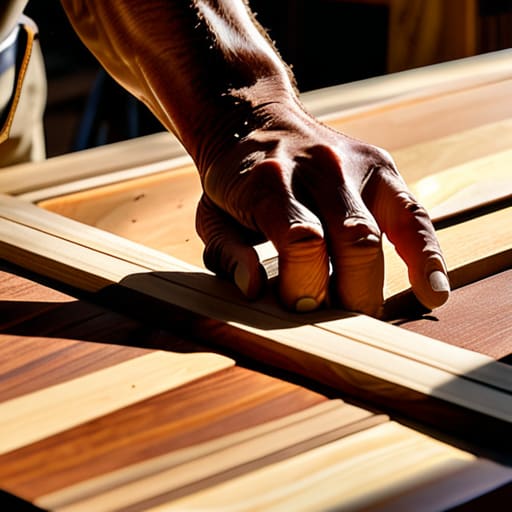
Building this table isn't about following a fancy blueprint you found online; it’s about creating a surface that actually respects the wood you’re working on. We’ve looked at why a heavy, stable frame beats a flimsy, lightweight alternative every single time, and why that custom mat station is the difference between a clean cut and a wasted piece of timber. Remember, the goal was never to build the biggest table in the shed, but to build a stable, reliable platform that doesn't shudder when you put a chisel through a grain. If you’ve kept your joints tight and your surface flat, you’ve done the hard part.
Once this table is standing in your workshop, don't let it sit idle under a layer of dust. Get your tools out, find a bit of scrap, and start testing the edge of your blades against that new surface. A workshop is a living thing, and it only improves as you refine your setup and your skills. Don't be in such a rush to buy the next big power tool that you forget the satisfaction of a job done right by hand. At the end of the day, a well-built table is more than just furniture; it is the heart of a craftsman's shop, and it's where the real learning begins.