Cheap Abrasives Cost More
 Callum Reith-Sowande
I remember sitting in my workshop back in the nineties, staring at a pile of expensive, branded grit that had done nothing but clog up and burn the grain of a piece of oak I’d spent all morning prepping. It’s a frustrating feeling when you’ve paid a premium for a product, only to find it’s nothing more than glorified dust-makers. Most people think you just look at the packaging and pick the highest price, but if you want to know how to review sandpaper properly, you have to look past the marketing fluff. You need to see how the grit holds up when the heat is on and the pressure is applied.
I’m not here to give you a lecture or a list of brand names to buy blindly. My aim is to show you how to judge a sheet by its actual performance on the bench, from the way it cuts to how quickly it loses its bite. I’ll teach you the practical signs of quality so you can stop wasting your hard-earned money on disposables that don't perform. We’re going to focus on real-world testing that matters to someone who actually wants to finish a job right the first time.
Mastering the Sandpaper Grit Scale Guide
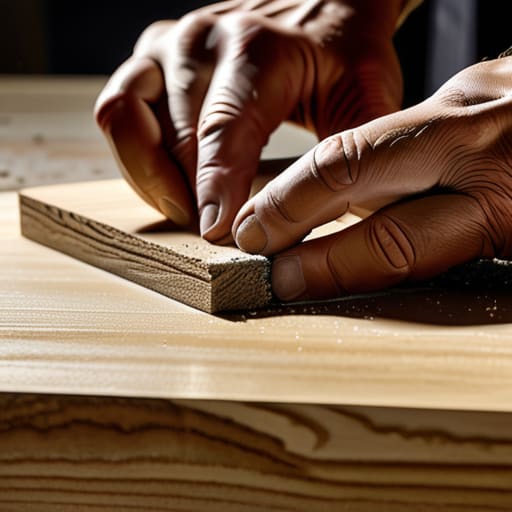
Most lads think the numbers on the packet tell the whole story, but a sandpaper grit scale guide is only half the battle. You can't just look at the coarse side and assume it’ll tear through a stubborn knot. I always tell my students that the grit number is just a starting point; you have to understand how that grit behaves once it hits the grain. If you're jumping from a 60 to a 180 without the right intermediate steps, you're just polishing over scratches instead of removing them.
It’s not just about the grit, though. You need to be evaluating sandpaper durability alongside the coarseness. I’ve seen cheap rolls where the grit falls off the moment you apply any real pressure. I usually perform a quick paper backing flexibility test before I even touch a piece of oak to it. If the paper is stiff and brittle, it’ll clog up or tear halfway through the job. A good sheet should move with the wood, not fight against it.
Decoding Sandpaper Abrasive Grain Types
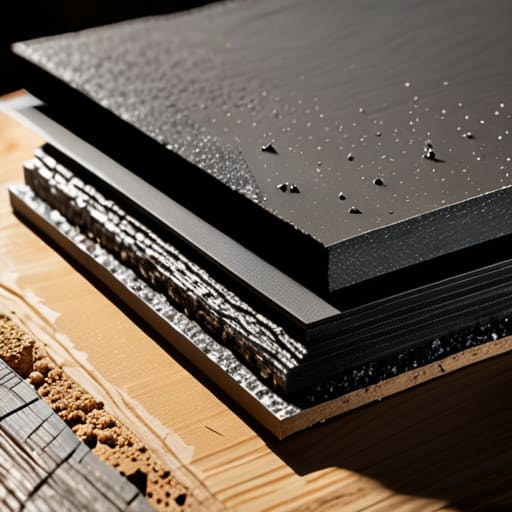
Now, don't go assuming that every sheet of sandpaper is made of the same grit. Most of the rubbish you'll find in the big-box hardware stores is coated in aluminum oxide. It’s fine for a quick bit of prep work, but it wears down faster than a cheap chisel on seasoned oak. If you’re doing proper work, you want to look for silicon carbide. It’s harder, stays sharper longer, and is much more effective for those fine finishing stages where you can't afford to leave scratches behind.
When you're comparing sandpaper brands, you need to look closely at the mineral itself. I always tell my students that the grain is the heart of the tool. If the grain is inconsistent or breaks down into dust the moment you apply pressure, you aren't sanding; you're just polishing the debris. Evaluating sandpaper durability comes down to how well that grain stays bonded to the backing. If the abrasive grains are shedding like autumn leaves, you're wasting your time and your money. Stick to the minerals that bite.
Five Ways to Tell if You’re Buying Rubbish or Real Grit
- Watch how it wears. A decent sheet should hold its shape for a fair bit of work; if the abrasive starts shedding like dandruff the moment you apply a bit of pressure, it’s nothing more than expensive dust.
- Check the backing. I don't care how good the grit claims to be if the paper itself is thin and flimsy. If it tears when you're working a curve, you're better off using a piece of scrap card.
- Look for "clogging" resistance. When I test a new batch, I look to see how quickly it loads up with wood resin. If it gums up after three strokes, the grain isn't bonded properly, and you'll spend more time cleaning it than sanding.
- Feel the grit consistency. Run your thumb across the sheet—not too hard, mind—and you should feel a uniform texture. If you hit "bald spots" where the grit has dropped out, the manufacturing is shoddy and it'll leave swirl marks you'll regret.
- Test the "bite" against the grain. Don't just sand a flat board; take it into the end grain. A quality abrasive should bite into those fibres immediately rather than just skating over the surface like it's afraid to do the work.
Don't Waste Your Time on Rubbish
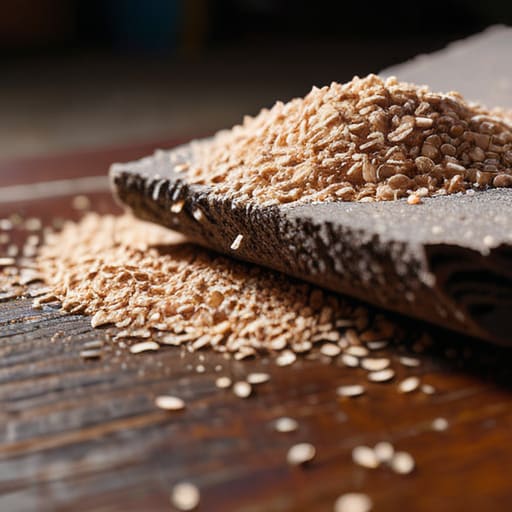
At the end of the day, reviewing your sandpaper comes down to how much work you're actually doing versus how much you're just fighting the material. You need to keep a close eye on whether the grain is actually cutting or if it’s just polishing the dust back into the grain. Whether you are checking the grit progression or testing if the abrasive is aluminum oxide or something more specialized, the goal is the same: efficiency. If you find yourself jumping through grit levels because the previous sheet left deep scratches, you’ve bought a bad batch. Don't let a cheap, inconsistent roll of paper turn a simple afternoon job into a week of frustration.
I’ve spent forty years seeing men buy the cheapest packs available, only to spend twice as long sanding because the paper went blunt before they even finished a single board. It’s a mindset I can't shake. A tool—even one as simple as a sheet of abrasive—is only as good as its ability to do the job it was intended for. When you start choosing your sandpaper with the same scrutiny I use to select a new chisel, you'll find your rhythm returns. Stop treating sandpaper like a disposable commodity and start treating it like a precision instrument. Once you respect the grit, the wood will start respecting you.