A Sawbench for Hand Tool Work
 Callum Reith-Sowande
You’ll see plenty of videos online claiming you need a massive, expensive workshop and a fleet of power tools just to get started, but that’s a load of rubbish. Most of those setups are just noise and vibration that won't help you find a true line. If you want to learn how to build a sawbench that actually works, you don't need a mountain of electricity; you need a stable, heavy base that stays put when the blade bites. I remember my first bench back in my apprenticeship—it was a heavy, stubborn thing made of scrap timber, but it taught me more about accuracy and patience than any fancy machine ever could.
In this guide, I’m going to show you how to construct a bench that respects your tools and your time. We won't be wasting any effort on unnecessary gadgets or "disposable" designs that fall apart after a season of use. Instead, I'll walk you through selecting the right timber, ensuring the frame is dead-level, and setting up a work surface that won't budge. I’m going to give you the honest, practical steps for how to build a sawbench that will last you a lifetime.
Guide Overview
Tools & Supplies
- Circular saw or handsaw for cutting lumber
- Power drill for fastening screws
- Tape measure for precise layout
- Speed square for ensuring right angles
- Level to ensure a flat working surface
- 4x4 treated lumber (2 pieces, 8ft long) for legs
- 2x4 construction lumber (4 pieces, 8ft long) for frame and bracing
- 3-inch wood screws (1 box) for assembly
- Wood glue (1 bottle) for joint stability
Step-by-Step Instructions
- 1. Start by picking your timber. Don't go running to the big-box DIY store for some flimsy, pressed-particle nonsense that'll wobble the minute you put a plane on it. You need solid, heavy timber—something like oak or a good, dense softwood—that has the weight to stay put. If the bench moves when you're working, you're not working; you're just fighting the furniture.
- 2. Lay out your frame on a flat surface. I’ve seen too many lads rush this part and end up with a bench that rocks like a ship at sea. Measure twice, mark once, and use a square every single time. If your legs aren't perfectly plumb and your stretchers aren't true, you'll spend the rest of your life trying to compensate for a crooked base.
- 3. Cut your joinery with care. Since we're building something meant to last, skip the cheap metal brackets and screws that'll pull loose in six months. I prefer using mortise and tenon joints for the main frame. It takes more time upfront, but a joint that's physically locked into the wood is the only thing I trust to hold up under a heavy mallet blow.
- 4. Glue and clamp the assembly. This is where patience comes in. Don't just slap some glue on and walk away; make sure your clamps are applying even pressure across the whole joint. If you see glue squeezing out of the seam, you've done it right. Once it's set, leave it alone. Don't go poking at it every five minutes.
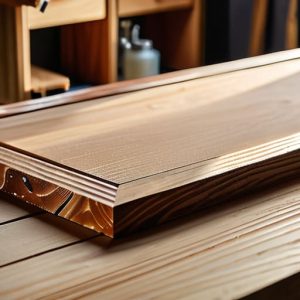
- 5. Prepare the work surface. This is the heart of the bench. You want a thick, heavy slab that won't deflect when you're sawing. I like to plane the top until it's dead flat, then I give it a very light sanding. It doesn't need to be smooth as glass—it just needs to be consistent so your workpiece doesn't rock while you're trying to get a clean cut.
- 6. Fit your vices. A sawbench without a good vice is just a glorified table. I usually install a heavy-duty woodworking vice on one end and perhaps a tail vice on the other. Make sure they are bolted through the frame securely. If they feel loose or "spongy" when you tighten them, they'll ruin your accuracy and your temper.
- 7. Final seasoning and testing. Once everything is assembled, give the bench a proper once-over with a hand plane to smooth out any rough edges. Then, put some weight on it. Load it up with some scrap timber and see how it handles. If it’s steady and silent, you’ve built something worth keeping.
Selecting the Right Lumber for Workshop Benches
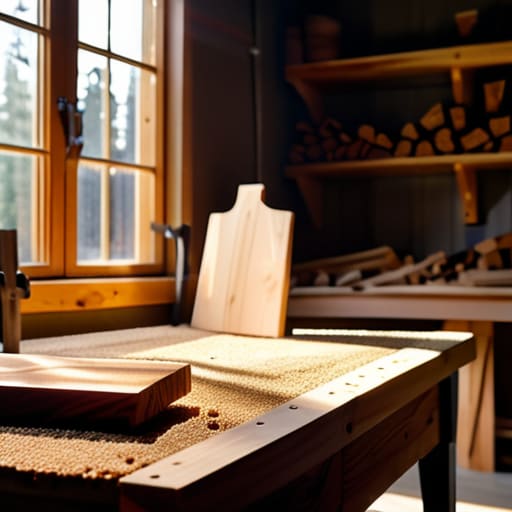
Now, don't go running to the local timber yard and grabbing the first stack of cheap, dried-out pine you see just because it's easy on the wallet. A sawbench needs mass; it needs to sit there like an anchor when you're working. If you're looking at lumber for workshop benches, you want something dense and forgiving. I’ve always favored hardwoods like ash or oak if the budget allows, but if you're working from standard DIY woodworking workbench plans, a sturdy softwood like Douglas fir can do the job—provided it's straight and seasoned.
The biggest mistake I see is people buying timber that's already warped or twisted. If your bench starts bowing before you've even driven the first screw, you're fighting a losing battle from the start. You want thick, heavy stock that won't dance around when you're sawing. Remember, the goal isn't just to have a surface to work on; it's to create a solid, unmoving foundation. If the wood is punky or full of knots, it'll just soak up your energy instead of helping you work.
Stable Sawhorse Construction for Absolute Rigidity
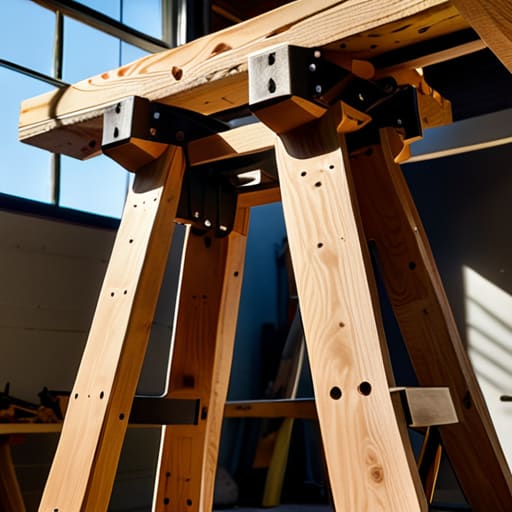
Now, if you think the bench is the only thing that matters, you’ve already lost the battle. You can have the finest slab of oak in the world, but if your support is wobbling, you’ll spend more time fighting the vibration than you will working the grain. When I talk about stable sawhorse construction, I’m not talking about those flimsy little folding things you buy at a big-box store. You need something that feels like it’s rooted into the floor. I always tell my students: if it moves when you lean on it, it’s not a tool; it’s a nuisance.
I prefer to build a pair of heavy-duty trestles using thick, square-cut timber. Don't get fancy with complex joinery here; just ensure your bracing is solid. If you're looking for a heavy duty saw stand diy approach, focus on the footprint. A wider base prevents that annoying rocking motion when you're using a hand saw. It’s about creating a platform that stays dead still, no matter how much pressure you apply to the workpiece. If the foundation isn't rigid, your precision goes right out the window.
Five things I wish my apprentices had understood sooner
- Don't skimp on the weight. A bench that dances across the floor every time you strike a saw isn't a workbench; it's a nuisance. If it feels light, it's wrong.
- Plan your vise placement before you drive a single screw. I've seen too many lads build a sturdy bench only to realize they've left no room to actually clamp a workpiece without hitting their own knees.
- Keep the top flat, not just level. You can have a perfectly level bench, but if the timber has a twist or a cup in it, your joinery will never be true. Flatten that surface like your reputation depends on it.
- Avoid using too many fancy fasteners. A bench should be built to last decades, not just until the next hardware sale. Rely on good joinery and heavy-duty bolts that you can actually get a wrench on when they inevitably need tightening.
- Leave room for your mess. A proper sawbench needs a bit of a "buffer zone" around it. If you build it too tight into a corner, you'll find yourself fighting the walls just to get a decent angle on a cut.
The Foundation of Your Craft
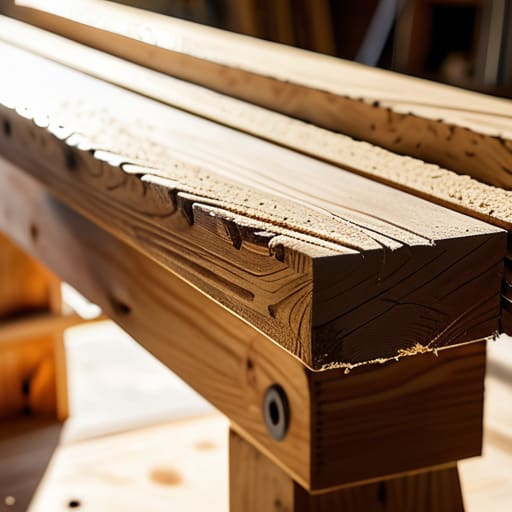
Building this sawbench isn't about following a set of instructions to the letter; it’s about understanding how the components work together to fight the wood. You’ve selected your lumber with an eye for stability, you’ve ensured your sawhorses won't budge when the pressure is on, and you've put in the graft to make sure the whole assembly is rigid. If you've done it right, you won't be fighting a wobbling surface halfway through a cut. Remember, a bench is only as good as its weakest joint, so don't be tempted to cut corners just to get the job done faster. If it isn't solid, it isn't finished.
Once this bench is standing in your shop, it becomes more than just a pile of timber and screws. It is the steady ground upon which you’ll hone your skills and your tools. I’ve spent forty years on sites and a decade in classrooms, and I can tell you that the best work always starts with a reliable foundation. Don't rush to pull out the circular saw the moment you're done; instead, take a moment to run your hand over the surface, check your level, and appreciate the stability you've created. A good bench doesn't just hold your work; it respects it.