Fitting Shelves Into a Crooked Alcove
 Callum Reith-Sowande
Most people think you need a high-end router and a workshop full of expensive jigs to get a professional finish, but that’s just a load of nonsense. I’ve spent forty years on site, and I can tell you that the secret to learning how to build fitted shelving in an alcove isn't in a power tool; it's in your ability to read the walls and use a sharp chisel to tidy up the gaps. I remember a job back in the nineties where a lad tried to force a pre-cut shelf into a wonky corner using nothing but a circular saw. He ended up with a gap so wide you could park a van in it. He learned the hard way that walls are never straight, and if you don't respect that, the wood will always lose the fight.
In this guide, I’m going to show you the proper, steady way to do this job right the first time. I won't be wasting your time with flashy gadgets that'll end up in a landfill next year; instead, I’ll walk you through measuring for real-world crookedness, scribing your timber, and getting those joints tight. We'll focus on the fundamental joinery skills that ensure your shelves look like they grew out of the masonry rather than just being shoved into it.
Guide Overview
Tools & Supplies
- Tape measure for precise alcove dimensions
- Spirit level to ensure shelves are perfectly horizontal
- Drill and driver for fixing supports and screws
- Mitre saw or hand saw for cutting timber/boards
- Sandpaper to smooth edges and joints
- Timber or MDF boards for shelf surfaces
- Wooden cleats or metal brackets for support
- Wood screws for securing cleats to walls
- Wood glue for reinforcing joints
- Caulk or filler to hide gaps between shelf and wall
Step-by-Step Instructions
- 1. First thing you need to do is get your measuring tape out and accept a hard truth: no wall in a house is actually straight. I don't care what the builder told you; those alcoves are going to be wonky. Take measurements at the back, the middle, and the front, and do it at every single height where you want a shelf to sit. If you only measure once, you'll find yourself halfway through the job with a gap wide enough to park a car in.
- 2. Once you've got your numbers, you need to scribe your supports. I prefer using timber cleats that I screw directly into the masonry or the studwork. Don't just slap a piece of wood against the wall and hope it stays; you need to use a scribing tool or a simple compass to trace the unevenness of the plaster onto your timber. This allows the wood to sit flush against the wall, making the whole thing look built-in rather than just shoved in there.
- 3. Now, let's talk about the shelves themselves. Most people reach for a circular saw and start making a mess, but if you want a clean edge, you'll want to use a fine-tooth saw or even a sharp hand plane to trim the front edges. When you're cutting your boards to size, always cut them slightly proud of the actual measurement. It's much easier to shave a millimetre off with a well-honed chisel than it is to try and fill a gap because you cut it too short.
- 4. Before you fix anything permanently, dry-fit the whole lot. This is where you find out if your math was right or if the house has other ideas. Lay your shelves on the cleats and check the levels. If a shelf looks a bit off, don't reach for the wood filler just yet; instead, check your support level. A steady hand and a good spirit level will save you more heartache than any amount of putty ever could.
- 5. When you're ready to fix the shelves, use a decent quality wood screw, but don't just drive them in blindly. Pre-drill your holes. If you don't, you'll split the timber, and once that happens, the piece is ruined for anything but firewood. I always say, measure twice and drill once. It keeps the grain intact and ensures the shelf stays rigid when you actually start putting books on it.
- 6. Finally, you'll want to deal with those inevitable little gaps where the shelf meets the wall. Instead of using that thick, plastic-looking caulk that everyone uses, I prefer a bit of fine sawdust mixed with a tiny amount of wood glue to create a paste. It's a proper way to finish the job. It blends into the timber far better and shows that you actually took the time to do the work right.
Mastering Measuring Alcove Dimensions With a Craftsmans Eye
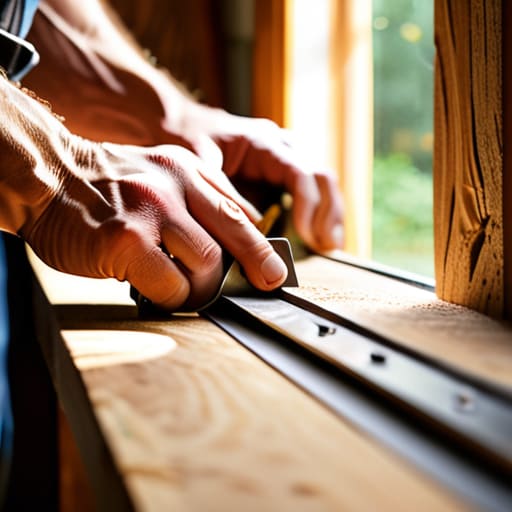
Now, don't go thinking a single measurement at the bottom is enough to call the job done. Most houses weren't built with a ruler, and your alcove certainly won't be any different. Walls lean, floors slope, and corners are rarely a true ninety degrees. If you only take one reading, you'll find yourself fighting a gap that looks amateurish. I always take measurements at the top, middle, and bottom of the space. When you're measuring alcove dimensions, you're looking for the narrowest point, because that's the one that will dictate your shelf width. If you try to force a board into a space that's too tight, you're just asking for a split.
Once you've got your rough numbers, you need to account for those wonky plaster surfaces. This is where you stop being a builder and start being a craftsman. I don't rely on fancy gadgets; I rely on a sharp pencil and a bit of patience. You’ll likely need to employ some basic woodworking scribe tool techniques to map out exactly where the wall meets your timber. It’s much easier to shave a bit of wood away with a well-honed chisel than it is to try and fill a massive gap with sealant later. Measure twice, cut once, but more importantly, scribe once and get it right.
Woodworking Scribe Tool Techniques for a Seamless Fit
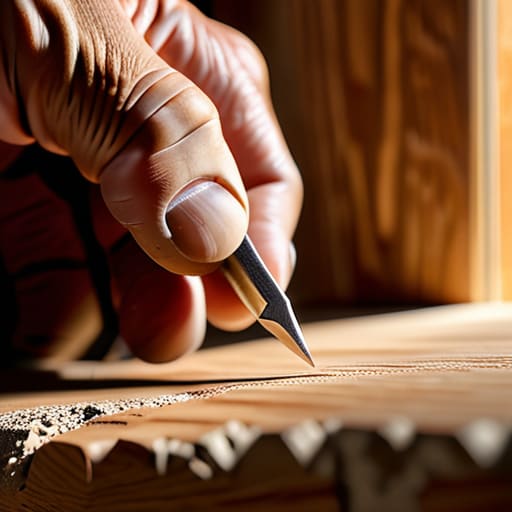
Now, once you’ve got your measurements, you’ll likely find the walls aren't as straight as a rule. They never are. If you try to force a square piece of timber against a wonky plaster surface, you'll end up with unsightly gaps that no amount of caulk can hide. This is where mastering woodworking scribe tool techniques becomes essential. I don't bother with fancy plastic gadgets; I prefer a simple compass or a small block of wood with a sharp pencil. Hold your scribe firmly against the wall, let the point trace the exact contour of the masonry, and transfer that line onto your timber. It takes a bit of patience, but it’s the only way to get that perfect, seamless fit that makes a piece look like it grew out of the wall.
When you're marking that line, keep your pencil lead sharp—a blunt tip is just as useless as a blunt chisel. Once you’ve scribed the shape, use a fine-toothed saw to take the wood down to the line, working in small increments. You aren't trying to cut the line itself; you're aiming to bring the wood right to the edge of it. If you rush this part, you'll spend more time sanding than you would have spent just doing it right the first time.
Five ways to avoid a botched job
- Don't trust your walls to be straight; they never are. Even if you've scribed your pieces, leave a tiny bit of breathing room in your joints to account for the inevitable wonk in the plaster.
- Stop relying on cheap, plastic spirit levels. Get yourself a decent metal one that won't bend or lose its calibration the moment you bump it against a stud.
- When you're fixing your supports, don't just drive screws into the plasterboard and call it a day. You need to find the timber studs or use heavy-duty fixings, otherwise, those shelves will be on the floor before the paint is dry.
- Keep your chisels honed to a mirror finish before you start any paring work. If you're struggling to shave off a thin sliver of wood, you're just smashing the fibres rather than cutting them, and you'll end up with a ragged edge.
- Avoid the temptation to use too much filler to hide your mistakes. A bit of caulk is fine for a tiny gap, but if you're needing a tub of it, you haven't fitted the shelf; you've just masked a bad job.
The Final Fit
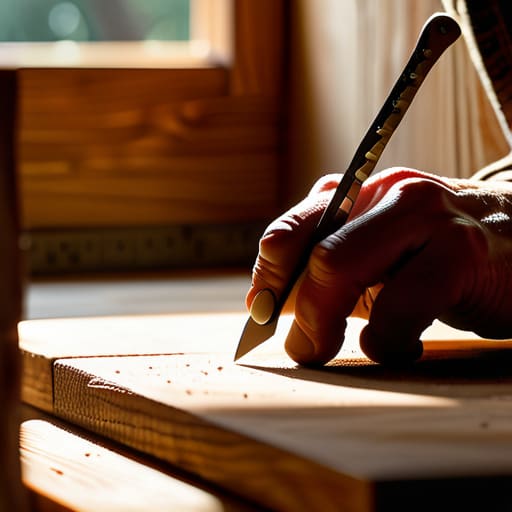
At the end of the day, building fitted shelving isn't about having the most expensive power tools in the shed; it's about the patience you put into the prep work. You’ve done the hard yards by getting those measurements dead-on and using a scribe to follow the wonky lines of an old wall. If you've taken the time to ensure your chisels are scary sharp, the final trimming and fitting will feel less like a struggle and more like a conversation between your tool and the timber. Remember, if you try to rush the scribing or force a joint that isn't quite right, you'll only end up fighting the wood. Measure twice, scribe once, and trust your hands.
There is a particular kind of satisfaction that comes from looking at a piece of joinery that sits so flush against a wall you'd swear it grew there. It’s a quiet sort of pride that you won't get from just slapping some pre-made units together and filling the gaps with caulk. When you do it properly, with hand tools and a bit of old-fashioned care, you aren't just making furniture; you're making something that lasts. So, don't be in such a hurry to get to the finished product that you forget to enjoy the process of the craft itself. Put the power saw away, pick up your chisel, and get to work.