Splicing New Timber Into a Window
 Callum Reith-Sowande
Most people think that when a window frame starts to rot or crack, you need to haul out the heavy-duty power sanders and a massive amount of filler to hide the mess. They treat it like a construction site, making a mountain of dust just to cover up a problem that's going to come right back in six months. I remember a lad I taught back at the college who tried to fix a sash window with nothing but a cordless sander and a tub of cheap, plastic-based wood filler; he spent three days fighting the timber only to end up with a rubbish finish that looked like papier-mâché. If you want to learn how to repair a window frame properly, you have to stop trying to outrun the wood with electricity and start working with it.
I’m not going to sell you on any fancy, expensive chemical kits or high-tech gadgets you'll throw in the shed by next Christmas. Instead, I’m going to show you how to use a few well-maintained hand tools and the right bit of timber to make that repair permanent. We’ll go through the honest way to strip back the decay, how to seat a new piece of grain, and why a sharp chisel is the only thing that will actually get the job done right.
Guide Overview
Tools & Supplies
- Putty knife for scraping old caulk or wood
- Sandpaper (various grits) for smoothing surfaces
- Caulking gun for applying sealant
- Screwdriver for tightening hardware
- Wood filler or epoxy for structural cracks
- Exterior-grade caulk (1 tube)
- Wood stain or paint (1 small can)
- Sandpaper pack (medium and fine grit)
Step-by-Step Instructions
- 1. First, you need to clear out the rot. Don't just slap some filler over a soft spot and hope for the best; that's how you end up with a window that fails in six months. Take a sharp, narrow chisel and carefully scrape away any wood that feels spongy or crumbly. You want to get down to the sound, solid timber before you even think about fixing anything.
- 2. Once you've cleared the mess, you've got to treat the wound. I always keep a bit of wood preservative on hand for this. Use a small brush to work the liquid deep into the grain of the remaining wood. It’s about making sure the decay doesn't spread further into the healthy parts of the frame while you're working.
- 3. Now, you need to decide if you're patching or replacing. If the hole is small, a good two-part wood filler will do, but if you've lost a chunk of the rail, you're better off carving out a small piece of matching timber to fit. I prefer a scarf joint or a simple plug of seasoned wood because filler tends to shrink and crack over time, whereas wood stays wood.
- 4. If you're using a timber patch, make sure it's a tight fit. I spend a fair bit of time with my chisels just getting the edges of a replacement piece perfectly square. If there are gaps, you're just inviting moisture back in. A snug fit is the difference between a repair that lasts a decade and one that lasts a week.
- 5. Once the patch or the filler is set, it's time to get it level. This is where people usually reach for the power sander, but I'd advise against it if you can help it. A sander can easily eat into the surrounding original timber and leave you with an uneven surface. Instead, use a hand plane or a sanding block to bring everything flush. You want a smooth transition that you can't feel with your fingertips.
- 6. Before you even think about painting, you need to seal that wood. Apply a good quality primer or wood sealer to the repaired area. I make sure to work it into the grain thoroughly. If you skip this, the new paint will just soak into the thirsty timber and peel off before the season is out.
- 7. Finally, apply your topcoats. Don't rush it. Apply a thin layer, let it dry completely, and then check your work. If you see any tiny imperfections, don't go grabbing the heavy machinery; just a bit of fine hand sanding will tidy it up. A well-repaired window should look like it was never broken in the first place.
Mastering the Wood Rot Repair Kit With Intent
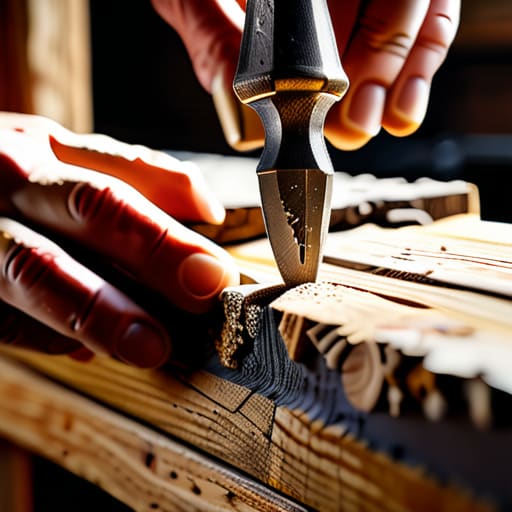
Now, when you’re looking at that kit sitting on your bench, don't just treat it like a box of magic potions. A decent wood rot repair kit is only as good as the preparation you put in before you open the tins. Most fellas rush straight to the epoxy, but if you haven't cleared out every last bit of soft, spongy nonsense with a sharp chisel, you're just burying the problem. You have to get down to sound, healthy timber. If you leave even a speck of damp rot behind, the decay will just keep traveling under your new patch, and you'll be right back where you started in six months.
When it comes to the actual epoxy wood filler application, slow down. I see youngsters pumping it in like they’re filling a hole in a hedge. You want to pack it tight, ensuring there are no air pockets trapped inside the grain. It’s about density and intention. Once it’s set, you treat it with respect—sand it flush and seal it well. If you take the time to do the prep work properly, you aren't just fixing a window; you're actually stopping the cycle of decay for good.
Splicing Wood Window Components for Lasting Integrity
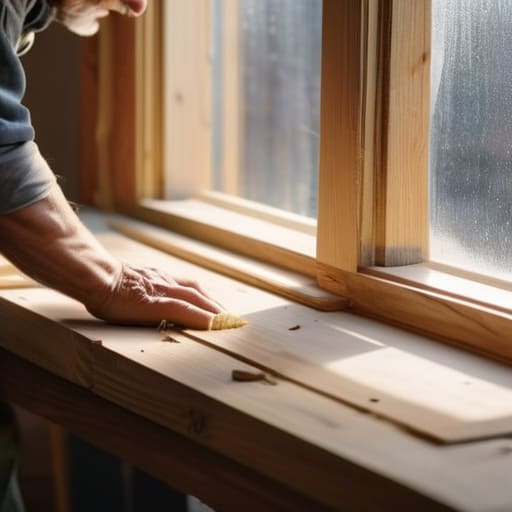
Now, if you’ve cut away all the soft, punky bits and you’re left with a gap that's too large for any filler to bridge, you’ve reached the point of splicing wood window components. You can't just keep piling on more and more epoxy; eventually, you're just making a mess that'll crack in a year. I always tell my students that a patch is only as good as the timber you're attaching it to. You need to find a piece of seasoned, matching softwood or hardwood—whatever the original was—and cut a clean, square shoulder into the existing frame.
Don't try to rush this part. If your chisel isn't keen enough to shave a hair, it'll crush the fibres instead of slicing them, and that's how you end up with a weak joint. When you're fixing damaged window casing, the goal is a mechanical bond, not just a chemical one. Glue that new timber piece in with a proper waterproof adhesive, clamp it tight, and let it sit. Once it's solid, you've actually restored the structure, rather than just masking the problem with a thick layer of plastic.
Five things I’ve learned from forty years of fixing windows
- Don't rush the drying time. I see lads rushing to sand down wood filler before it's properly set, only to have it crumble the moment they touch it with a plane. Let it sit. Patience is a tool, too.
- Keep your chisels sharp enough to shave with. If you're trying to clean out rot with a dull blade, you're just smashing the healthy wood fibers instead of slicing them. You want a clean cut, not a bruised edge.
- Match your timber. If you're splicing in a new piece of wood, don't just grab whatever scrap is lying about. Find something with a similar grain density and moisture content, or the old part and the new part will move against each other come winter.
- Avoid the temptation of heavy fillers. A thick layer of chemical filler is just a band-aid. If you can, use as much real wood as possible. The more timber you have, the longer that window stays in the wall.
- Check your seals twice. There's no point in doing a grand job on the joinery if you leave a gap for the damp to crawl back in. A tight fit is better than any expensive sealant you can buy in a tube.
The Long View on Window Repairs
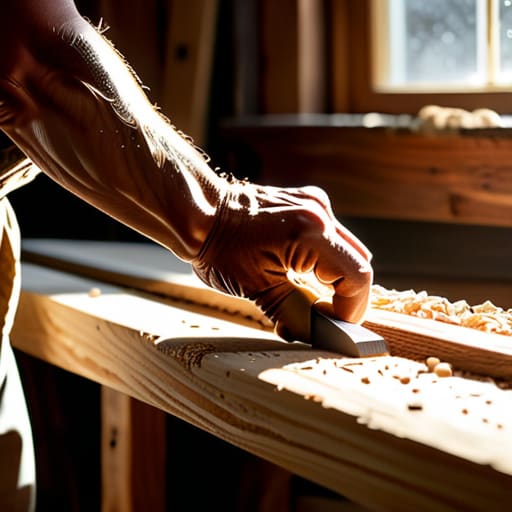
At the end of the day, repairing a window frame isn't about slapping on some quick-dry filler and hoping for the best. It’s about the patience you put into the preparation—cleaning out that rot, selecting the right timber for a proper splice, and ensuring your joints are tight before you even think about finishing. If you’ve done the work correctly, you haven't just patched a hole; you've restored the structural integrity of the frame. It’s a slow process, I’ll grant you that, but doing it right means you won't be standing there with a bucket of sawdust and resin again in six months' time.
I know the modern world wants everything done in a hurry, usually with a noisy power tool that does half the job and leaves the rest to chance. But there is a quiet satisfaction in knowing that a repair you made by hand, with a sharp chisel and a steady eye, will outlast us both. Don't be intimidated by the scale of the job or the age of the timber. Just take it one cut at a time and remember that quality work takes time. If you treat the wood with respect, it’ll reward you with a window that stays shut and holds fast for another generation.