Sizing a Shoe Rack for a Hallway
 Callum Reith-Sowande
Most people think that if you want to learn how to build a shoe rack, you need to head straight to the hardware store and buy a mountain of expensive, plastic-fastened kits or a loud, vibrating circular saw. They’ve been told that speed comes from electricity, but I’ve spent forty years on site proving that's a lie. I remember a young apprentice back in the nineties who tried to rush a joinery project with a cheap, blunt power saw; he ended up with a pile of splintered waste and a headache. I sat him down, handed him a well-honed chisel, and showed him that true precision comes from the hand, not the plug socket.
In this guide, I’m going to show you how to build a shoe rack that actually lasts, using methods that rely on steady hands rather than expensive gadgets. I won't be peddling any fancy, disposable nonsense here. Instead, I’ll walk you through selecting the right timber, making clean cuts with hand tools, and ensuring every joint is tight enough to stay that way for decades. We are going to do this properly, one measured cut at a time.
Guide Overview
Tools & Supplies
- Drill/Driver for securing screws
- Measuring Tape for precise cuts
- Sandpaper for smoothing edges
- Level to ensure stability
- Wood planks (e.g., 1x12 pine) 10 feet total
- Wood screws (1.5 inch) 1 box
- Wood glue for extra stability
- Sandpaper (120 and 220 grit) 2 sheets
Step-by-Step Instructions
- 1. Start by selecting your timber. Don't go running to the big-box DIY stores for those flimsy, particle-board bits that crumble if you look at them sideways. I prefer a decent piece of solid pine or oak. It’s heavier, sure, but it holds a screw and a chisel mark far better than any pressed sawdust ever will. Measure out your planks for the sides, the shelves, and the base, and mark them out with a sharp pencil.
- 2. Once you've got your pieces laid out, it's time for the cuts. Now, you could reach for that loud, dusty circular saw, but if you want a clean edge that doesn't need a mountain of sandpaper later, pick up a well-honed tenon saw. Take your time. Let the teeth do the work. If you're rushing, you're just making mistakes faster, and I've never met a piece of wood that didn't mind waiting a few extra seconds for a properly made cut.
- 3. Now we get to the joinery. For a shoe rack that won't wobble after a month, I won't be using those cheap metal corner brackets. Instead, we're going to cut some simple housing joints for the shelves to sit in. Use a sharp chisel—and I mean actually sharp, not just "good enough"—to pare out the grooves in the side panels. If your chisel is dull, you'll end up crushing the wood fibers instead of slicing them, and that’s a mess you can't undo.
- 4. With your grooves cut, it's time to dry-fit the frame. Put the pieces together without any glue to see how they sit. If a shelf is a bit tight, don't go grabbing a hammer to force it; that’s how you split your grain. Just take your widest chisel and shave off a whisker of wood at a time until it slides home with a satisfying, snug fit.
- 5. Once the fit is right, it's time for the glue-up. Apply a thin, even layer of wood glue to the joints. Don't go overboard—you don't want a puddle of glue seeping out and ruining your finish later. Clamp the pieces firmly, but don't over-tighten them to the point where you're squeezing all the glue out of the joint. A little bit of "squeeze-out" is fine; it's easy enough to clean up with a damp cloth.
- 6. While the glue is drying, give the whole thing a light sand. I don't use those high-speed orbital sanders that blow dust everywhere; I prefer a bit of hand sanding with a block. It keeps you in touch with the surface of the wood. You'll feel exactly where the imperfections are, and you'll find that a little bit of elbow grease goes a lot further than a loud motor when you're looking for a smooth finish.
- 7. Finally, once the glue is set hard, apply your finish. Whether it's a simple oil or a bit of wax, do it in thin, even coats. A good finish doesn't just make the wood look pretty; it protects the timber from the moisture and grit that shoes inevitably bring in. If you've done the work properly, you'll end up with a rack that'll still be standing long after those cheap, flat-pack versions have ended up in a skip.
Selecting Sturdy Wood Types for Furniture That Actually Lasts
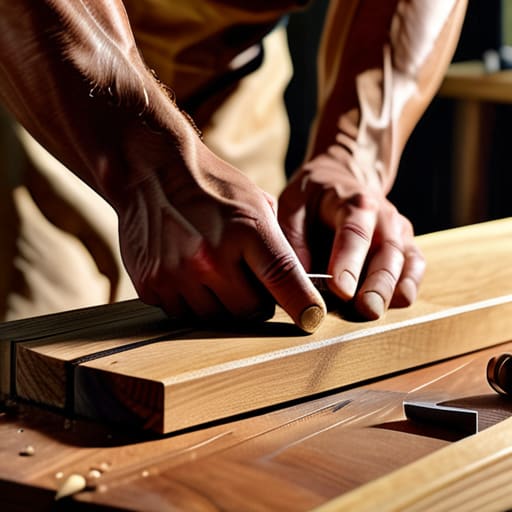
Now, don't go making the mistake of picking up some cheap, flimsy particle board just because it’s easy on the pocket. If you want these custom shoe storage solutions to survive more than a single season, you need to look for something with real backbone. I’ve always found that oak or maple are the gold standards if you want something that won't sag under the weight of heavy boots. If you're on a tighter budget, even a decent piece of pine can do the job, provided you treat it right. The trick is choosing sturdy wood types for furniture that can handle the occasional scuff or damp sole without falling apart at the seams.
When you're out at the timber yard, don't just grab the first stack you see. Run your hand along the grain; you're looking for straight, tight lines. If the wood is warped or has too many knots, you'll spend more time fighting the material than actually working it. Even with the best woodworking tools for beginners, you can't fix a bad piece of timber once it's in the workshop. Invest in quality wood upfront, and you won't be rebuilding this same project in two years' time.
Mastering Woodworking Tools for Beginners Without the Mechanical Noise
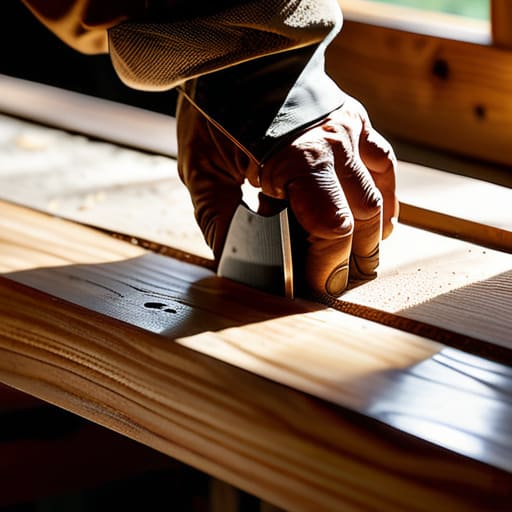
When you're first starting out, the temptation is to head straight for the hardware store and buy every loud, battery-operated gadget they have on the shelf. But if you want to get a feel for the grain, you need to start with the basics. I always tell my former students that the best woodworking tools for beginners aren't the ones that do the work for you, but the ones that let you feel the wood. A well-honed chisel or a decent hand saw gives you a sense of resistance that a circular saw just can't match. It’s about connection, not just cutting.
As you move into the assembly phase of your custom shoe storage solutions, pay close attention to your layout. Don't just rush in with a drill; take a moment for precise measuring shelf spacing before you make a single mark. If your measurements are off by even a fraction, the whole unit will wobble, no matter how much glue you use. Working quietly allows you to hear the tool working—you'll hear when a blade is biting too deep or when a screw is about to strip. That's the real secret to craftsmanship.
Five ways to make sure that rack doesn't end up in the skip
- Measure twice, but check your square three times. I've seen too many lads rush the layout only to find their shelves are sloping like a hillside. If your frame isn't square from the start, no amount of glue will save you.
- Don't go skimping on the joinery. You can use screws if you must, but if you want this thing to survive a decade of heavy boots, take the time to cut a proper housing joint. It gives the wood more surface to grip onto.
- Watch your spacing. A common mistake is building shelves that are too close together. Think about the tallest pair of boots in the house; if you don't leave enough headroom, the whole rack becomes a glorified paperweight.
- Sanding is where the soul of the piece lives. Don't just slap a finish on rough timber. Work your way up through the grits, and do it by hand. You’ll feel the imperfections that a machine would just skip right over.
- Finish it for the environment it's in. Since this is sitting by a door, it’ll take a beating from moisture and grit. Use a decent hard wax or a sturdy oil that you can easily touch up later when the scuffs start to show.
Finishing the Job
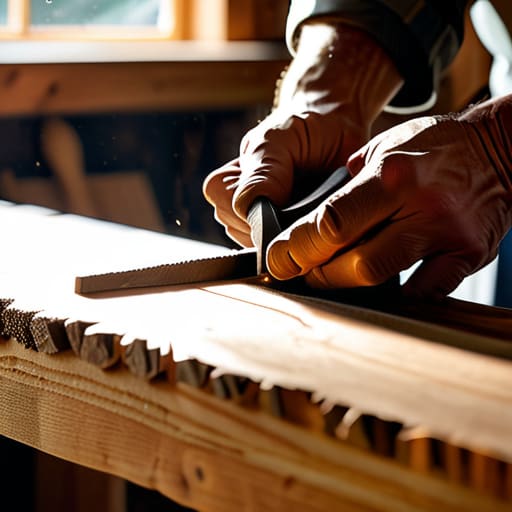
At the end of the day, building a proper shoe rack isn't about how many fancy power tools you have cluttering up your workbench. It’s about the foundation you laid—choosing timber that won't warp the moment the weather turns, and taking the time to make your joints fit with precision rather than force. You’ve learned that a well-maintained chisel does more for a clean edge than any expensive sander ever could. If you’ve followed these steps, you haven't just put together a place to toss your boots; you've constructed a piece of furniture that is built to last generations, not just until the next seasonal sale.
Don't be in any rush to move on to the next project just yet. Take a moment to run your hand over the grain and feel the smoothness of the wood you've shaped. There is a particular kind of quiet satisfaction that comes from knowing every cut was made by your own hand and every edge was honed to perfection. Woodworking isn't a race against the clock, and it certainly isn't about noise. It is about the steady connection between the craftsman and the material. Keep your tools sharp, keep your mind steady, and remember that the best work always comes to those who aren't afraid to slow down.