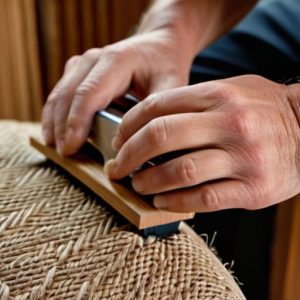
Putting a Machine on Wheels
 Callum Reith-Sowande
You don't need a fancy, pre-fabricated kit from a big-box retailer to get your heavy machinery moving; in fact, most of those plastic rubbish bits are a waste of good money. I spent years watching apprentices struggle with machines that felt like they were bolted to the bedrock, only to watch them buy a flimsy, store-bought base that wobbled the moment they turned the motor on. When I finally sat down to figure out how to make a mobile base for a machine that actually lasts, I realized it wasn't about the complexity of the design, but the integrity of the foundation. If you can't build it to stand firm once it's in place, you might as well not bother.
I’m not here to give you a theoretical lecture or a list of expensive, unnecessary components. I'm going to show you how to build a sturdy, timber-framed base that handles the weight of a real tool without shuddering. We’ll go over selecting the right casters—the kind you can actually maintain—and how to join the frame so it stays square and true for the next twenty years. No hype, just the proper way to get your workshop sorted.
Guide Overview
Tools & Supplies
- Drill/Driver for assembly
- Tape measure for precise cutting
- Wrench/Socket set for tightening casters
- Heavy-duty casters (4 units)
- Dimensional lumber or plywood (1 sheet/set)
- Lag bolts or heavy screws (1 pack)
- Wood glue or metal brackets (1 pack)
Step-by-Step Instructions
- 1. Don't go out and buy some flimsy, pre-made plastic base from a big-box store. They’ll crack the first time you move a heavy planer over them. Instead, get yourself some decent thick birch plywood—at least 18mm or even 24mm if the machine is a beast. You want a platform that won't flex, because if that base bows, your machine won't sit level, and you'll be fighting it every time you try to make a cut.
- 2. Once you've got your timber, get the machine itself onto the workbench so you can trace its footprint. Don't just guess the dimensions; use a sharp pencil to mark exactly where the feet or the mounting points sit. I always make sure to add a bit of breathing room—maybe an inch or two around the perimeter—so you aren't tripping over the edges of the base when you're trying to maneuver it across the shop floor.
- 3. Now, cut your plywood to the size you marked out. If you’ve got a decent track saw or a fine-tooth hand saw, use it. I prefer a hand saw for the final edges because it gives you a cleaner line that doesn't need much sanding. Once the piece is cut, sand the edges down until they’re smooth. You don't want a splintered corner catching on your trousers when you're pushing the machine through a tight spot.
- 4. This is where most people mess up: choosing the casters. Don't buy those cheap little swivel wheels that lock up the moment they hit a bit of sawdust. You need heavy-duty, fixed-and-swivel casters—at least two of them should swivel so you can actually steer the machine. Get the kind with reliable brakes, too. If you can't lock that machine dead-still, you're just asking for a dangerous, vibrating mess.
- 5. Flip your plywood over and start mounting the casters. I like to drill pilot holes first to make sure I don't split the wood, especially if you're using screws near the edge. Make sure the casters are positioned far enough apart to provide a stable footprint. If the casters are too close to the center, the whole thing will tip like a drunkard the moment you put any pressure on the machine.
- 6. Secure your machine to the base using heavy-duty bolts or screws, depending on how it was originally mounted. If you're bolting through the plywood, use large washers on the underside to spread the load. You want this machine and its base to act like one single unit. If the machine wobbles independently of the base, you’ve wasted your time and you’ve created a safety hazard.
- 7. The final bit is the test run. Move the machine around your shop to see how it handles. If it catches on the floor or feels "skittish," check your caster alignment. I usually find that a little bit of wax on the floor or a quick sweep to clear the dust makes all the difference. Once it moves smoothly and locks down tight, you're ready to get back to the real work.
Precision Plywood Mobile Base Design Over Flimsy Frames
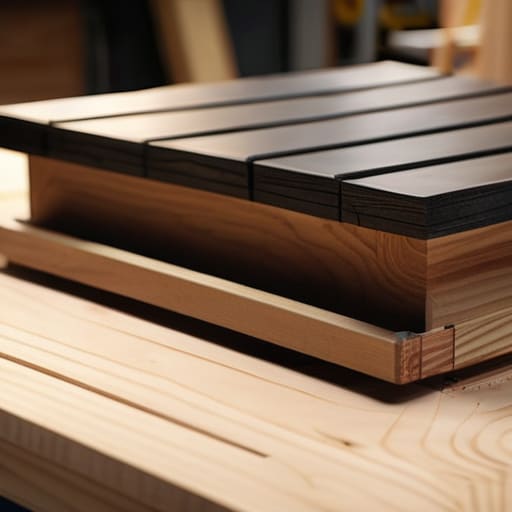
I’ve seen too many lads try to build a rolling tool stand out of cheap, thin pine scraps or flimsy 2x4 frames that wobble the moment you try to plane a piece of oak. If the base isn't solid, your machine isn't stable, and if the machine isn't stable, your work won't be either. I always opt for a proper plywood mobile base design using at least 18mm birch ply. It gives you a continuous, flat surface that won't flex under the load, which is vital for maintaining the accuracy of your machine.
When you're planning this, don't just guess at the strength; do your machine weight capacity calculations before you even pick up a saw. A heavy band saw or a cast-iron planer will crush a poorly built frame, and you'll end up with a bent axle or a cracked base. I prefer a solid plinth approach because it offers better workshop floor space optimization—you can tuck the base tighter into corners without worrying about a protruding frame leg catching your boot. Once you've got that solid foundation, pair it with some heavy duty locking casters so the machine stays exactly where you put it until you need to move it again.
Mastering Machine Weight Capacity Calculations for Stability
You can’t just eyeball the weight of a cast iron table saw and hope for the best. I’ve seen too many lads build a rolling tool stand only to have the whole thing buckle or, worse, tip over the moment they apply pressure to a workpiece. When you're doing your machine weight capacity calculations, you have to account for more than just the static weight of the metal. You need to factor in the "dynamic load"—that’s the force you’re actually applying when you’re pushing a piece of oak through a blade or leaning into a planer. If your math is off, your base isn't a solution; it's a hazard.
Don't cut corners on the hardware, either. If you're looking for real workshop tool mobility solutions, you need to invest in heavy duty locking casters that are rated for at least double the machine's actual weight. It sounds like overkill, but that extra headroom ensures the wheels don't flatten under pressure and, more importantly, that the locks actually hold. If those casters slide while you're mid-cut, you're going to have a very bad day. Get the weight right, get the right wheels, and the machine will stay exactly where you put it.
Five things I've learned the hard way about machine bases
- Don't go cheap on the casters; if you buy the flimsy plastic ones from the local hardware shop, they’ll flat-spot within a month and your machine will wobble like a jelly.
- Get the height right the first time, because if your base makes the machine sit too high, you’ll find yourself fighting your own ergonomics every time you try to make a cut.
- Make sure you can actually lock those wheels; a mobile base is useless if the machine decides to migrate across the workshop floor halfway through a delicate pass.
- Leave a bit of a gap between the machine's feet and the base itself to allow for vibration; you want the base to move the machine, not act as a tuning fork for every hum of the motor.
- Keep the profile low; a bulky, oversized base is just an invitation to trip over it when you're trying to move quickly between the bench and the saw.
Don't settle for a shaky setup
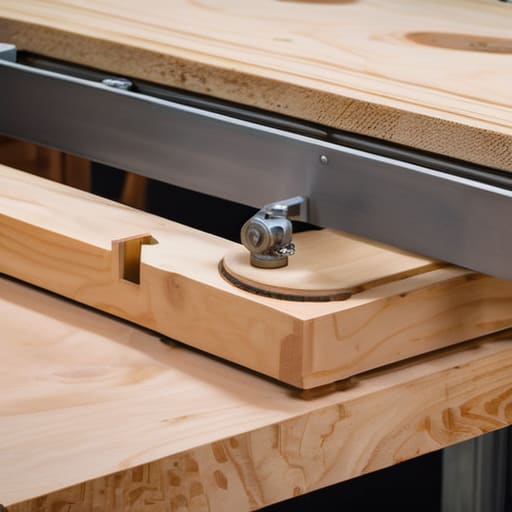
At the end of the day, building this base isn't just about making the machine easier to move; it’s about making sure it stays exactly where you put it when you're mid-cut. You've done the math on the weight, you've skipped the flimsy scrap-wood frames, and you've opted for a solid plywood design that won't flex under pressure. If you’ve followed these steps, you won't be fighting a wobbling table every time you try to square up a piece of timber. Remember, a machine that moves too easily is a machine that loses its precision the moment you start working. Invest the time now so you aren't fighting your equipment later.
I've spent forty years on sites and in classrooms, and if there is one thing I've learned, it's that you cannot work well with tools that fight you. A well-built mobile base is a silent partner in your workshop; it provides the stability of a fixed machine with the flexibility a small shop requires. Don't let the modern trend of "disposable" thinking creep into your workshop. Build this base to last, build it to be sturdy and reliable, and then get back to the real work. Once that machine is locked in place and ready to go, you'll see that the effort was well worth the result.