Storing Clamps Where You Can Reach Them
 Callum Reith-Sowande
I spent thirty years on-site and another ten in the classroom, and if there is one thing I’ve learned, it’s that a messy workshop is a slow workshop. You can buy all the fancy power tools in the world, but if you’re spending ten minutes digging through a pile of scrap wood just to find a single F-clamp, you’re losing the battle. Most people think they need a massive, expensive custom cabinet to fix this, but that’s nonsense. Learning how to build a clamp rack isn't about showing off your joinery; it’s about reclaiming your workspace so you can actually get on with the work that matters.
I’m not going to give you any of that over-complicated, "lifestyle blogger" fluff that requires a shed full of specialized jigs. I’m going to show you a straightforward, sturdy way to get those clamps off the floor and onto the wall where they belong. We’ll focus on a design that is built to last and easy to adapt, regardless of whether you’re working with small spring clamps or heavy-duty sash clamps. By the time we’re done, you’ll have a system that works as hard as you do.
Guide Overview
Tools & Supplies
- Drill/Driver with bits for pilot holes
- Saw (Miter or Hand saw) for cutting lumber
- Tape measure for accurate marking
- Pencil for layout
- 2x4 lumber (one 8ft board)
- Wood screws (2.5 inch, 1 box)
- Wood glue (optional, for extra strength)
Step-by-Step Instructions
- 1. First, you need to clear a space on your wall and measure your largest clamps. I’ve seen too many men try to build a rack only to find their F-clamps won't even fit the depth of the timber. Grab a piece of scrap ply or a sturdy offcut of oak—something that won't bow under the weight of a heavy set of Bessey's—and mark out your dimensions.
- 2. Once you've got your base material, it's time to cut your mounting strips. I don't care much for fancy dowel pegs; they tend to snap when you're in a hurry. Instead, I prefer using sturdy hardwood cleats or even thick strips of plywood. Cut them to the length of your rack, ensuring every edge is square and true. If the edge isn't straight, your clamps will sit wonky, and a wonky tool is a useless tool.
- 3. Now, you'll want to prepare the "teeth" of the rack. You have two real choices here: heavy-duty screws or wooden pegs. If you go the peg route, drill your holes slightly undersized so the pegs are a snug, friction fit. I always drill them at a very slight upward angle; it keeps the weight of the clamps from pulling the whole assembly off the wall.
- 4. Before you put a single screw into your workshop wall, dry-fit everything on your workbench. This is where most people rush and make mistakes. Lay your clamps out against the rack to ensure the spacing is right. You don't want your clamps crowding each other so much that you can't get your hand in to release the screw thread.
- 5. Level it up. Use a proper spirit level—not one of those cheap plastic ones that's seen better days—and mark your pilot holes. Drill into your wall studs if you can, or use proper masonry plugs if you're working with brick. A rack that's fastened securely is the difference between an organized shop and a pile of broken timber on the floor.
- 6. Finally, once the base is fixed, go ahead and install your pegs or cleats. If you're using wooden pegs, give them a light sand to remove any splinters. Once it's all together, hang your clamps one by one, starting with the heaviest. There is a particular kind of satisfaction in seeing a properly organized set of tools hanging exactly where they belong, ready for work.
Precision Woodworking Tool Storage Solutions That Actually Work
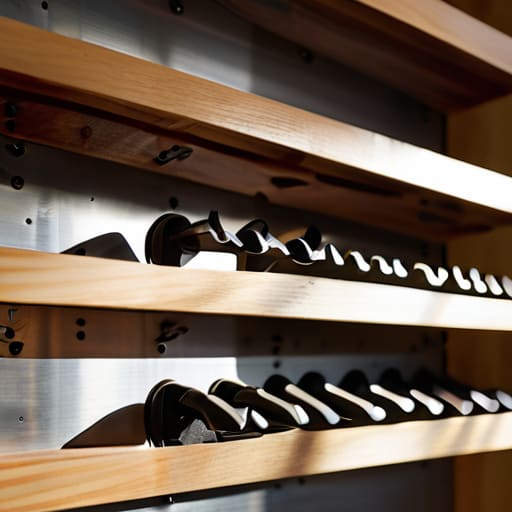
Building a rack is only half the battle; the real work is in how you use it. Most lads I taught at the college made the mistake of just throwing everything onto a single rail. If you want true workshop organization ideas that actually save time, you need to stop treating your tools like a pile of scrap. I’ve always found that organizing clamps by size is the only way to work efficiently. When you’re in the middle of a glue-up, you don't want to be hunting through a heap of steel for that one specific 12-inch F-clamp. You want to reach out, grab the right tool, and get back to the timber.
Don't settle for flimsy bits of plywood either. If you’re going to commit to a wall mounted tool rack, build it to handle the weight. Clamps are deceptively heavy when you get a full set together, and a sagging rack is a sign of poor craftsmanship. I prefer using thicker stock that can take a bit of a beating. A proper storage solution should be built to last as long as the tools themselves. If it’s not sturdy enough to hold your heaviest iron, it’s not worth the space on your wall.
Organizing Clamps by Size for Maximum Workflow Speed
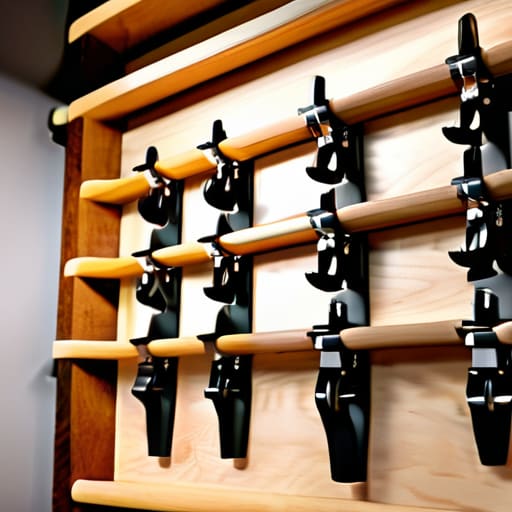
Once you’ve got that rack up on the wall, don't just toss every F-clamp and spreader you own into it in a heap. If you’re hunting for a specific size while the glue is setting, you’ve already lost the battle. I’ve spent too many years watching apprentices scramble through a pile of metal just to find a 12-inch bar. Instead, I recommend organizing clamps by size from smallest to largest. Start with your tiny spring clamps on one end, move through your standard bar clamps, and finish with the heavy-duty stuff. It might feel like extra work now, but it saves you from that frantic, mid-project panic.
When you're looking at different workshop organization ideas, remember that your workflow is dictated by your most frequent tasks. If you find yourself reaching for those 6-inch clamps every single time you do inlay work, put them right at eye level. A well-thought-out wall mounted tool rack isn't just about tidiness; it's about keeping your momentum. When every tool has a predictable home, you stop fighting your environment and start focusing on the wood.
Five Things Most People Forget When Building a Rack
- Don't use thin plywood for the base. A rack full of heavy iron clamps will bow and warp a flimsy board in a week, and once it's out of true, nothing hangs straight. Use something solid, like a piece of thick hardwood or a proper piece of structural ply.
- Mind the spacing between your pegs or rails. I've seen plenty of lads build a rack only to find their largest F-clamps won't fit because they didn't account for the width of the screw mechanism. Measure your biggest tool before you drive a single nail.
- Make sure the rack is mounted to something substantial. If you screw a heavy clamp rack into a thin bit of drywall, the whole thing is coming down on your toes the moment you hang a heavy set of pipe clamps. Get it into a stud or a solid workbench frame.
- Leave room for the "odd ones." You'll always end up with a few clamps that don't fit the system—maybe a specialized bar clamp or an old relic you've restored. Build in a little extra space or a dedicated hook so they don't just end up rolling around on the floor.
- Think about accessibility, not just storage. If you have to move three clamps just to get to the one you actually need, the rack has failed. You want to be able to reach in, grab, and get back to the bench without a fuss.
A Bench Worth Working At
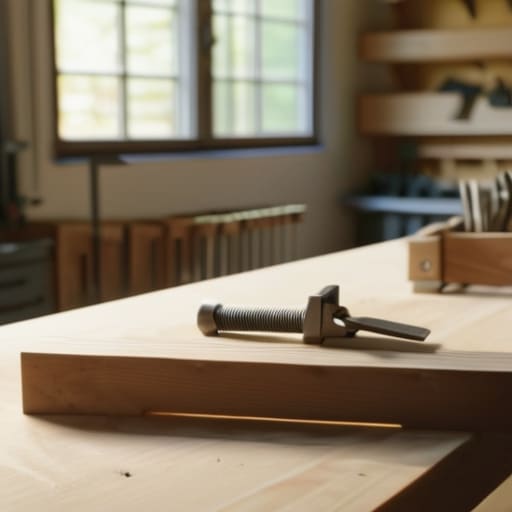
Building this rack isn't just about clearing a bit of floor space or tidying up the mess; it’s about respecting the tools you use to make your living. By grouping your clamps by size and securing them to a dedicated, sturdy frame, you’ve removed the constant, nagging friction of hunting through a pile of metal every time you need to pull a joint together. You’ve moved from a state of chaos to a state of controlled workflow, ensuring that when the glue is wet and the clock is ticking, you aren't fumbling around like a novice. A well-organized shop is the foundation of precision work, and you’ve just laid that foundation solid.
I’ve spent forty years on site and another ten in the classroom, and if there is one thing I’ve learned, it’s that your environment dictates your craft. You can have the finest chisels and the sharpest planes in the world, but if you’re fighting your own workspace, you’ll never find your rhythm. Take pride in the small things—the way your tools sit, the way your bench is laid out, and the way your shop breathes. When you treat your tools with respect, they reward you with unmatched accuracy. Now, get those clamps off the floor, get them onto the rack, and get back to the real work.