Flattening a Board by Hand
 Callum Reith-Sowande
I spent thirty years on-site watching young lads reach for a power planer the second a board looked a bit wonky, thinking they were saving time. They weren't; they were just making a mess and burning through expensive blades. I remember one apprentice, back when I was teaching at the college, who nearly ruined a beautiful piece of oak because he was fighting the grain with a vibrating machine instead of listening to the wood. If you want to actually master the craft, you need to learn how to use a try plane to let the tool do the work for you. It isn't about brute force or how much muscle you've got in your shoulders; it’s about understanding the rhythm of the shaving.
In this guide, I’m going to strip away the nonsense and show you the proper way to set your iron, find your stance, and read the grain. I won't be giving you any fancy, complicated theories that don't work in a real workshop. Instead, I’ll give you the straight truth on achieving a glass-smooth finish using nothing but your hands and a well-tuned plane. We'll go through the mechanics step-by-step, from the first adjustment to that final, perfect shaving.
Guide Overview
Tools & Supplies
- Try plane (The primary smoothing plane used for final surface preparation)
- Marking gauge (Used to set depth or reference lines)
- Wood workpiece (1 piece of dimensioned lumber)
- Sandpaper (Small assortment for post-planing cleanup)
Step-by-Step Instructions
- 1. Before you even think about making a cut, you need to set the iron. Don't just crank the screw until it feels tight; you want the blade to sit just a hair's breadth above the sole. If you set it too deep right away, you'll just end up fighting the wood and making a mess of your efforts.
- 2. Check your edge. I've spent half my life at the sharpening stone, and I won't tell you to pick up a plane if that iron isn't scary sharp. Run your thumb (carefully, mind you) along the bevel; if it doesn't feel like it could shave the hair off your arm, stop what you're doing and get back to the whetstones.
- 3. Find your direction. You can't just push a plane blindly across a board and expect it to behave. Look closely at the grain—you're looking for those tiny lines that tell you which way the wood fibers are running. You want to plane with the grain, not against it, otherwise you'll tear the surface right up.
- 4. Get your stance right. Don't stand there like a statue; you need to move with the tool. Place your lead hand on the front knob and your trailing hand on the rear tote, keeping your shoulders square. You want to use your body weight to drive the plane forward, not just the strength in your wrists.
- 5. Start the stroke. Don't go charging in like you're trying to win a race. Start the cut slightly before the edge of the timber, applying a steady, even pressure. You're looking for a thin, translucent shaving—the kind that looks like parchment paper—not a thick, chunky ribbon that tells me you're being too aggressive.
- 6. Maintain a level sole. As you push, keep a keen eye on the plane's contact with the wood. If you start to tilt or wobble, you'll dig a corner in and leave a gouge that'll take you twice as long to fix. It’s about a constant, rhythmic motion that keeps the tool flat and true.
- 7. Evaluate the surface. Every few passes, stop and run your hand over the wood. You aren't looking for perfection immediately; you're looking for a surface that feels smooth and predictable. If the wood starts to feel "grabby" or rough, it's time to check your iron or reconsider your direction.
Mastering Hand Plane Blade Adjustment for a Surgical Edge
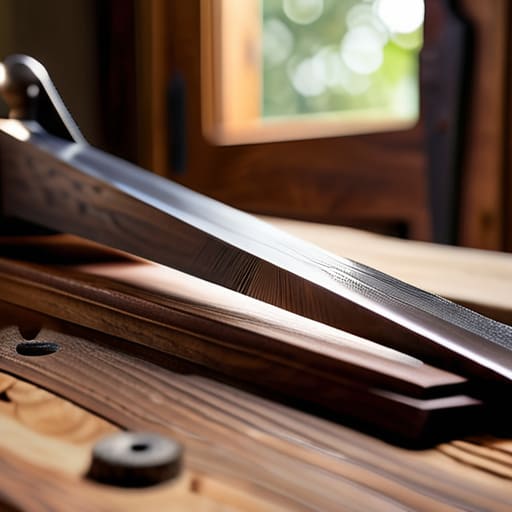
Most lads make the mistake of thinking a plane is just about how much you turn the adjustment nut. They treat it like a power tool, cranking it down to force a chip. That’s not how you do it. When you’re setting up a hand plane, you have to learn to listen to the wood. If you’re hearing a rhythmic, singing vibration, you’re on the right track. If it sounds like you’re tearing through wet cardboard, your blade is either too deep or, more likely, you’ve lost that razor edge. I’ve spent forty years seeing men ruin perfectly good timber because they were too impatient to fine-tune the iron.
The real secret to hand plane blade adjustment isn't just about depth; it’s about the relationship between the blade and the chipbreaker. If you’re working on flattening rough lumber, you might start with a slightly deeper cut to take the brunt off, but as you approach your final dimension, you need to back that blade off until it's barely kissing the surface. You want a shaving so thin you can see through it. That's when you know you've actually mastered the tool.
Achieving a Flat Surface With Planes Through Deliberate Motion
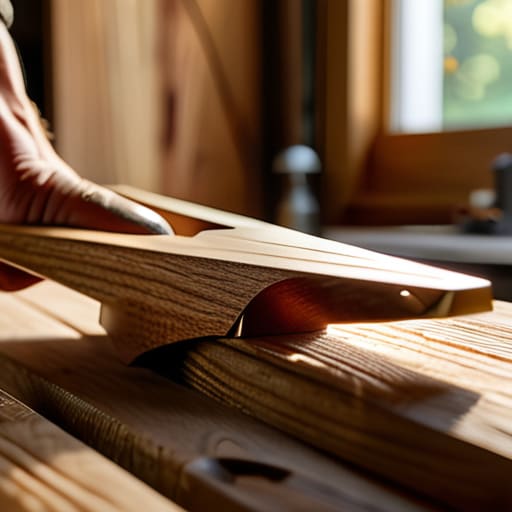
You can’t just push a plane and hope for the best; you have to work with the wood, not against it. When you're flattening rough lumber, the biggest mistake I see is people trying to rush the stroke. If you’re short-stroking or hacking at the end of the board, you’ll end up with "snipe" or a surface that looks like a mountain range. You need to keep your body moving in one continuous, fluid motion. I always tell my students to start the stroke before the blade hits the wood and carry it well past the end. This keeps the pressure even and prevents that nasty dip at the edges.
It’s also about how you read the grain. If the plane starts to chatter or feels like it’s digging in too deep, you’ve likely hit a change in the grain direction. Don't force it. Instead, ease off the pressure or slightly adjust your angle. Achieving a flat surface with planes is as much about listening to the sound of the shaving as it is about the physical movement. A clean, consistent "shhh" sound tells you everything you need to know.
Five things I wish my apprentices had learned sooner
- Watch your grain, not just your hands. If the plane starts tearing the fibres instead of slicing them, you’ve gone against the grain. Stop, turn the board, and work with the wood, not against it.
- Keep your body weight behind the tool. A try plane isn't something you push with just your wrists; you use your whole shoulder and a steady stride to let the iron do the heavy lifting.
- Don't chase perfection on the first pass. Take shavings so thin they look like translucent onion skins. If you try to take a heavy chunk off a wonky board, you'll just end up with a wavy mess.
- Listen to the sound of the cut. A good plane makes a consistent, rhythmic whisper. If it starts chattering or sounding like it's chewing, your blade is either dull or your depth is set too deep.
- Clear the throat of the plane. I’ve seen too many lads leave a pile of dust and shavings inside the body. If the throat is clogged, the plane won't glide, and you'll spend more time fighting the tool than shaping the timber.
The Quiet Satisfaction of a Clean Cut
At the end of the day, mastering the try plane isn't about brute force or speed; it is about the relationship between your hands and the timber. You have to respect the grain, keep that iron scary sharp, and understand that a millimeter of adjustment can be the difference between a perfect surface and a ruined workpiece. Remember, if you are fighting the wood, you haven't adjusted your blade fine enough, or you are pushing too hard. It comes down to the basics: a steady stance, a controlled stroke, and the patience to let the tool do the work it was designed to do.
I know it is tempting to reach for the electric sander when a project gets demanding, but there is a specific kind of peace you only find in the workshop when the noise stops. When you finally lay your hand across a surface that has been trued by a hand plane, you aren't just looking at a flat board; you are looking at a finish that no sandpaper can ever truly replicate. Don't let the modern world convince you that everything needs to be faster and louder. Slow down and feel the edge. Once you truly understand the rhythm of a well-tuned plane, you’ll find you aren't just making furniture—you’re mastering a craft that lasts.