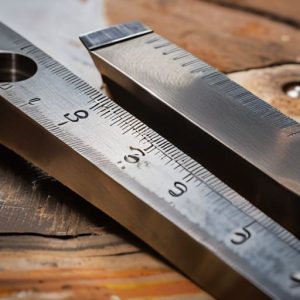
Setting Fence Posts in a Straight Line
 Callum Reith-Sowande
Most people think that if they want to learn how to build a fence, they need to go out and spend a fortune on a heavy-duty power auger and a cordless impact driver. They think the noise and the speed are what make the job professional. I spent forty years on sites seeing the opposite; I’ve seen more "quick" jobs fall over in a gale because the person behind the machine didn't actually understand the integrity of the timber they were handling. You don't need a warehouse full of battery-operated gadgets to get a straight line and a sturdy post; you just need a bit of patience and the right bit of steel.
I’m not going to give you some glossy, over-complicated manual filled with jargon you'll never use. Instead, I’m going to show you how to do this properly, from setting your first post to ensuring your rails are level and true. We’ll talk about choosing wood that won't rot before the season is out and why a well-maintained hand tool will often serve you better than a cheap electric one. This is about building something that lasts, not just something that looks finished on a Sunday afternoon.
Guide Overview
Tools & Supplies
- Post hole digger or auger for making holes
- Level to ensure posts are vertical
- Power drill for securing boards
- Circular saw for cutting wood
- Wooden posts (quantity depends on length)
- Fence panels or pickets (quantity depends on perimeter)
- Concrete mix for setting posts
- Gravel for drainage at post base
- Wood screws or nails
Step-by-Step Instructions
- 1. First, you need to get your lines right before you even think about touching a shovel. Don't just eyeball it; grab a string line and a few wooden stakes to mark out exactly where the posts are going to sit. If your line is crooked at the start, the whole fence will look like it’s leaning halfway to the next county by the time you reach the end.
- 2. Once your marks are set, it’s time to dig. You’ll want your holes deep enough to get below the frost line—usually about two or three feet depending on where you live. I don't care how much those fancy electric augers cost; there’s no substitute for the feel of a proper spade hitting solid ground and knowing exactly how much room you've got to work with.
- 3. When you’re dropping your posts in, don't just stand them up and hope for the best. Use a spirit level to ensure they are perfectly plumb on both sides before you start pouring your concrete. A post that's even a fraction of a degree off will make your rails look utterly shambolic once you start fixing them in place.
- 4. Now, once the posts are set and the concrete has had its time to settle, you can move on to the rails. I prefer using a sharp hand saw to trim my timber to length rather than a circular saw; it keeps the end grain clean and prevents the wood from splintering. Make sure your rails are level and secure, as they carry the weight of everything else you're about to attach.
- 5. For the pickets or the fencing panels, take your time with the spacing. If you’re using individual boards, use a spacer block so the gaps are consistent all the way down the line. It’s a bit of a slow process, but precision beats speed every single time when it comes to something that has to stand up to the wind.
- 6. Finally, you’ll want to secure everything down with decent quality fixings. Don't go buying the cheap, thin screws that snap the moment they hit a knot in the wood. Use something substantial, and if you’re feeling thorough, apply a bit of wood preservative to any freshly cut ends to stop the rot before it even starts.
Precision Measuring for Fence Layout Beats Guesswork Every Time
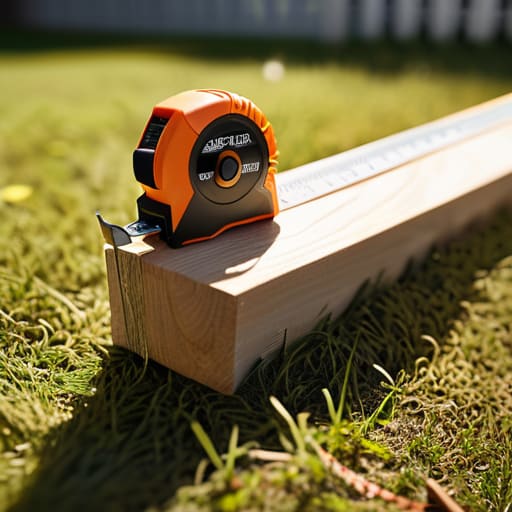
You can spend all day wrestling with a spirit level, but if your initial lines are off, you’re just making a crooked mess more efficiently. When I was teaching apprentices, I’d tell them that most mistakes in wood fence installation steps don't happen when you're hammering the nails; they happen before the first shovel even hits the dirt. You need to get your measuring for fence layout spot on by using a long, high-quality tape and a string line that isn't going to sag the moment a breeze picks up. I don't care how expensive your power tools are; if your layout is a fraction of an inch out, the whole run will look like a wave by the time you reach the end.
Don't rely on "eyeballing it" just because the ground looks flat. A slight slope can throw your entire post line out of alignment, making the job of leveling fence panels a nightmare later on. Take the time to mark your points precisely. It’s better to spend an extra twenty minutes with a pencil and a square now than to spend three days trying to fix a lopsided fence because you were too rushed to measure twice.
Mastering Fence Post Hole Digging With Intentionality

Now, once you’ve got your layout marked out, don't go rushing into the digging. Most blokes treat fence post hole digging like a race to see how fast they can exhaust themselves, but that's a fool's errand. If you dig a shallow, messy hole, you're asking for a leaning fence by next winter. I’ve seen plenty of "professional" jobs where the posts were barely sitting in the dirt, just perched there waiting for a heavy wind to do the work for them. Take your time. Get the depth right—usually at least a third of the post length should be underground—and ensure the bottom of that hole is firm and level.
When you move on to setting fence posts in concrete, remember that the mix is just there to hold the timber, not to replace a good foundation. Don't just dump a bucket of wet sludge in and call it a day. You want to pack the earth around the post first to give it some stability, then pour your concrete. I always tell my apprentices: if you can wiggle the post with your hand before the concrete sets, you've already failed. Steady hands and a bit of patience here will save you from a massive headache when it comes time to start leveling the actual panels.
Five ways to stop your fence from becoming a heap of rot
- Don't go buying those cheap, pressure-treated slats that feel like wet cardboard; if you can't feel a bit of weight and grain to them, they'll be warped by next season.
- When you're fixing your rails to the posts, don't just hammer nails in and hope for the best; use screws that actually bite, or you'll be replacing them before the year is out.
- Keep your chisel sharp when you're trimming those posts to height; a blunt blade will crush the wood fibers instead of slicing them, leaving you with a ragged, ugly finish that invites rot.
- Stop relying on those plastic spirit levels that flex when you lean on them; get yourself a proper, heavy metal one that stays true, or your whole line will look like a wave.
- Treat your timber with respect from the start—if you're cutting rails to length, make sure your saw is keen so you aren't tearing the grain and exposing the soft heart of the wood to the rain.
Doing the Job Right
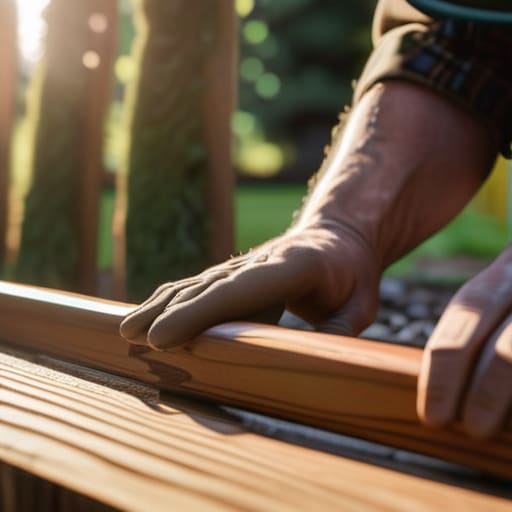
At the end of the day, building a fence isn't about rushing to the finish line so you can sit down with a pint. It’s about the groundwork you laid before the first timber even touched the soil. If you took the time to measure with precision and dug those post holes with real intentionality, you’ve already done the hard part. A fence that leans after two seasons isn't a fence; it’s just a collection of expensive firewood. By focusing on the stability of your posts and the accuracy of your layout, you ensure that the structure stands firm against the wind and the weather, rather than fighting against them.
I know the modern way is to grab the loudest, most expensive power tool in the shed and try to muscle through the work. But there is a quiet satisfaction in knowing that every joint is tight and every post is true because you took the time to do it properly. Don't be in such a hurry to finish that you forget to respect the material. A well-built fence is a testament to your patience and your skill. Build it once, build it solid, and build it so that it lasts long after the gadgets and the trends have all been thrown away.