Removing a White Water Ring
 Callum Reith-Sowande
Most folks see a white cloudy mark on their dining room surface and immediately think they’ve ruined the wood, or worse, that they need to buy a new piece of furniture. They start looking for heavy-duty sanders or expensive chemical strippers, but that’s a mistake. You don't need to strip the finish to fix a mistake made by a damp glass; you just need to understand what’s actually happening under the surface. I’ve spent forty years in the trade, and I can tell you that learning how to repair a water ring on a table is more about patience and the right touch than it is about brute force or expensive machinery.
In this guide, I’m going to show you how to lift that moisture out without destroying the grain or the finish. I won't be suggesting any of those miracle sprays you see in the adverts that just end up leaving a greasy film. Instead, I'll walk you through a few tried-and-tested methods—from simple heat application to a bit of gentle abrasion—that actually work. We’ll get that surface looking smooth and even again, just the way it was meant to be, before you even have a chance to reach for a power tool.
Guide Overview
Tools & Supplies
- Hairdryer (for heat application)
- Microfiber cloth (for buffing and cleaning)
- Mayonnaise or Petroleum Jelly (small amount)
- Soft cloth (1-2 pieces)
Step-by-Step Instructions
- 1. First, you need to figure out what you’re actually dealing with. If the ring is just a white, cloudy mark, that's moisture trapped in the finish; if it's dark or black, the water has gone deeper into the grain itself. Take a soft cloth and wipe the area clean to make sure you aren't just rubbing grit into the surface.
- 2. If it's just a surface-level white mark, don't go reaching for the sandpaper just yet. I always suggest starting with something gentle, like a bit of non-gel toothpaste or a very light application of mayonnaise. The oils in the mayo can sometimes penetrate the finish and drive the moisture out of the top layer. Apply it, let it sit for an hour, and wipe it away.
- 3. If the gentle stuff fails, you'll need to move to a bit of heat. Use a hair dryer on a medium setting—not high, or you'll scorch the wood—and move it back and forth over the ring. You're looking to evaporate that trapped moisture through the finish. Keep a close eye on it; you don't want to melt the lacquer or wax.
- 4. Now, if the ring is stubborn and dark, you've got a bit of a deeper job on your hands. This is where you stop being gentle and start being precise. You'll need to lightly sand the area using a high grit, maybe 320 or 400. Don't go wild with a random orbital sander that'll flatten your edges; use a small sanding block so you keep the surface level.
- 5. Once you've sanded back the damaged area, you'll have a patch that looks different from the rest of the table. You'll need to match the colour. I usually keep a few small tins of stain or even a furniture repair marker in my kit for this. Apply it in thin, controlled layers until the patch blends into the surrounding wood.
- 6. The final step is to bring the sheen back. After the stain has dried completely, you'll need to apply a bit of wax or a compatible finish to seal it all in. Buff it out with a clean cloth until it matches the rest of the tabletop. If you've done it right, you won't even be able to tell where the repair began.
Precision Over Force Removing White Cloudy Marks From Wood
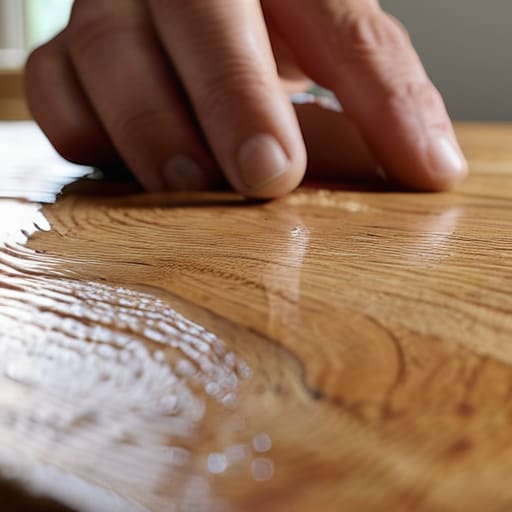
When you're dealing with those stubborn white cloudy marks, the instinct is to grab a heavy sander and start grinding away the surface. That’s a mistake. You aren't just fighting a stain; you're fighting the moisture trapped in the finish itself. If you go in too hard with a machine, you’ll end up with a dip in the wood that no amount of polish can fix. I've seen too many young lads ruin a perfectly good tabletop because they thought force was a substitute for patience.
If the ring is shallow, you might be tempted by the hairdryer method for water rings, but be careful. You're trying to draw the moisture out of the finish, not bake the wood itself. If you use too much heat, you'll cloud the lacquer or even crack it. If that doesn't work, some old-timers swear by using a bit of mayonnaise for wood water stains, relying on the oils to penetrate the surface. It sounds a bit daft, but sometimes the simplest chemistry wins. The goal isn't to strip the wood, but to gently coax the finish back to its original state without losing the soul of the piece.
Restoring Wood Furniture Finish With a Steady Practiced Hand
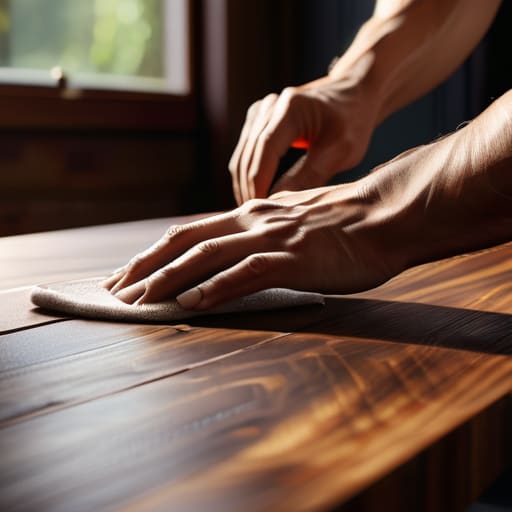
Once you’ve dealt with the moisture itself, you’re often left with a patch that looks dull or uneven compared to the rest of the piece. This is where most people panic and reach for a tin of heavy lacquer, which is a mistake. If you’ve done the work properly, you aren't looking to rebuild the surface, you’re just restoring wood furniture finish to its original state. I’ve spent years teaching apprentices that the finish is a skin, and you have to treat it with respect. If the area is still a bit hazy, a bit of gentle heat can sometimes do the trick, but don't go overboard with the hairdryer method for water rings; you’ll cook the oils right out of the grain if you aren't careful.
The secret to a seamless repair is patience during the final stages. After you've addressed the marks, you'll likely need to spend some time buffing out moisture damage using a soft cloth and a bit of high-quality wax. Don't rush the movement. Use steady, circular motions—the kind of rhythm you develop after forty years at a bench. If you work too fast, you’ll create heat friction that makes the wax gummy and useless.
A few things I’ve learned from forty years of fixing mistakes
- Don't go at it with a sander first. If you start grinding away the surface to get rid of a ring, you'll end up with a dip in the table that's a far bigger headache than the mark itself.
- Check your light. Before you apply any heat or oils, hold a lamp at a low angle across the wood. It'll show you exactly how deep the moisture has gone and whether you're dealing with a surface stain or something trapped in the grain.
- Patience is your best tool. Whether you're using a warm iron or a bit of oil, don't rush the process. If you force the moisture out too fast, you'll just end up with a patchy finish that looks worse than the original ring.
- Match your materials. If you're using a wax or an oil to blend the repair, make sure it's the same stuff that was on the table to begin with. I've seen too many lads ruin a perfectly good finish by slapping a modern spray on top of an old beeswax coating.
- Test the patch in a hidden spot. I don't care how confident you feel; always try your remedy on the underside of the table or a leg first. It's better to find out your method changes the color of the wood on a scrap piece than on the middle of the dining table.
A bit of patience goes a long way
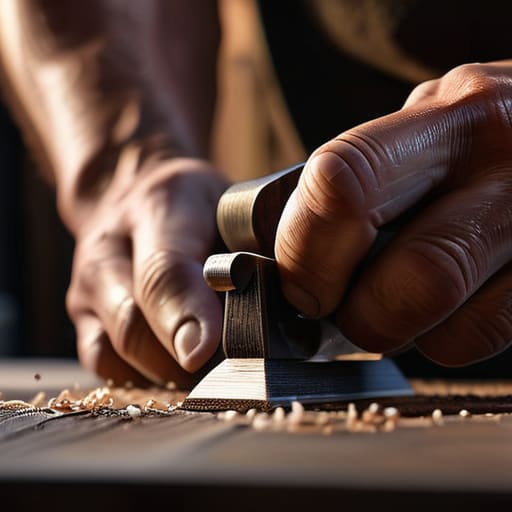
At the end of the day, fixing a water ring isn't about how much muscle you can throw at a piece of timber. It’s about understanding whether you’re dealing with a surface stain or something trapped deeper in the finish. Whether you chose to use a bit of heat to draw out that moisture or opted for the gentle precision of a hand plane to take it off flush, the goal remains the same: respect the grain. You don't need a shop full of expensive, vibrating machinery to undo a bit of carelessness. You just need a steady hand, the right bit of grit, and the sense to know when to stop pushing before you've gone too deep.
I’ve spent forty years seeing people rush through jobs, thinking the loudest tool in the room is the most effective. They aren't. A well-maintained tool and a bit of quiet focus will always get you a cleaner result than a power tool used by someone in a hurry. Don't let a little blemish on a tabletop discourage you from the craft. Treat the wood with a bit of dignity, take your time, and remember that true skill is found in the details that most people are too impatient to notice. Now, get back to it.