Workholding Without Buying Clamps
 Callum Reith-Sowande
I spent half my apprenticeship wrestling with a heavy-duty F-clamp, trying to hold a piece of oak steady while my chisel kept skidding across the grain. It was frustrating, dangerous, and frankly, a waste of good energy. People will tell you that you need more clamps to get a stable workpiece, but that’s a load of rubbish. The truth is, if you aren't learning how to use bench dogs and holdfasts properly, you aren't really working the bench; you're just fighting it. A proper workbench isn't just a flat surface; it’s a partner in the work, provided you know how to lock your timber down without needing a mountain of expensive hardware.
In this guide, I’m going to show you how to stop the struggle and start working with precision. I'll walk you through the proper placement for your dogs so your wood doesn't shift under a plane, and I'll explain the exact angle you need for a holdfast to bite into the bench and never let go. No fancy gadgets or unnecessary fluff—just the honest, practical ways to secure your work so you can focus on the cut.
Guide Overview
Tools & Supplies
- Bench Dogs (Pins used to create workholding boundaries)
- Holdfasts (Metal rods used to apply downward pressure)
- Workbench (Must have pre-drilled dog holes)
- Mallet (Used to drive holdfasts into position)
- Bench Dog Set (Set of 4-8 pins)
- Holdfasts (Set of 2-4 metal rods)
Step-by-Step Instructions
- 1. First, you need to get your bench ready. If you’ve got a workbench with dog holes, make sure they aren't choked with sawdust or old shavings, otherwise, your dogs won't sit flush. I always keep a small brush handy to clear the holes before I start. If your holes are uneven or won't take a dog, you're better off drilling them yourself with a Forstner bit so they're perfectly square.
- 2. Once the holes are clean, select your bench dogs. For most of my work, I use simple wooden pegs or metal stops. Position them at the edges of your workpiece to create a physical boundary. You want to place them just far enough apart that the board can't slide sideways, but close enough that you aren't fighting the timber to get it into place.
- 3. Now, if you're working on something larger or more awkward, it’s time to bring in the holdfast. Slide the flat end of the holdfast into the dog hole, making sure it sits deep and secure. You don't want it wobbling halfway through a heavy plane stroke, or you'll end up with a wonky board and a bruised thumb.
- 4. This is the part where people usually get it wrong: the leverage. Place your workpiece against the bench dog, then position the holdfast on the opposite side. Lean your weight into the handle of the holdfast to drive the "toe" down into the wood. You aren't just resting it there; you are using your body weight to clamp that board against the bench.
- 5. Test the tension before you ever touch a saw or a chisel to the wood. Give the board a firm shake; if it moves even a fraction, you haven't applied enough pressure or your holdfast is too thin for that specific hole. I’ve spent many a morning re-adjusting my setup because I was too impatient to check the grip first.
- 6. When you're ready to make your cut, keep your eyes on the line and your hands where they belong. Because the holdfast is doing the heavy lifting, your hands are free to guide the tool rather than trying to pin the wood down. This is where you'll see that a properly secured piece allows for much more control than any plastic quick-clamp ever could.
- 7. When the job is finished, don't just yank the holdfast out. That’s a good way to mar your bench or snap the tool. Ease the pressure off slowly, let the wood lift, and then withdraw the metal straight up. Clean your tools, wipe them down, and put them back where they belong. A tool that's treated well will last a lifetime.
Precision Bench Dog Hole Spacing for Better Control
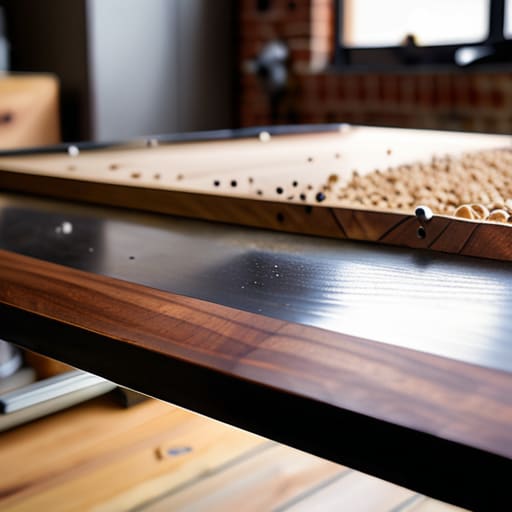
If you’ve just slapped a few holes in your bench without a plan, you’re going to find yourself fighting the timber more than working it. I’ve seen too many lads drill holes at random intervals, only to realize they can’t get a long board properly supported. For a decent woodworking workbench setup, you need to think about the span of the projects you actually intend to build. I always tell my students to space their holes in a regular grid—usually about six inches apart—so that no matter the length of the workpiece, you’ve got a point of contact within reach.
If you want real accuracy, don't just eye it. I use a simple dog hole jig setup to ensure every hole is perfectly perpendicular and dead-center. If those holes are even slightly wonky, your dogs won't sit flush, and you'll lose that stability you're looking for when securing a workpiece for planing. It’s the difference between a board that skitters across the bench and one that stays as still as a mountain under your hand.
The Machinist Holdfast vs Woodworking Holdfast Debate
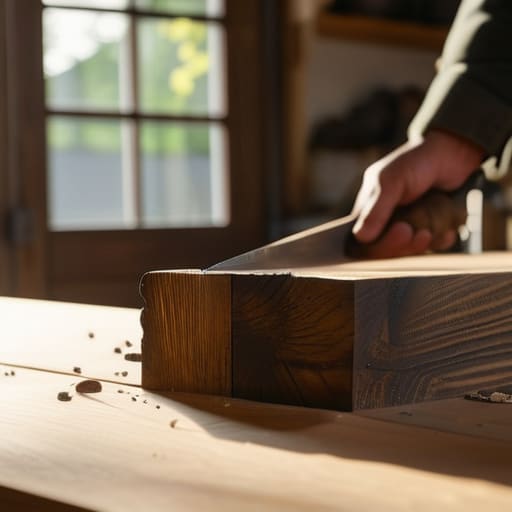
I’ve sat in many a workshop watching young lads struggle with heavy-duty clamps when all they really needed was a bit of lateral pressure. You’ll often hear people arguing about the machinist holdfast vs woodworking holdfast debate, and frankly, it’s a bit of a nonsense if you don't understand what you're doing. A machinist’s version is often built for heavy, static ironwork; it’s stiff, unforgiving, and sometimes a bit too much for a fine piece of oak. A proper woodworking holdfast, however, is designed to give you that slight bit of "give" needed when you're securing a workpiece for planing. You want something that bites into the wood without marring the surface or snapping under the rhythmic pressure of a long stroke.
If you’re looking at your woodworking workbench setup and wondering which way to go, remember that versatility is king. I’ve always preferred a holdfast with a bit of spring to it. It allows you to adjust your tension on the fly without reaching for a wrench. If you treat your clamping tools like disposable junk, you'll find yourself fighting the timber instead of shaping it. Invest in quality steel that you can hammer and reshape yourself when the fit isn't quite right.
Five Ways to Stop Fighting Your Workpiece
- Don't over-tighten the holdfast. You aren't trying to crush the timber; you're just trying to pin it. If you drive that iron in too hard, you’ll bow your board, and then nothing you cut will be square.
- Use your bench dogs to create a sacrificial boundary. If you’re working a piece that’s a bit precious, set your dogs so they take the brunt of the pressure, keeping the wood itself from sliding across the benchtop.
- Check your dog holes for sawdust buildup. I’ve seen plenty of lads get frustrated because their dogs won't sit flush, only to find a bit of waste wedged in the hole. Keep them clear with a bit of air or a stiff brush.
- Combine the two for tricky tasks. If you’re doing a heavy hand plane session, use the dogs to stop the lateral movement and the holdfast to keep the end grain from lifting. It’s about creating a complete cage for the wood.
- Listen to the tool. When you’re driving a holdfast home, listen for that solid "thud." If it sounds hollow or loose, it isn't doing its job. A steady, firm grip is the difference between a clean cut and a dangerous slip.
Getting a Grip on Your Work
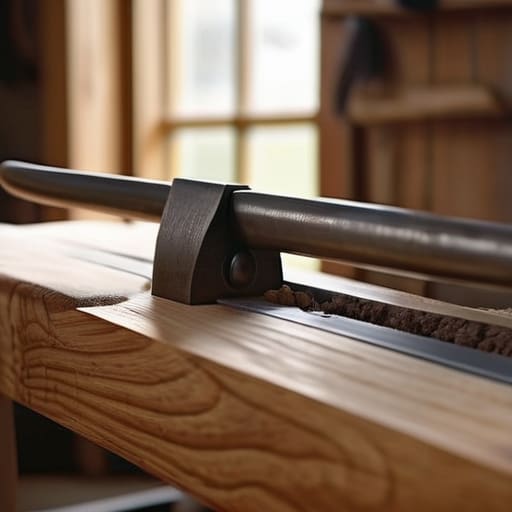
At the end of the day, using bench dogs and holdfasts isn't about adding more gear to your shop; it’s about removing the friction between you and the timber. We’ve talked about the necessity of precise hole spacing to keep your work from wandering, and we've weighed up whether a machinist style or a traditional woodworking holdfast suits your particular bench. The main thing is that you stop fighting the wood. When you stop wrestling with a dozen heavy F-clamps just to plane a single board, you start to notice the difference in your accuracy. A stable workpiece is the only way to ensure that your chisel or plane does exactly what you tell it to do, rather than skidding off a corner because the board decided to shift mid-cut.
I know there is a temptation to just reach for the cordless router or a power sander when things get difficult, but I challenge you to trust your hands instead. There is a specific kind of confidence that comes from knowing your workpiece is locked down tight by nothing more than gravity and a well-placed iron. It changes your pace. You stop rushing to finish and start focusing on the grain. Mastery isn't about how much electricity you can plug into your bench; it's about how much control you can maintain with the tools you actually understand. Get your dogs set, drive your holdfast home, and just enjoy the cut.