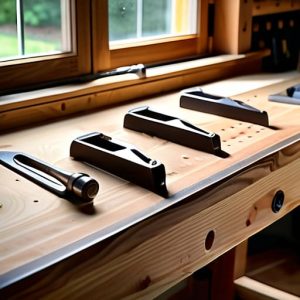
Rehandling a Hammer Properly
 Callum Reith-Sowande
I was halfway through a mortise joint on a piece of seasoned oak when the handle of my favourite mallet finally gave up the ghost, splintering right under my palm. Most lads would have cursed the tool, tossed it in the scrap bin, and gone running for a plastic replacement from the local hardware shop. But that’s the problem with how things are done these days; people treat tools like they're disposable, when the truth is, knowing how to replace a tool handle is what actually keeps a workshop running for decades. A bit of seasoned ash and a few minutes of patience will do more for your craft than any expensive new kit ever could.
I’m not going to give you any of that fancy, over-complicated nonsense you see in those glossy magazines. I’m going to show you the proper way to fit a new handle so it doesn't wobble or fly out halfway through a session. We'll talk about choosing the right timber, shaping the neck, and ensuring that the fit is tight enough to last another forty years. If you want to stop buying consumables and start maintaining your legacy, then let's get stuck in.
Guide Overview
Tools & Supplies
- Hammer or Mallet to remove old head
- Saw to trim handle length
- Rasp or Sandpaper to shape wood
- Drill to secure fasteners
- Replacement wooden handle (1)
- Wood glue (1 small bottle)
- Sandpaper (various grits)
Step-by-Step Instructions
- 1. First, you need to get the old handle off without mangling the metal head. If it’s a mallet or a chisel, don't go swinging a heavy sledgehammer at it; you'll just lose your temper and potentially mushroom the steel. Use a small hammer and a sacrificial block of wood to tap the head away from the wood, or if it's stubborn, a bit of heat from a torch can help loosen the grip.
- 2. Once the head is free, take a sharp knife or a small rasp and clean out the eye of the tool. You’ll likely find old, compressed wood fibers or even bits of dried glue stuck in there. If you don't clear that socket properly, the new handle won't seat deep enough, and you'll end up with a tool that wobbles the moment you put some weight behind it.
- 3. Now, pick your timber. I don't care what the big-box hardware store tells you; stay away from anything soft or knotty. You want something dense and straight-grained, like ash or hickory. If the wood has a knot right where the head sits, throw it in the scrap bin immediately—it'll snap the first time you use it.
- 4. Shape your new handle by carving a tenon that matches the shape of the tool's eye. I prefer using a hand plane and a coping saw to get the rough shape, then refining it with a rasp. You want a snug, tapered fit that goes in tight, but you shouldn't have to beat it into place with a mallet.
- 5. Before you go permanent, do a dry fit. Slide the handle into the head and check it for any play. If it’s a bit loose, don't reach for the wood filler—that's a fool's errand. Instead, shave a tiny bit more off the tenon until it feels solid and true.
- 6. To fix it for good, use a bit of wood glue or a specialized resin, but don't overdo it. Apply it to the tenon, seat the head, and then drive it home with a few firm taps from a mallet. Once it's in, wipe away any excess glue immediately; you don't want a crusty mess drying on your finished wood.
- 7. Finally, once the glue is dry, it’s time for the part that actually matters: the finish. Sand the handle down through the grits until it feels smooth in your hand, then apply a bit of linseed oil. It’ll soak in, protect the grain, and make the tool feel like it was meant to be held.
Removing Old Broken Handles Without Losing Your Edge
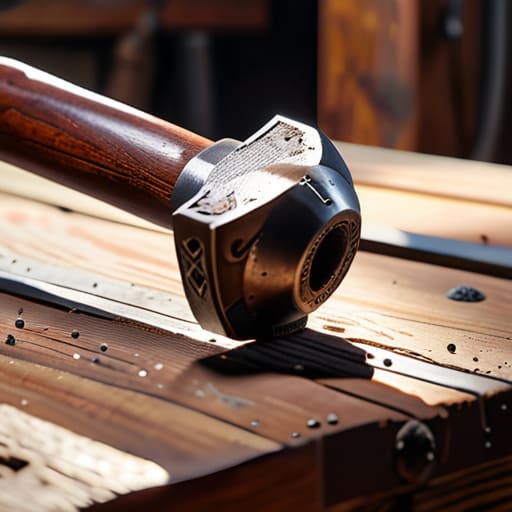
Now, the trickiest bit isn't the new wood; it's getting the old, splintered mess out without mangling the metal. I’ve seen too many lads try to force a stuck head off with a heavy sledge, only to end up with a deformed eye or a cracked cheek. If the head is stubborn, don't go fighting it with brute force. Instead, try a bit of gentle heat. A quick pass with a heat gun around the eye can expand the metal just enough to break that decades-old bond of dried glue and grit. When you're removing old broken handles, remember that the metal is more valuable than the wood. Treat the head with respect, or you'll be looking at a scrap heap instead of a tool.
If the handle has snapped flush against the eye, you might need to carefully pare away the remnants with a fine chisel. Work slowly. You want to clear the path so the new shaft can seat properly during the wooden tool handle installation phase later on. If you're too aggressive here, you'll nick the inside of the eye, and no amount of securing tool heads with wedges will ever make that tool feel right in your hand again. Take your time.
Choosing the Right Handle Material for Lasting Performance
Now, once you’ve finished removing old broken handles, you’ll find yourself staring at a pile of blanks at the timber yard. Don’t just grab the cheapest piece of ash or hickory you see. I’ve seen many a lad ruin a perfectly good tool head by pairing it with a handle that has hidden knots or, worse, internal rot. When you're choosing the right handle material, you’re looking for grain density and straightness. If the grain doesn't run straight through the length of the wood, that tool will vibrate like a tuning fork and eventually snap right when you're mid-swing.
For most of my work, I stick to ash or hickory; they have the "give" needed to absorb shock without shattering. If you're doing some heavy-duty mallet work, you might want something even denser, but avoid anything too brittle. Remember, part of proper tool maintenance and repair is ensuring the handle complements the weight of the head. A handle that's too light will make the tool feel "flighty" and clumsy in your hand. You want a piece of wood that feels like an extension of your own arm, not a foreign object you're fighting against.
Five Ways to Get the Fit Right First Time
- Don't just jam the new wood in and hope for the best. A handle that wobbles is a handle that'll snap your wrist when you're mid-swing, so make sure you've carved that tenon down until it's a snug, tight squeeze.
- Use a bit of linseed oil on the new handle before you set it. It won't just stop the wood from drying out and cracking; it'll help it swell slightly into the eye of the tool, giving you a much more honest connection.
- If you're working with a mallet or an axe, remember that the wedge is your best friend. Don't go using a cheap, soft metal wedge from a hardware shop; get yourself a proper brass or hardwood one that you can drive home tight.
- Watch your grain direction when you're shaping the grip. If you carve it so the grain runs against your thumb, you're just asking for a splinter halfway through the job. Follow the natural flow of the wood.
- Check the seat of the handle every time you finish a session. It’s easy to ignore a tiny bit of movement, but if you catch it early, you can just tighten the wedge instead of having to replace the whole lot when it finally flies off.
A Tool Worth Keeping
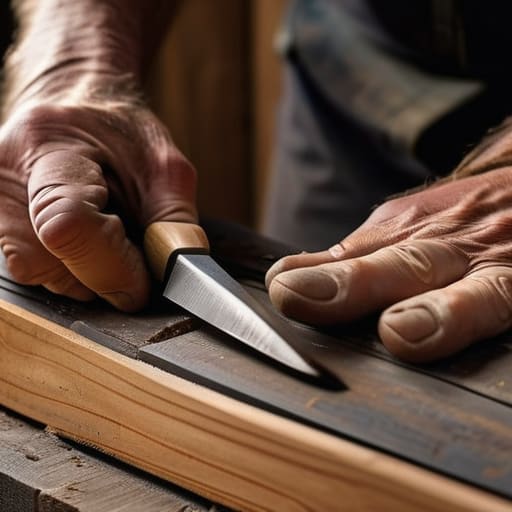
At the end of the day, replacing a handle isn't just about fixing a broken bit of wood; it’s about respecting the steel. You’ve learned how to get that old, splintered mess off without nicking your blade, and you know that a bit of extra time spent selecting a quality ash or hickory handle is well worth the effort. Don't let a cracked grip be the reason a perfectly good chisel ends up in the scrap heap. If you take the time to fit it properly and ensure the eye of the tool is clean, you aren't just repairing a tool—you are preserving a legacy that can last another forty years.
I see too many young lads these days seeing a cracked handle as a sign to head to the hardware store and buy a cheap, plastic replacement or, worse, a whole new tool. That’s not how we do things. There is a quiet sort of satisfaction in taking something that looked finished and making it feel right in your hand once again. When you pick up that tool tomorrow, you'll feel the difference. You'll find your rhythm again, and you'll remember that true craftsmanship starts with the care you give to the things you use every single day.