Repairing Rather Than Rehandling
 Callum Reith-Sowande
I remember sitting in my workshop last Tuesday, looking at a beautiful, old bevel-edged chisel that had been tossed into the scrap bin simply because the ash handle had split right down the middle. Most people see a crack like that and think the tool is dead, but they're wrong. They’ve been told that once the wood goes, the tool goes, but that's just nonsense designed to make you buy more plastic junk. Learning how to repair a wooden tool handle isn't about patching up a mistake; it's about respecting the steel and giving that tool another thirty years of life.
I’m not going to give you any fancy, over-complicated methods that require a workshop full of expensive machinery you don't actually need. I’m going to show you the honest, steady way to fix a split or a worn grip so it feels right in your hand again. We’ll go through the proper way to clean out the old mess, choose the right timber, and set it so it won't wobble when you're mid-stroke. By the time we're done, you'll have a tool that's better than new.
Guide Overview
Tools & Supplies
- Sandpaper (various grits for smoothing)
- Wood chisel (for cleaning the eye)
- Hammer (for seating the head)
- Wood glue (small bottle for securing)
- Wooden wedges (set of 2-3)
- Replacement handle (if original is unsalvageable)
Step-by-Step Instructions
- 1. First, you need to decide if the handle is actually worth saving. I’ve seen plenty of lads want to throw a chisel in the bin just because the ash has split near the eye, but if the steel is good, the wood is worth a bit of effort. Take a close look at the crack; if it's running straight through the metal socket, it's scrap. But if it's just a surface split or a bit of splintering near the grip, you can bring it back to life.
- 2. Once you've decided it's worth the time, you've got to clean the mess out. Use a small chisel or even a bit of sandpaper to clear out any old, dried glue or bits of dirt trapped in the split. You can't expect a repair to hold if you're just gluing over old grime. Get it down to clean, bare wood so the new bond actually has something to bite into.
- 3. Now, for the glue. Don't go reaching for those cheap, watery craft glues you find in the supermarket. You want a proper, high-quality wood glue—something like a Titebond—that’s going to soak into those fibers. Apply it generously into the crack, making sure you work it deep into the split with a thin piece of scrap wood or a small brush. If you leave air pockets in there, that handle will just fail you again when you're halfway through a heavy task.
- 4. This is where most people get lazy, and it's where they fail. You can't just smear some glue on and call it a day; you need pressure. Find some clamps that fit the shape of the tool without marring the wood, and tighten them down until you see a little bit of glue beading out of the crack. That's how you know it's seated properly. If you don't use clamps, you're just making a mess, not a repair.
- 5. While the glue is setting, wipe away the excess with a damp rag. Don't let it dry into a hard, ugly lump, or you'll spend an hour trying to sand it off later. Leave the tool clamped up for at least a full overnight soak. I know it's tempting to grab it the next morning, but patience is a tool in itself. If you rush the cure, the bond won't be strong enough to handle the shock of a mallet.
- 6. Once the glue is bone dry, it’s time to get the shape back right. Use a rasp or some coarse sandpaper to smooth out the area where the split was. You want the transition to feel seamless in your hand. If you can feel a ridge or a dip when you're gripping it, you'll end up with blisters, and blisters don't help you do precision work.
- 7. Finally, give the whole handle a good rub down with a bit of linseed oil. It'll bring the grain back out and, more importantly, it'll protect the wood from drying out and cracking again. A well-oiled handle feels right in the hand—it's got a weight and a warmth to it that no plastic-handled, mass-produced tool could ever match.
Fixing Cracked Hammer Handles With Precision
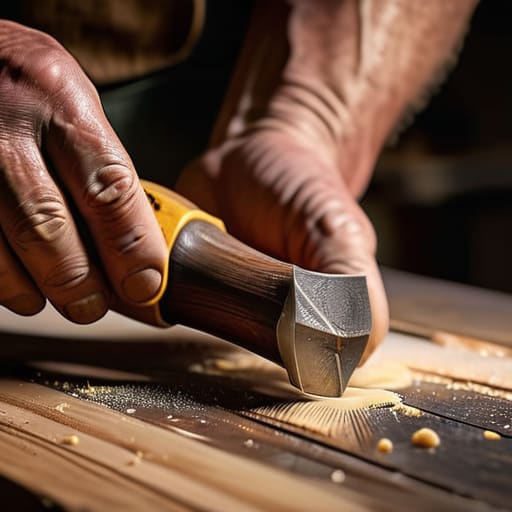
Now, when it comes to a hammer, you can't be as casual as you are with a chisel. If you're fixing a cracked hammer handle, you aren't just looking for a cosmetic fix; you're looking for structural integrity. A crack in a hammer handle is a warning sign that the tool is about to fail you mid-swing, and that’s when accidents happen. If the split is shallow, a high-quality wood glue for tool repair can do the job, but you must clamp it tight—I mean properly tight—and let it cure for a full day. Don't be in a rush.
If the crack runs deep or the wood feels spongy, stop messing about with glue. At that stage, you're better off replacing broken wooden handles entirely. A hammer is a percussion tool, and it lives under constant stress. When you do fit a new handle, don't forget the most important part: securing tool heads with wedges. I’ve seen too many youngsters rely on glue alone, only to have the head fly off into the workshop. A well-set wedge is what keeps a tool safe and reliable for the next forty years.
Securing Tool Heads With Wedges for Longevity
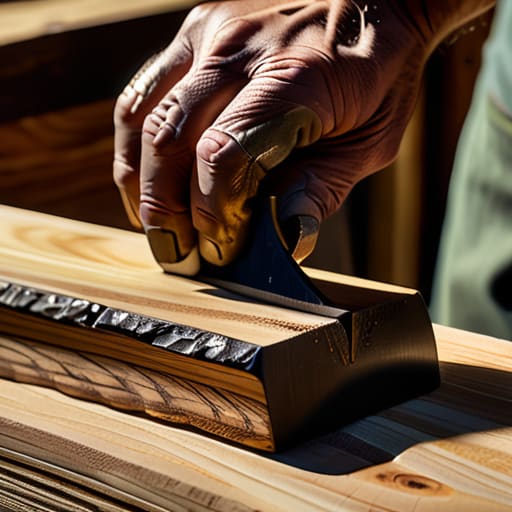
Now, once you’ve got that new handle seated properly in the eye of the tool, you can't just leave it sitting there on friction alone. If you want to avoid the nightmare of a head flying off mid-swing, you need to be serious about securing tool heads with wedges. I’ve seen too many young lads try to skip this bit, only to end up with a dangerous mess on the workshop floor. I always use a small, hard wood wedge—something like hornbeam or even a scrap of oak—driven firmly into the top of the eye. It’s about creating that permanent, outward pressure that keeps the metal and wood locked in a death grip.
Don't go thinking a bit of wood glue for tool repair is a substitute for a proper mechanical wedge, either. Glue is fine for a minor split, but for a heavy mallet or an adze, you need the physical force of that wedge to keep things tight. I like to drive a second, slightly smaller metal wedge alongside the wooden one if the eye allows for it. It’s an extra bit of effort, sure, but it’s the difference between a tool that lasts another forty years and one that's nothing more than expensive kindling.
A Few Bits of Wisdom Before You Get Stuck In
- Don't go reaching for the quickest fix with some cheap epoxy; if the wood is split, it needs a proper structural repair, not just a bit of glue to hide the crack.
- Always match the grain of your new handle to the direction of the force, otherwise you're just asking for the head to fly off mid-swing.
- Sanding isn't just for making things look pretty; you need to smooth out those old tool marks so your hands don't get blistered halfway through a job.
- If you're replacing a handle entirely, take your time choosing the right timber—ash or hickory are the old standards for a reason, and they'll outlast any plastic nonsense.
- Never settle for a handle that feels "mostly" right; if it's got a wobble or a knot right where your palm sits, it's a safety hazard, not a tool.
A Tool Worth Keeping
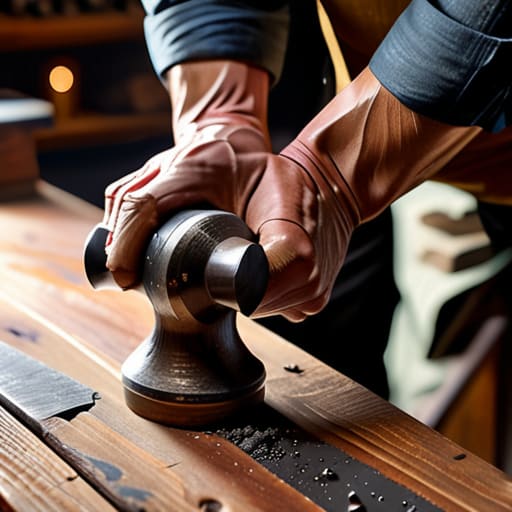
At the end of the day, repairing a handle isn't just about making a tool usable again; it’s about respecting the steel. Whether you’ve spent time sanding down a splintered grip, filling a hairline crack, or driving in a fresh wedge to keep a hammer head from flying off, you’ve done more than just perform maintenance. You’ve taken a piece of equipment that most people would have tossed into a skip and given it a second life. Remember, the strength of the tool is nothing without a solid connection between the hand and the blade. If the handle feels loose or the wood is compromised, don't ignore it—fix it properly before you head back to the bench.
I’ve spent forty years on sites and a decade in classrooms, and if there is one thing I’ve learned, it’s that a man is only as good as the tools he maintains. We live in a world that wants you to buy a cheap, plastic-handled replacement every time something goes wrong. But there is a quiet satisfaction in knowing that every tool in your chest is something you can truly rely on. When you take the time to restore a handle, you aren't just saving money; you are preserving a bit of craft. Keep your tools sharp, keep your handles tight, and never settle for something that isn't up to the task.