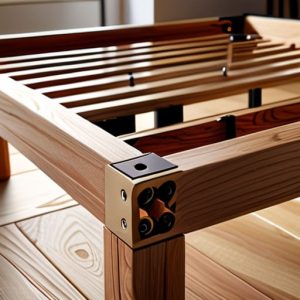
Picnic Table Geometry That Is Comfortable
 Callum Reith-Sowande
Most people think that if you want to know how to build a picnic table, you need to go out and buy a shed full of vibrating, noisy power tools and enough expensive screws to sink a ship. They’ll tell you it’s all about the high-end cordless gear and the fancy jigs. I spent forty years on sites and ten years in a college workshop watching men struggle with heavy machinery just to make a simple joint, and frankly, it’s a waste of good energy. You don't need a loud, expensive mess to get a clean result; you just need a bit of patience and a tool that actually holds an edge.
In this guide, I’m going to show you the proper way to approach the job without the unnecessary hype or the mountain of plastic junk. We’ll focus on the fundamentals of timber selection, how to get your cuts true, and why a bit of manual precision beats a blunt circular saw every single time. I’ll walk you through the actual process of how to build a picnic table that won't wobble or fall apart after the first season. We are going to do this the right way, making sure the finished piece is something you're actually proud to stand behind.
Guide Overview
Tools & Supplies
- Circular saw or miter saw for cutting wood to length
- Power drill/driver for driving screws
- Tape measure for accurate marking
- Speed square for ensuring 90-degree angles
- Sandpaper for smoothing rough edges
- 2x4 lumber (approx. 8-10 boards) for frame and benches
- 2x6 lumber (approx. 4-5 boards) for tabletop and seating
- 2.5-inch exterior wood screws (1 box)
- Wood glue (waterproof)
Step-by-Step Instructions
- 1. Start by picking your timber, and don't let some salesman talk you into softwoods that'll rot before the summer's out. I prefer a decent, thick cedar or even a treated pine if you're on a budget, but whatever you choose, make sure it's straight as an arrow. Lay your boards out on a flat surface first; if they're bowed or twisted, you'll be fighting them the whole way through, and there's no sense in wasting good wood on a wobbly table.
- 2. Once you've got your stock, it's time for the heavy lifting: breaking it down to size. You'll need your tabletop planks, the bench seats, and the heavy-duty timber for the legs and supports. If you're using a saw, make sure the blade is clean, but if you're doing any fine joinery to keep this thing from creaking in six months, get your chisels honed first. A clean, square cut is the difference between a sturdy piece of furniture and a pile of scrap.
- 3. Now, we tackle the legs. You aren't just slapping sticks in the ground here; you need to create those sturdy A-frame supports. I usually cut my leg timbers at a consistent angle—about 30 degrees is standard—to ensure the table sits level. Take your time with the measurements. I've seen many a young apprentice ruin a perfectly good piece of oak because they forgot to account for the kerf of the saw blade.
- 4. Next, you'll be assembling the frame using heavy-duty carriage bolts or thick, structural screws. If you're using screws, drill your pilot holes deep and true. I don't care what the box says about "self-tapping" screws; if you don't drill a hole first, you're just asking for the timber to split. Secure your cross-braces between the legs to ensure the whole structure doesn't rack or lean when someone leans heavily on the table.
- 5. It's time to lay the tabletop and the seats. Space your planks about a quarter-inch apart—not too tight, because wood needs to breathe and move with the seasons. I prefer to use recessed fasteners or even hidden dowels if I want a cleaner look, but for a garden table, simple heavy-duty screws will do the job. Just make sure you drive them home straight so the heads sit flush with the surface.
- 6. Before you even think about dragging this out to the garden, give it a proper once-over. Take a block plane or a sharp smoothing plane and run it over any edges that feel sharp or any joints that aren't sitting quite right. It's much easier to fix a gap now with a bit of wood glue and a shim than it is to try and sand it down once the finish is on.
- 7. Finally, seal the wood. Whether you use an oil, a stain, or a heavy-duty sealant, apply it even and thoroughly. This isn't just for looks; it's about protecting your hard work from the rain and the sun. A well-sealed table will last a decade, whereas a neglected one will be firewood in two years. Do it right the first time, and you'll only have to do it once.
Choosing Pressure Treated Lumber Types With Intent
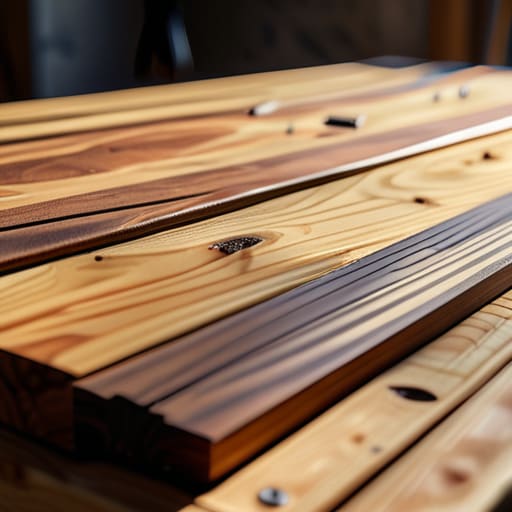
Now, before you go running to the local DIY shop and grabbing whatever's on sale, you need to think about what you’re actually working with. Most folks grab the first pile of pressure treated lumber types they see, but not all treated wood is created equal. If you’re building something meant to sit in the sun and rain all year, you want timber that’s been treated deep into the grain, not just a surface spray. I’ve seen too many tables start to warp and twist within a single season because the builder didn't account for how that wood moves once it's out of the bundle.
When you're selecting your boards, keep an eye out for straightness and grain density. If a piece of timber is already bowed or has massive knots right where your joints need to sit, leave it on the rack. It’s not worth the fight. You’re looking for structural stability for benches and tabletops alike; if the foundation is wonky, the whole project is a waste of time. Take a moment to sight down the length of each board before you bring it home. It's better to spend ten extra minutes in the yard than two hours in the workshop trying to force a crooked board to behave.
Mastering Outdoor Woodworking Tools Over Brute Force
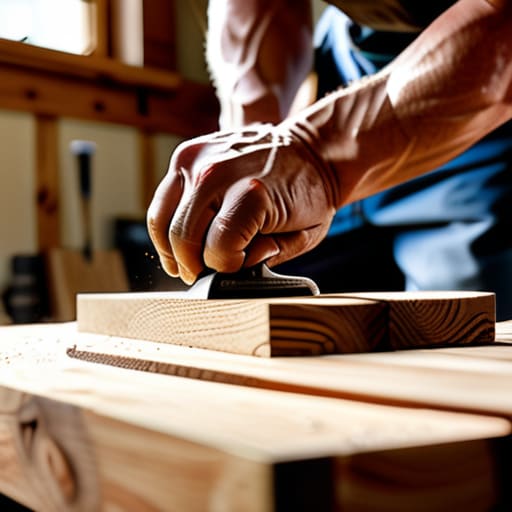
You’ll see plenty of lads rushing through a project like this, leaning heavily on a cordless driver or a heavy-duty sander to muscle through the job. That’s a mistake. When you're working with the heavy, often uneven grain found in various pressure treated lumber types, brute force only leads to split ends and wasted wood. I’ve spent forty years learning that if you find yourself fighting the material, your edge is likely gone. Instead of forcing a dull blade through a thick tabletop plank, take five minutes to hone your chisel. You’ll find that a clean, controlled cut is far more efficient than trying to manhandle a vibrating power tool.
Precision is what ensures the structural stability for benches and the tabletop once the whole thing is assembled. If your joints are sloppy because you were rushing with a circular saw, no amount of screws will keep that table from wobbling in six months. Slow down. Use a hand saw to get your rough cuts closer to the line, then let a sharp plane or chisel do the fine work. It’s about working with the grain, not against it.
Five ways to stop fighting your timber and start working it
- Don't trust a cheap tape measure to do the thinking for you. Mark your cuts twice, but more importantly, check your square after every single joint. If that tabletop isn't flat from the start, you'll spend the rest of the afternoon chasing wobbles that shouldn't be there.
- Stop trying to force screws into pressure-treated wood like you're driving stakes into the ground. The chemicals in that timber make it stubborn. Drill your pilot holes deep and clean; it saves your hardware from snapping and keeps your wood from splitting wide open.
- If you're using a circular saw to rip those long bench planks, for heaven's sake, make sure the blade is actually sharp. A dull blade will wander in that soft timber, leaving you with a wavy edge that'll take an hour of sanding to fix. A clean cut is a fast cut.
- Sanding is where most people lose their patience and their precision. Don't just grab a random orbital sander and go to town. Start with a coarse grit to get the mill marks out, and work your way up. If you skip steps, you're just polishing the mistakes instead of removing them.
- Use proper carriage bolts for the main frame, not just some flimsy wood screws. A picnic table takes a lot of lateral weight when people lean on it. You want connections that hold because they're engineered to, not because you hoped the screw would bite hard enough.
The Final Grain
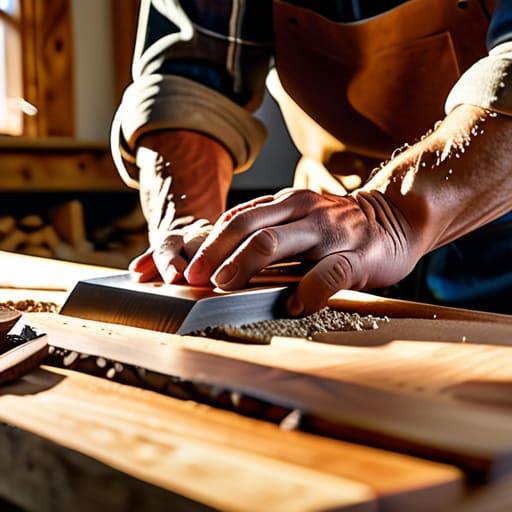
At the end of the day, building this picnic table isn't just about following a list of measurements or forcing screws into pressure-treated timber. It’s about the preparation you did before the first cut was even made. You chose the right wood, you respected the grain, and most importantly, you didn't rely on a vibrating, dull power tool to do the work of a properly honed edge. If you took the time to ensure your tools were biting deep and clean rather than tearing at the fibers, you’ll see it in the final result. A table built with patience and sharp steel doesn't just look better; it lasts longer because the joinery actually fits instead of being jammed together by brute force.
Once you’ve finished the sanding and set it out in the garden, take a moment to actually look at it. Don't just see a place to set a beer or a plate of food; see the work you put into every surface. There is a quiet satisfaction in knowing that every smooth edge was earned through steady hands and disciplined maintenance. We live in a world that wants everything done fast and cheap, where tools are treated like disposable rubbish. But when you build something like this, you're proving that taking the slow, correct way is the only way that truly matters. Build it once, build it right, and it’ll be there long after the cheap stuff has rotted away.