A Bed Frame You Can Dismantle
 Callum Reith-Sowande
Most people think you need a workshop full of expensive, vibrating machinery and a mountain of sawdust to tackle a project like this, but they’ve got it all wrong. I spent years watching apprentices struggle with noisy, cheap power tools that only served to tear the grain and leave them frustrated. When I first learned how to build a bed frame, I didn't do it with a loud, plastic router; I did it with a well-honed chisel and a bit of patience. You don't need a massive budget or a garage full of gadgets to get a professional result—you just need to respect the timber and understand how the joints actually sit together.
In this guide, I’m going to strip away all the unnecessary nonsense you see in those glossy, high-speed DIY videos. I’ll show you the honest, steady way to approach the joinery so your bed doesn't squeak or wobble after a month of use. We’ll go through the proper timber selection, the essential hand-tool setups, and the exact steps for a sturdy build. My goal is to teach you how to work with the wood, not against it, so you end up with something built to last a lifetime.
Guide Overview
Tools & Supplies
- Power Drill and bits for driving screws
- Circular Saw or Miter Saw for cutting wood
- Measuring Tape for precise dimensions
- Sandpaper to smooth surfaces
- 4x4 Lumber for corner posts (4 pieces)
- 2x6 Lumber for side rails (2 pieces)
- 2x6 Lumber for headboard and footboard (2 pieces)
- 1x4 Lumber for slat support (4 pieces)
- Wooden Slats for mattress support (approx. 12-15 pieces)
- Wood Screws (various lengths)
Step-by-Step Instructions
- 1. Start with your timber selection. Don't go buying some flimsy, knotty pine from a big-box store that'll warp before you've even finished your tea. You want something stable, like oak or even a decent ash, and you need to ensure it's properly seasoned. If the wood is still green, it’ll pull your joints apart while you're sleeping. I usually take a sharp chisel to the ends of my rails first, just to check the grain and make sure I'm not working with something rubbish.
- 2. Lay out your cutting plan before you touch a saw. I don't care if you've got a circular saw sitting there; if you want a frame that doesn't squeak, you'll want to use a fine-tooth handsaw for the final passes. Mark your lines with a sharp pencil or, better yet, a marking knife. A knife cut gives the saw a track to follow, and it stops the wood from splintering where you don't want it to.
- 3. Now we get to the joinery. For a bed frame that actually lasts, skip the metal brackets and the cheap screws. I'll always tell my students: learn to cut a mortise and tenon. It takes more time upfront, but it creates a mechanical bond that a screw simply can't match. Use a mallet and a well-honed chisel to clear out your mortises. If you can't feel the tool slicing through the fibers, your edge isn't sharp enough.
- 4. Once your joints are cut, it's time for the dry fit. This is where most people rush and make a mess of things. Put the whole frame together without any glue and see where it binds. You might need to take a fraction of a millimeter off a tenon with a smoothing plane or a wide chisel. If you have to hammer it together with brute force, the joint is wrong, and you'll regret it later.
- 5. Apply your glue sparingly. You don't need a puddle of it; you just need enough to coat the mating surfaces. I prefer a traditional PVA for this sort of work, but don't go globbing it on like it's frosting a cake. Use a clean cloth to wipe away the squeeze-out immediately. If you let glue dry on the surface, it'll ruin your finish when you go to oil the wood.
- 6. Clamp it up and let it sit. Don't be impatient. A bed frame takes a lot of weight, so you want those joints to set completely. Use decent wooden clamps—not those plastic ones that bend under pressure—and apply even pressure across the frame. I usually leave it for at least twenty-four hours before I even think about putting a mattress on it.
- 7. The final touch is the surface. Once the glue is cured, take a plane or some sandpaper to the rails to get them smooth. I like to finish mine with a simple hand-rubbed oil. It brings out the character of the wood without making it look like it's been coated in plastic. A bit of hard work and a properly sharp edge will leave you with a piece of furniture that your grandkids will actually want to use.
Measuring Mattress Dimensions With a Craftsmans Eye
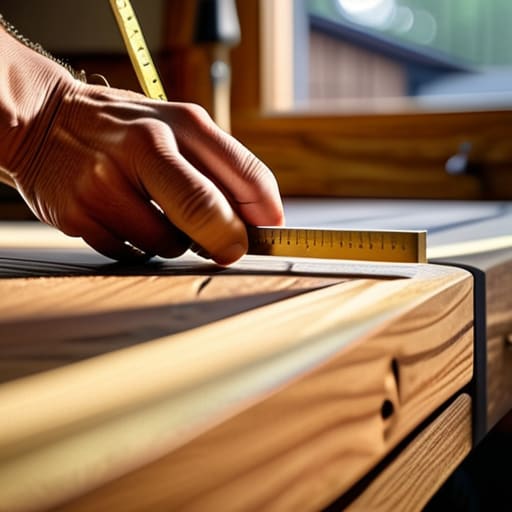
Now, don't go rushing straight to the saw just because you've got a piece of timber in your hand. Most fellas make the mistake of measuring the mattress and then cutting the frame to those exact same numbers. That’s a recipe for a headache. If you build a frame that's skin-tight against the mattress, you'll spend your evenings fighting to get the sheets on, or worse, you'll scratch the edges of your finish every time you move. When you're measuring mattress dimensions, you need to account for the "breathing room." I always allow for a bit of a gap—maybe half an inch on each side—to ensure the mattress sits comfortably without being pinched.
This is where your woodworking tools for furniture really earn their keep. Don't rely on a cheap, plastic tape measure that bends and lies to you; grab a decent steel rule or a marked square. You want to be precise, but you also need to think about the sturdy platform bed design you're aiming for. If your measurements are off by even a fraction, your wooden slat support system won't sit flush, and you'll end up with a squeaky mess that sounds like a haunted house every time you roll over. Measure twice, cut once, and leave yourself some room to breathe.
Selecting Essential Woodworking Tools for Furniture That Endures
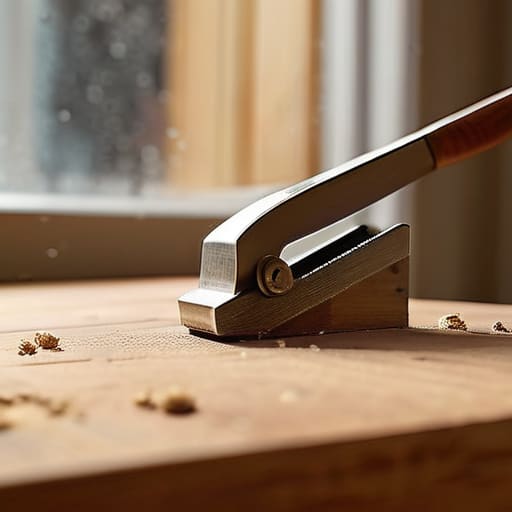
You don't need a shed full of expensive, plastic-cased machinery to get this right. When you're tackling DIY bedroom furniture projects, the temptation is to run to the big-box store and buy every cordless gadget they have. Don't. For a sturdy platform bed design, you really only need a few reliable implements that you actually know how to maintain. I’ve always said that if you can’t fix it, you shouldn't own it. A decent block plane and a set of chisels that can actually hold an edge will do more for your joinery than a thousand-pound table saw ever could.
When it comes to selecting woodworking tools for furniture, focus on the ones that provide tactile feedback. You want to feel the grain as you work. If you’re building a wooden slat support system, a sharp handsaw will give you a much cleaner, more precise cut than a vibrating jigsaw ever will. It’s about control. If your tools are blunt, you'll end up fighting the timber, and that's when mistakes happen. Invest in quality over quantity; a single, well-honed tool is worth ten cheap ones.
Five ways to stop building furniture that wobbles
- Don't trust a tape measure blindly; mark your timber with a sharp pencil or a marking knife, because a thick line is just a mistake waiting to happen when you're trying to join those side rails.
- Forget those flimsy plastic corner brackets; if you want a frame that lasts decades, you need to use proper mortise and tenon joints that lock the wood together by its own strength.
- Check your floor before you start; if your house has settled and the ground isn't level, don't fight it by forcing the frame, but build in a way that allows the slats to sit flat.
- Avoid the temptation to use cheap, soft pine for the main load-bearing rails; get yourself some decent hardwood that won't bow the first time someone sits down heavily on the edge.
- Tighten your joints with patience, not force; if a joint is too tight, don't hammer it until the wood splits—take a shaving off with a sharp plane and try again until it slides home like it was meant to.
Putting the Work to Bed
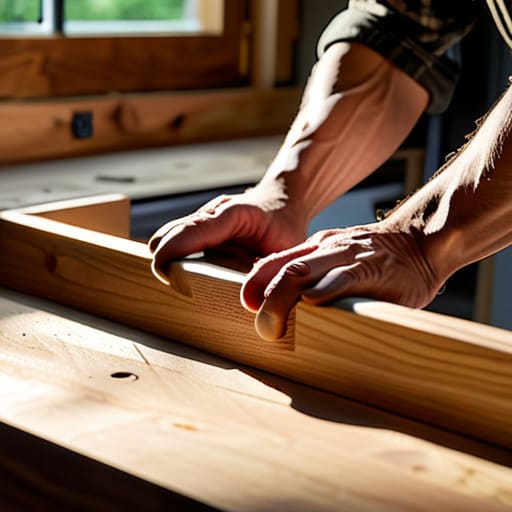
At the end of the day, building a bed frame isn't about rushing through a kit from a big-box store. It’s about the patience you showed when you measured that mattress twice, the care you took selecting timber that wouldn't warp in a year, and the precision you achieved by using a tool you actually understood. If you’ve followed these steps, you haven't just assembled a piece of furniture; you’ve constructed something that relies on solid joinery rather than just glue and luck. Remember, a frame that squeaks or wobbles is a failure of the craft, so don't be afraid to slow down and ensure every joint is seated exactly where it ought to be.
Once the last screw is driven and the frame is steady, take a moment to look at what you’ve actually made. There is a particular kind of satisfaction that comes from sitting on something your own two hands brought into being. Don't let the urge to move on to the next project rob you of that feeling. A piece of furniture like this is meant to last decades, and if you’ve done it right, it will be there long after the cheap, mass-produced stuff has ended up in a skip. Build it once, build it well, and make sure it’s something worth keeping.