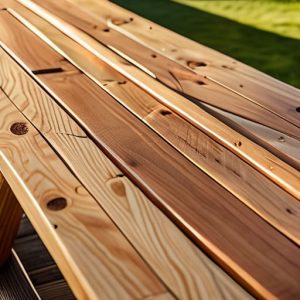
Stabilising a Crack That Keeps Moving
 Callum Reith-Sowande
Most people see a split in a piece of oak and immediately reach for the heavy-duty wood filler and a power sander, thinking they can just mask the problem. They’re wrong. You can't sand your way out of a structural mistake, and slapping on a tub of pre-mixed goop is just a way of hiding a failure rather than fixing it. I remember a student of mine back at the college who spent three days trying to sand down a botched crack, only to end up with a tabletop that looked like a chewed-up biscuit. I had to step in and show him that knowing how to repair a cracked tabletop properly isn't about how much noise your machines make; it’s about understanding the grain and using a sharp chisel to clean the wound before you ever think about closing it.
In this guide, I’m going to walk you through the proper, old-school way to handle this. I won't be selling you any fancy, expensive resins or complicated gadgets you'll never use again. Instead, I’ll show you how to prep the crack, choose the right adhesive, and use your tools to ensure the repair is stronger than the original wood. We’re going to do this right, the first time.
Guide Overview
Tools & Supplies
- Sandpaper (various grits for smoothing)
- Putty knife (for applying filler)
- Microfiber cloth (for cleaning dust)
- Wood filler or epoxy (1 small container)
- Wood stain or touch-up marker (1 unit)
- Clear sealant or varnish (1 small bottle)
Step-by-Step Instructions
- 1. First, you need to clean out the crack. Don't go reaching for a vacuum or a brush just yet; you need to see exactly what you're dealing with. Take a thin, sharp chisel—one you've spent the morning honing to a mirror finish—and gently work it into the split. You're looking to remove any loose bits of wood or old, dried-up glue that might be sitting in there. If you try to glue over old debris, you're just wasting your time and your good resin.
- 2. Once the crack is clear, you have to decide on your filler. Now, most fellas will run straight to a tub of pre-mixed wood filler from the hardware store, but I’ll tell you now, that’s a mistake. It doesn't move with the wood. If you want a repair that actually lasts, you should make your own by mixing a bit of fine sawdust from the same timber you're working on with a high-quality wood glue. It ensures the color matches much better than any colored paste ever will.
- 3. Now, get your glue ready. Use a small syringe or even a thin spatula to drive that mixture deep into the fissure. You don't want it just sitting on the surface like a scab; you need to force it into the heart of the crack. If you see the glue squeezing out of the sides, don't panic. That’s actually a good sign—it means you’ve filled the void properly.
- 4. After you've packed it tight, take a damp cloth and wipe away the excess glue that’s sitting on the surface. Do this quickly. If you let it dry on the face of the tabletop, you'll be fighting it later with sandpaper, and I hate nothing more than wasting timber to a messy glue job. Leave the glue that's actually inside the crack alone; it needs every bit of that bond.
- 5. This is the part where most people get impatient, but you can't rush a good repair. You need to let that glue cure completely. Depending on the humidity in your workshop, I usually leave it for at least twenty-four hours. If you try to touch it too soon, you'll just pull the filler right back out of the crack and end up right back where you started.
- 6. Once it's hard as a rock, it's time to bring it flush. Forget that orbital sander that vibrates the life out of your hands; grab a block plane or a very sharp chisel. Lightly pare away the high spots of the filler until it sits perfectly level with the surrounding wood. It takes a steady hand and a bit of patience, but the finish will be much cleaner than anything a machine could produce.
- 7. Finally, you’ll want to tidy up the surface. If there’s any slight discoloration, a very light hand with some fine-grit paper will do the trick, but keep it minimal. If you’ve done the work right, the repair should be almost invisible to the eye, and more importantly, it will be structurally sound enough to last another forty years.
Stabilizing Wood Movement Without the Heavy Machinery
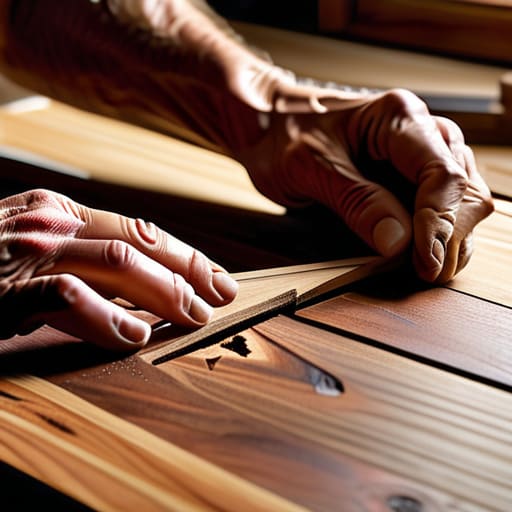
Now, once you’ve cleaned out that crack, you have to think about why it happened in the first place. Wood is a living thing; it breathes, it expands, and it shrinks with the seasons. If you just fill a gap and walk away, you’re often just waiting for the wood to fight back and split again. When I’m stabilizing wood movement on an old piece, I don't reach for a heavy clamp or a machine first. I look at the grain. If the crack is wide and structural, you might consider a butterfly inlay technique. It’s old-fashioned work, using a small piece of hardwood to bridge the gap, but it physically locks the two sides together so they can't drift apart.
If the piece is more decorative than structural, you can lean on a high-quality wood epoxy resin repair. It’s a bit of a modern necessity, I'll admit, but if you use it right, it penetrates deep into the fibers. The trick is to ensure the wood is bone-dry before you start; otherwise, you're just trapping moisture inside, which is a recipe for disaster. Don't rush the curing process. Give it the time it needs to settle, or you'll find yourself fighting the same crack again next winter.
Mastering the Butterfly Inlay Technique for Lasting Strength
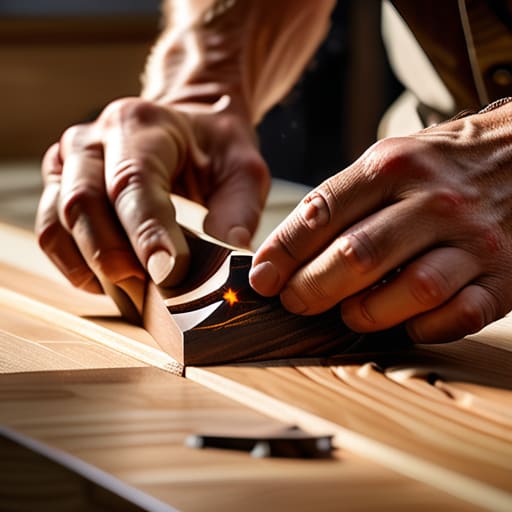
Now, if you’ve got a crack that’s wider than a pencil line, a bit of filler isn't going to cut it. You need something that physically holds the two sides together so they don't wander off from each other again. That’s where the butterfly inlay technique comes in. I used to see apprentices try to skip this by just dumping a load of wood epoxy resin repair into the gap, but that’s a temporary fix for a permanent problem. A butterfly—or a bowtie, if you prefer—acts like a mechanical bridge. It’s not just about making it look pretty; it’s about structural integrity.
When you're cutting the mortise for the inlay, don't rush it. Use a sharp chisel to clear the waste. If you try to use a router, you’ll end up with messy edges that won't seat properly. You want a snug fit, something so tight you have to tap it home with a mallet. Once that inlay is seated, you’ve done more than just patch a hole; you've actually prevented the wood from splitting further down the grain. It’s honest work, and it lasts.
Five Things I’ve Learned from Forty Years of Fixing Wood
- Don't go rushing in with a bottle of cheap, watery glue. If the crack is deep, use a proper PVA that’s thick enough to stay where you put it, or better yet, a two-part epoxy if you're dealing with a structural split that needs real muscle.
- Clean the dust out of the crack first. I don't care how much you want to get on with it; if there's sawdust or grit sitting in that fissure, your glue is just going to bond to the dirt instead of the timber, and you'll be back to square one in six months.
- Keep your chisels razor-sharp for the cleanup. If you try to pare back the edges of a crack with a dull blade, you’ll just crush the wood fibers and leave a mess that no amount of sanding will ever fix.
- Clamp it properly, but don't be a butcher. You need enough pressure to close the gap, but if you overdo it, you'll squeeze every bit of glue out of the joint and leave you with a dry, weak bond. Use scrap wood as buffers to protect the tabletop surface.
- Respect the grain. Before you start filling or inlaying, look at which way the wood is moving. If you fight the natural direction of the grain, that crack will just find its way back to the surface, no matter how much work you've put in.
The Final Grain
At the end of the day, repairing a crack isn't just about filling a gap; it’s about understanding how the timber wants to live. We’ve gone from cleaning out that fissure to stabilizing the movement and finally locking it all in place with a proper butterfly inlay. You don't need a shop full of expensive, noisy machinery to do this right. If you've kept your chisels sharp and taken the time to work with the grain rather than against it, you’ve done more than just fix a piece of furniture. You’ve restored its integrity using nothing more than your hands and a bit of patience.
I know it's tempting to reach for the epoxy and the heavy sander just to get the job done quickly, but there is a different kind of satisfaction in doing it the slow way. When you finish, you won't just see a repaired table; you'll see a piece that has been strengthened by the very thing that tried to break it. Don't let the modern world rush you into using disposable solutions. Take your time, trust your tools, and remember that true craftsmanship is measured by how long a repair lasts, not how fast you can finish it.