Patching Veneer With a Matching Piece
 Callum Reith-Sowande
Most people think that once a piece of furniture has a gouge in the surface, it's time to buy a new one or reach for a tub of plastic wood filler. They spend hours trying to sand out a mistake, only to end up making the hole twice as big and the finish twice as bad. I’ve spent forty years on site and in the classroom, and I can tell you that the secret to how to patch a damaged veneer isn't found in a tin of chemical sludge; it's found in the edge of a well-honed chisel. You don't need to hide the damage under a thick layer of grit; you need to respect the grain and fix it properly.
I’m not here to sell you any fancy, expensive gadgets that'll end up in a landfill next year. I’m going to show you how to use the tools you already own to perform a repair that actually holds. We’ll go through the proper way to source a matching sliver of timber, how to seat it without crushing the surrounding fibers, and how to finish it so the eye never even wanders to the spot. This is about doing the job right the first time.
Guide Overview
Tools & Supplies
- Utility knife for precision trimming
- Sandpaper (various grits) for smoothing edges
- Small spatula or putty knife for applying filler
- Fine-bristle brush for applying finish
- Wood veneer patch or matching veneer sheet
- Wood filler or epoxy resin
- Wood glue (PVA)
- Matching wood stain or touch-up markers
Step-by-Step Instructions
- 1. First, you need to get in there and clear the mess. Take a sharp chisel—and I mean actually sharp, not one you've been hacking at with a dull stone—and carefully pare away the loose, splintered bits of the damaged veneer. You want to create a clean, defined edge around the wound. If you try to work over ragged edges, you'll just end up spreading the damage further into the good wood, and that's a mistake you can't unmake.
- 2. Once the loose bits are gone, you've got to prepare the "bed" for your patch. I find it best to use a small, flat chisel to slightly recess the substrate—the solid wood underneath—so the new patch sits flush. Don't go too deep, mind; you just want a neat little pocket that will hold your replacement piece without it sitting proud of the surface.
- 3. Now, you need to find your donor material. Don't bother with those cheap, pre-made veneer sheets from the big-box stores; they have no soul. Scavenge a piece of old furniture or a scrap of the same species that matches the grain direction perfectly. If the grain doesn't line up, the patch will look like a scar rather than a repair, and nobody wants that.
- 4. Cut your patch to size using a fine-toothed saw or a very steady hand with a chisel. You want it to be a fraction of a millimetre smaller than the hole you've prepared. It's much easier to tighten a gap with a bit of glue than it is to sand down a patch that's too large and ends up ruining the surrounding surface.
- 5. Apply a thin, even layer of wood glue to both the bottom of the hole and the back of your patch. Use a small spreader or even a scrap of wood to ensure there are no air pockets. Press the patch into place firmly. If you've done your job right, it should sit snug. Use a few clamps or even some heavy books to keep the pressure constant while the glue sets.
- 6. While the glue is still slightly tacky, take a very sharp chisel or a cabinet scraper to carefully level the patch with the surrounding surface. If you're using a chisel, work with the grain, not against it, to avoid tear-out. This is the moment where your tool's edge really matters; a blunt blade will crush the wood fibers instead of slicing them, leaving you with a mess to sand out later.
- 7. Finally, once everything is bone dry, a light touch with some fine sandpaper will marry the patch to the original surface. Don't go overboard with the power sander here; you'll sand right through the thin veneer. Just a few passes by hand to smooth the transition, and you'll have a repair that's sturdy enough to last another forty years.
Mastering Veneer Glue Application With Surgical Precision
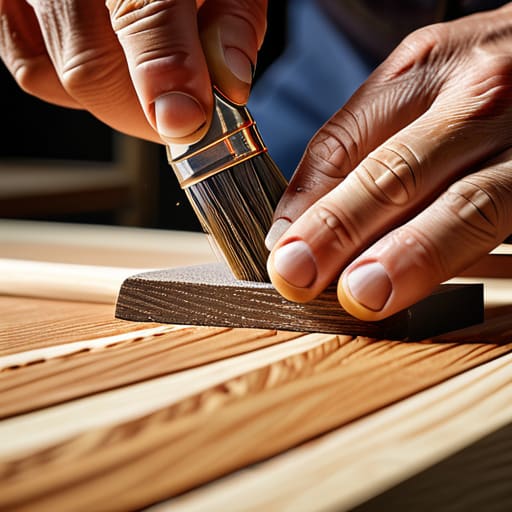
Now, once you’ve got your patch ready, the real work begins with the glue. Most people treat veneer glue application like they’re spreading jam on toast, but that’s how you end up with unsightly dark spots or, worse, a patch that won't stay seated. If you use too much, the excess will squeeze out and contaminate the surrounding wood, making it impossible to get a clean finish later. I always tell my students: less is more. Use a small, stiff brush or even a thin piece of scrap wood to work the adhesive right into the grain of the substrate. You want it to soak in, not sit on top like a puddle.
If you're using a standard wood veneer repair kit, pay close attention to the setting time. You don't want to be rushing, but you can't linger either. I prefer to apply the glue, set my patch, and then immediately apply even pressure with a block and some clamps. If you're dealing with a particularly tricky area, don't bother with thick wood filler for veneers; it lacks the structural integrity of a proper bond. Precision beats volume every single time.
Why Matching Wood Grain Color Beats a Generic Wood Filler
I’ve seen too many young lads reach for a tub of generic wood filler the moment they see a chip. They think they're saving time, but they're actually just painting a target on the repair. That off-the-shelf filler is a flat, lifeless paste; it lacks the depth and character of the actual timber. When you're fixing chipped wood veneer, the goal isn't just to fill a hole, but to trick the eye into seeing continuity. A generic filler will always sit there like a dull thumbprint, catching the light in all the wrong ways and screaming that something is wrong.
If you want a repair that actually holds up to scrutiny, you have to commit to matching wood grain color using something with actual soul. I prefer using small scraps of the original timber, shaved down thin, or a high-quality pigment mixed into a resin. You want to replicate the natural shifts in tone that occur in real wood. It takes a bit more patience, but once you get that grain pattern to flow through the patch, you won't even see where the damage used to be. Don't settle for a patch that looks like a mistake.
Five ways to keep your patch from looking like a scar
- Don't go hunting for filler first; your best bet is always a "donor" piece of the same timber. Find a scrap from the same batch, cut a sliver that matches the grain direction perfectly, and use that instead of trying to paint a hole shut.
- Keep your chisel so sharp you can shave with it. If you're trying to clean out a chip and the tool tears the surrounding fibers, you've just made the hole bigger and the job twice as hard.
- Less is more when it comes to the glue. If you squeeze out a massive bead of PVA, you'll spend an hour fighting the residue, and that's how you end up with a cloudy mess under your finish.
- Stop using the power sander to level the patch. You'll sand right through the thin veneer layer before you even touch the patch. Use a small, sharp block plane or a very fine chisel to take the height down bit by bit.
- Check your grain direction twice before you commit. If you glue a patch in against the flow, the light will hit it differently, and everyone will see exactly where you tried to hide your mistake.
Making it Last
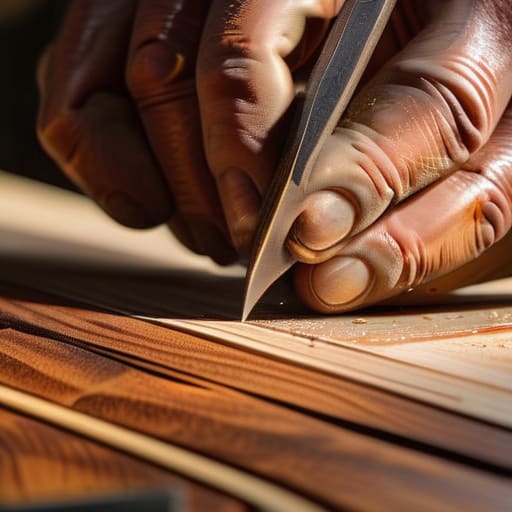
At the end of the day, patching veneer isn't about finding a quick fix or slapping on some cheap, pre-mixed filler that’ll crack in six months. It’s about the prep work: getting that chisel edge keen enough to shave with, applying your glue with a steady hand, and taking the time to match the grain so the repair actually disappears into the surface. If you’ve done the work right, you won't be looking at a patch; you'll be looking at a piece of furniture that’s been properly maintained. Don't rush the process just to get to the finish line, because shortcuts are just another way of inviting future repairs.
I've seen too many young lads reach for the orbital sander the moment a piece of timber looks a bit tired, thinking they can just grind their way out of a mistake. But there is a real, quiet satisfaction in using your hands to restore something that others would have simply binned. When you master these small, precise repairs, you stop being someone who just uses tools and start becoming someone who understands them. Take pride in the slow way of doing things. A well-executed repair is a testament to your patience, and that’s something no power tool can ever replicate for you.