What a New Plane Needs Before First Use
 Callum Reith-Sowande
Most people think that when they buy a decent plane, the work is done the moment they unbox it. They’re wrong. You can spend a fortune on a shiny new tool, but if you don't know how to set up a new hand plane properly, you’ve just bought yourself a very expensive paperweight. I remember my first real bench plane back in my apprenticeship; I spent three hours fighting a surface that felt like it was being chewed up rather than sliced. I was sweating, cursing the tool, and nearly threw it across the shop because I thought the metal was faulty. It wasn't the tool that was broken—it was my lack of understanding of how to make it work for me.
I’m not here to give you some polished, textbook lecture that sounds like it came out of a factory manual. I’m going to show you the real way to get that iron seated, the mouth adjusted, and the sole flat enough to actually do some work. We’ll go through the grit and the grease, from checking the blade squareness to the final fine-tuning, so you can stop fighting your equipment and start enjoying the shavings.
Guide Overview
Tools & Supplies
- Flat stone or honing guide (for sharpening the iron)
- Honing oil or water (for lubrication)
- Screwdriver (for adjusting the frog and lever cap)
- Micrometer or calipers (for measuring blade position)
- Honing compound (1 small jar)
- Lubricant/Oil (1 small bottle)
- Sandpaper (various grits)
Step-by-Step Instructions
- 1. First things first, you need to strip that thing down. Don't just take the blade out and hope for the best; take the whole lot apart. Remove the cap iron, the lever cap, and the frog if it’s a model that allows for it. I’ve seen too many lads try to tune a plane while it's still half-assembled, and you'll just end up fighting yourself instead of the metal. Lay everything out on a clean rag so you don't lose a screw in the sawdust.
- 2. Now, look at the sole. Most planes coming off a modern production line aren't actually flat; they’ve got a slight curve or a dip that'll ruin your work. Take a piece of coarse sandpaper, stick it to a known flat surface like a piece of granite or a thick glass pane, and rub the sole until it's dead level. If the sole isn't true, you aren't planing wood; you're just playing a game of chance with your joinery.
- 3. Next, we address the iron itself. I don't care what the shopkeeper told you about "factory edges"—they're usually rubbish. You need to take that blade to your stones and get a proper, polished bevel. A plane is only as good as the edge it carries, and if you don't respect the bevel, you'll spend the whole afternoon sweating over a piece of oak that won't take a shaving.
- 4. Once the blade is keen enough to shave the hair off your arm, it’s time to seat it in the body. Drop the iron onto the frog and tighten the lever cap down. But listen to me: don't just crank it shut like you're tightening a lug nut on a tractor. You want it firm but even. If you clamp it too hard, you'll warp the iron; too loose, and it'll chatter like a nervous apprentice.
- 5. Now you have to adjust the depth. This is where most people get it wrong by going too deep, too fast. Turn the adjustment knob until the edge of the blade just barely peeks over the sole. I like to use a piece of scrap pine for this; if the plane isn't taking a shaving so thin you can see through it, you haven't gone far enough.
- 6. Finally, check your lateral adjustment. This is the screw that controls the side-to-side tilt of the blade. If your shavings are coming out thick on one side and thin on the other, that screw is your best friend. Give it small, incremental turns until the cut is perfectly uniform across the entire width of the iron. Once it's dialed in, give it one last test pass, and if it sings, you're ready to work.
Flattening the Sole to Defeat Factory Inaccuracies
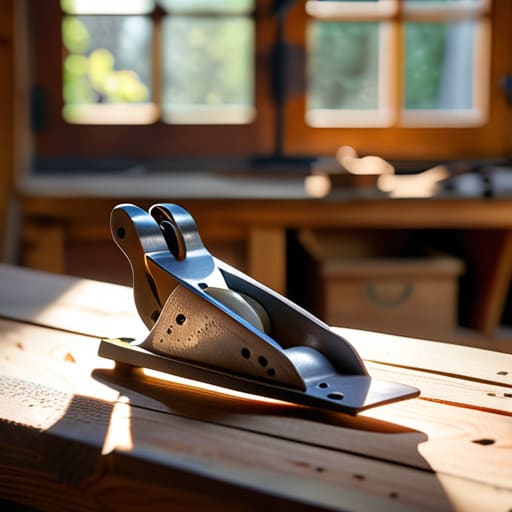
Most of the planes you pick up from a big-box retailer today are nothing more than shiny paperweights. They’ll look grand on the shelf, but the moment you try to take a shaving, you’ll find the base is bowed or twisted like a cheap piece of pine. You cannot expect a precision finish if your foundation is crooked. Flattening the sole isn't just some obsessive-compulsive ritual; it is the only way to ensure the tool actually tracks true across your timber. If the bottom isn't dead flat, you'll spend your whole afternoon chasing shadows instead of making progress.
I usually take a piece of thick float glass, rub some fine abrasive on it, and get to work. It takes patience, and it isn't glamorous, but precision is earned, not bought. While you’re at it, keep an eye on the mouth of the plane. A flat sole is useless if the metal is warped near the blade, preventing you from properly adjusting the depth of cut. Do the work now, or you'll be fighting the tool for the next twenty years.
Sharpening a Plane Iron for Immediate Superiority

You can spend all day flattening the sole, but if that iron is dull, you’re just sliding a piece of heavy metal over your timber. Most planes come from the factory with a "working edge," which is a polite way of saying it's mediocre at best. When you start sharpening a plane iron, don't just aim for a shiny surface; you’re looking for a keenness that can slice through end grain like it’s warm butter. I always tell my former students that a tool is only as good as its edge, and a factory edge is rarely up to the task of real joinery.
Take your time with the bevel. I’ve seen too many lads rush this bit, only to find they’ve created a wonky angle that makes adjusting the depth of cut a total nightmare. You want a consistent, polished facet that meets the flat of the iron perfectly. If you don't get that micro-bevel right, you’ll spend the rest of your afternoon fighting the tool instead of working the wood. Respect the steel, and it’ll reward you with shavings so thin you can read a newspaper through them.
Five Things Most Manufacturers Won't Tell You
- Check the frog before you even touch the blade; if that casting is sitting crooked, you'll be chasing your tail for hours trying to get a clean cut.
- Don't trust the factory-ground bevel; it's usually a lazy, uneven mess that'll skip across the wood if you don't take it back to a proper angle yourself.
- Watch your lateral adjustment lever like a hawk, because if it's even slightly out of whack, you'll end up with one corner of the blade digging in deeper than the rest.
- Get yourself a decent way to secure the chipbreaker, because a loose one will chatter and ruin a perfectly good piece of oak in seconds.
- Stop relying on those flimsy little adjustment nuts; if they feel soft or imprecise, file them down or replace them so you aren't guessing where your depth is.
The Work Begins
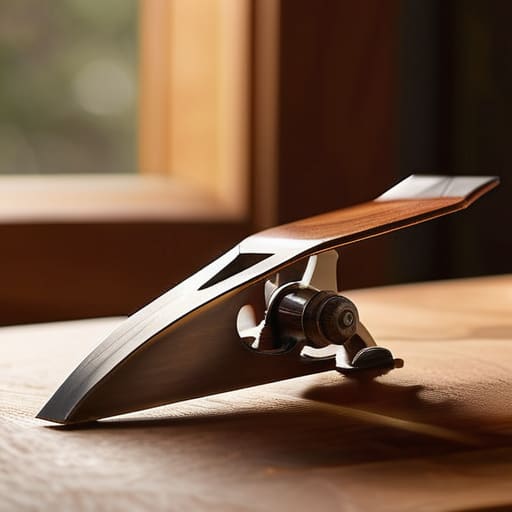
Now you’ve done the heavy lifting. You’ve taken a tool that was likely sitting in a box, mediocre at best, and you’ve made it actually useful. By flattening that sole and getting the iron to a razor edge, you’ve removed the guesswork. You aren't just fighting the wood anymore; you're working with it. Remember, if the blade isn't keen or the base isn't true, you're just making noise and wasting your own strength. It’s a lot of effort upfront, I know, but once that plane starts taking shavings as thin as tissue paper, you’ll realize that precision isn't an accident—it’s something you build into the tool yourself.
Don't be tempted to put this plane back on the shelf once the setup is done. A tool like this is a living thing; it needs regular attention to stay honest. I’ve spent forty years seeing men rush through the preparation only to curse the wood when the cut comes out ragged. Don't be one of them. Take your time, respect the steel, and keep your edges sharp. When you finally push that plane across a piece of seasoned oak and hear that clean, rhythmic slicing sound, you'll understand exactly what I mean. A well-tuned tool doesn't just make better joinery; it makes the work a pleasure rather than a chore.