A Shooting Board That Stays Accurate
 Callum Reith-Sowande
You can spend a fortune on a high-end track saw or a precision miter gauge, but if you’re still fighting to get a perfectly square end grain on your tenons, you’re just fighting the wrong battle. Most folks think they need more power to get better results, but I’ve spent forty years on site learning that precision comes from control, not horsepower. If you want to stop squinting at your joinery and start trusting your cuts, you need to learn how to build a shooting board. It’s a simple, honest bit of kit that turns a standard bench plane into the most accurate tool in your workshop.
I’m not going to give you some complicated, over-engineered design that requires a CNC machine to execute. I’m going to show you how to make a sturdy, reliable guide using nothing more than a bit of scrap timber and a square. We’ll go through the setup, the importance of a true fence, and exactly how to ensure your board stays dead on level. By the time we’re done, you’ll have a tool you can maintain for life, and you'll finally see why a sharp plane beats a noisy router every single time.
Guide Overview
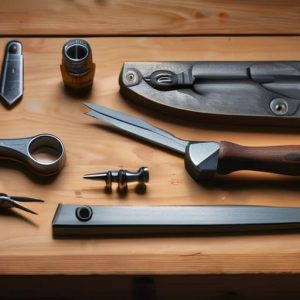
Tools & Supplies
- Table saw or circular saw to cut the base and fence
- Drill and bits to secure the adjustable stops
- Square to ensure the fence is perfectly perpendicular
- 1 piece of 3/4" MDF or plywood (approx. 24" x 24")
- 1 piece of 3/4" MDF or plywood (approx. 24" x 4") for the fence
- 2-4 Wood dowels or adjustable bolts for the stops
- Wood glue and screws to assemble the structure
Step-by-Step Instructions
- 1. First, you need to get your stock ready. I don't care if you use pine or something more expensive like oak, but it needs to be dead flat. If your board is twisted or bowed, your shooting board is nothing more than a fancy piece of firewood. Take a plane to it until you can run your hand across the surface and feel no dips or ridges.
- 2. Once you've got a flat board, it’s time to mark out your fence. This is the most important part of the whole job. You aren't just drawing a line; you are setting the standard for every joint you make from here on out. I usually use a try square to mark a line exactly 3 or 4 inches from the edge, depending on how much room you need for your hand when you're working the plane.
- 3. Now, you'll need to cut that fence. If you have a decent table saw, you can use it to get the initial rip, but don't trust it to be perfect. You want to cut a strip of wood that is slightly thicker than your marked line. I prefer using a bit of hardwood for the fence—something sturdy and heavy that won't flex when you put pressure on it.
- 4. This is where most people rush and end up with a mess. You need to attach the fence to your baseboard, but you can't just slap some glue on and hope for the best. You have to ensure the fence is perfectly square to the base. I like to use a few screws to hold it in place, but I always check it with a high-quality square before the glue sets. If it's off by even a fraction, your end grain will never be true.
- 5. Next, you need to add a stop. This is a small block of wood that sits against the fence to hold your workpiece in place. I usually make this out of a scrap piece of hardwood. It needs to be fixed firmly so it doesn't budge while you're working. If the stop moves, your measurement is gone, and you're back to square one.
- 6. To make the board truly useful, I always add a little bit of "grip" to the base. You can use a piece of non-slip drawer liner or even just a few small rubber feet on the bottom. You want that board to stay put on your workbench. There is nothing more frustrating than a shooting board that slides away from you just as you're trying to take a fine shaving.
- 7. Finally, give the whole thing a quick clean up. Sand the surfaces so there are no splinters to catch your skin, and make sure the fence is clean of any dried glue. A well-made shooting board is a simple thing, but if you build it with patience and precision, it will serve you for the rest of your life.
Mastering Hand Plane Accuracy Over Power Tool Chaos
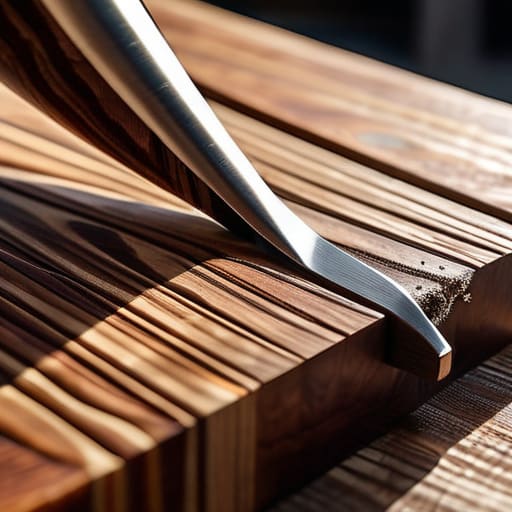
Once you’ve got your board assembled, the real work begins with the tool itself. I’ve seen too many lads spend hours fussing over a router jig, only to end up with a fuzzy, torn end grain that looks like it was chewed by a dog. If you want true hand plane accuracy, you have to stop fighting the wood and start listening to it. A well-tuned plane, paired with a solid shooting board, allows you to take shavings so thin they’re translucent. That’s the level of control a power tool simply can’t mimic.
The secret lies in the relationship between your shooting board fence alignment and the plane’s mouth. If your fence is even a hair off, you’re just making very precise mistakes. I always tell my students to check their setup by running a scrap piece through first; if you feel any resistance or see uneven grain, don't force it. Adjust the jig, check your iron, and try again. It’s about steady, incremental progress, not speed. A machine might be faster at moving bulk material, but it’ll never match the surgical precision of a sharp blade on a stable surface.
The Essential Benchtop Shooting Board Design for Real Results
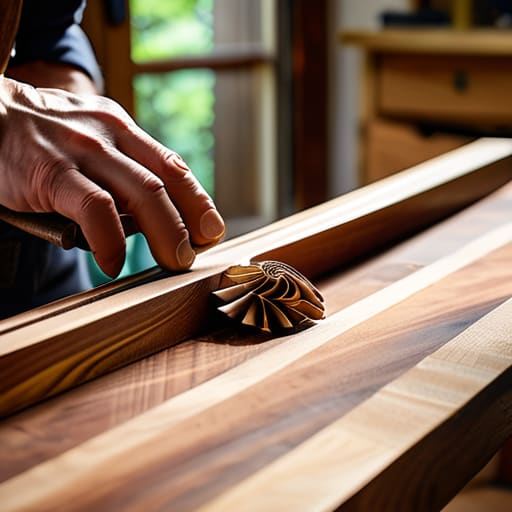
When you’re sitting down at the bench, you have to remember that a shooting board isn't just a piece of scrap wood clamped to the table; it’s a precision instrument. I’ve seen too many lads try to rush the job by using a flimsy, thin piece of plywood that bows the moment you put any pressure on it. If your benchtop shooting board design lacks mass or a solid foundation, you’re fighting the tool rather than working with it. I always tell my apprentices to use a thick, stable hardwood for the base. You want something that stays put when the plane starts moving, otherwise, you'll spend more time correcting your errors than actually cutting timber.
The real secret, though, lies in the shooting board fence alignment. If that fence isn't perfectly square to the face of your board, all the sharpening in the world won't save your joinery. I don't care how sharp your iron is; if the fence is off by even a hair, your end grain will be skewed. When you're making a shooting board for end grain work, treat that fence like it's part of the plane itself. It needs to be dead true, or you're just making expensive kindling.
Five things I wish my apprentices had listened to
- Don't skimp on the fence material. If you use a bit of scrap ply that’s gone wavy over the years, your shooting board is nothing more than a fancy piece of firewood. Use a straight, stable piece of hardwood or high-quality Baltic birch; if the fence isn't dead straight, your joinery won't be either.
- Check your square more often than you think. I’ve seen lads build a whole board only to find out their 90-degree angle was off by a fraction. It sounds pedantic, but in joinery, a fraction is the difference between a seamless joint and a gap you'll be trying to hide with sawdust and glue for the rest of your life.
- Keep the surface flat, not just smooth. You can sand a surface until it shines, but if there’s a slight twist in the board, your plane will follow that twist right into your workpiece. I always run a hand plane over my shooting board surfaces once they're built to ensure they're truly dead flat.
- Mind the stop block. The stop block is what does the heavy lifting, so make sure it’s substantial. If it’s too light or poorly fixed, it’ll shift under the pressure of the plane, and you'll find yourself chasing a moving target instead of cutting a clean edge.
- Respect your plane's mouth. A shooting board is only as good as the tool you run across it. Before you even think about touching your workpiece to the board, make sure your plane iron is honed to a mirror finish. If you're struggling to push the tool, don't blame the board—blame your edge.
A Final Word on the Bench
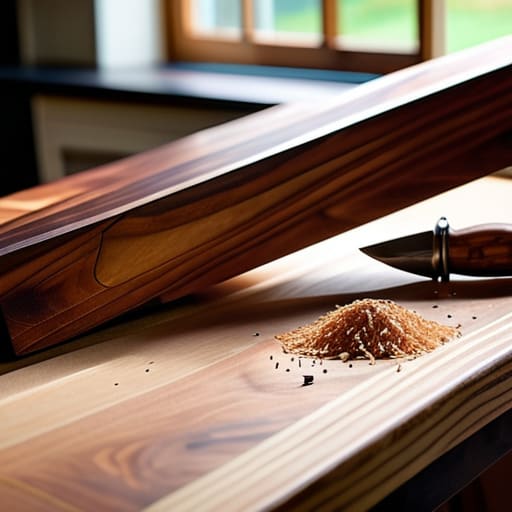
Building this shooting board isn't about adding more clutter to your workshop; it’s about creating a foundation for precision. We’ve covered how a simple, sturdy design beats a complex jig every time, and why your focus must remain on a perfectly square fence and a dead-flat surface. Remember, the board is only as good as the work you put into it. If you’re lazy with the setup, you’ll be fighting the wood all day. But if you take the time to ensure that fence is true and your plane is honed to a razor edge, the tool will do the heavy lifting for you. It’s about working smarter, not harder, by letting physics do the work instead of fighting against a vibrating machine.
I know it’s tempting to reach for the power sander or the table saw when you’re staring down a tight joint, but I’m telling you, trust the hand tool. There is a quiet sort of satisfaction in taking a piece of timber that looks slightly off and, with a few steady passes across your shooting board, making it fit perfectly into its mate. It changes how you see the wood. It slows you down just enough to actually feel the grain. Don't just build the board to tick a box; build it so you can finally stop fighting the material and start actually shaping it.