A Router Plane for Consistent Depth
 Callum Reith-Sowande
I remember standing in a workshop back in the eighties, watching a young apprentice try to fix a wonky tenon with a loud, vibrating power router. He was fighting the machine, gouging the wood, and sweating through his shirt, all while the joint looked like it had been chewed by a dog. I walked over, took the power tool out of his hands, and handed him my router plane. Once he understood how to use a hand router plane properly, the noise stopped and the real work began. There is a specific kind of magic in watching a razor-sharp blade peel away a shaving so thin you can see through it, leveling a surface with a precision no motor can match.
I’m not here to sell you a fancy new kit or some complicated, multi-step system that requires a degree to understand. I want to show you the honest, tactile way to master this tool so you can stop fighting your timber and start commanding it. We’ll go over setting your depth without the guesswork, keeping your blade keen enough to shave with, and the proper technique to ensure your joints sit tight every single time.
Guide Overview
Tools & Supplies
- Hand router plane (The primary tool for leveling and cleaning grooves)
- Marking gauge (To set the depth of the cut)
- Sharp chisel (To clear waste if necessary)
- Mallet (For light tapping if needed)
- Wood workpiece (1 unit)
- Sharpening stones (1 set for blade maintenance)
- Marking knife (1 unit)
Step-by-Step Instructions
- 1. Before you even touch the wood, you need to set your blade. Don't just shove it in and hope for the best; you want that iron set just a hair below the depth you're aiming for. If you set it too deep right away, you'll end up fighting the tool rather than letting it glide, and that's how you get a jagged surface instead of a clean one.
- 2. Once the blade is set, take a scrap piece of the same timber you're working with and do a test pass. I don't care how much you think you know; you need to see how the grain reacts. If the tool starts to tear or "chatter," it’s usually a sign that your blade isn't sharp enough or your depth is too aggressive. Adjust accordingly before you move to the actual workpiece.
- 3. Position yourself so you aren't leaning your weight into the tool. You want to hold the handles firmly but with a steady, light touch. If you try to muscle a router plane through the wood, you'll lose control of the depth and end up with a wavy floor in your joint. Let the weight of the tool and the sharpness of the iron do the heavy lifting.
- 4. Start your cut at the edge of the area you're cleaning up. Move the plane in long, continuous strokes. If you find yourself making short, jerky movements, you're going to leave little ridges behind. I've always found that slow and deliberate is the only way to ensure the bottom of that mortise or tenon stays perfectly flat.
- 5. Pay close attention to the direction of the grain. If you feel the tool starting to resist or if it begins to lift small slivers of wood, you're likely going against the grain. Simply reverse your direction and take another pass. It’s much easier to correct your path now than to try and sand out a mistake later.
- 6. As you get closer to your final depth, lighten your pressure even further. This is where the precision happens. You aren't trying to excavate a hole; you are merely shaving off the high spots until the surface is uniform. If you're doing it right, you should see thin, translucent curls of wood peeling away from the blade.
- 7. Finally, check your work with a square or a marking gauge. If you see any dips, don't reach for the sandpaper—that's a lazy man's fix. Instead, reset your blade just a tiny fraction shallower and take another pass. A true joiner relies on the edge of the iron, not the grit of a sanding block, to get the job done.
Setting Blade Depth for Surgical Precision
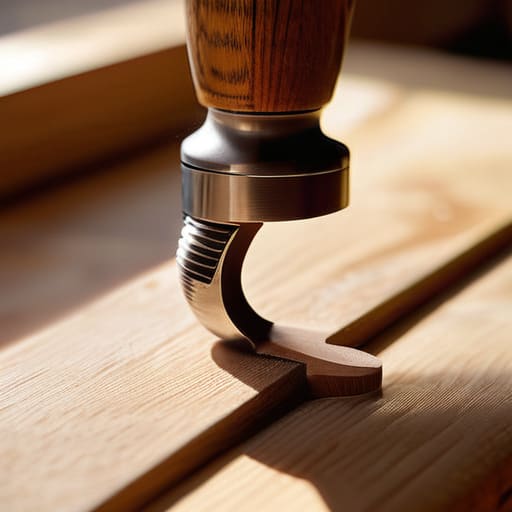
Now, don't go rushing into the wood just because you've got a sharp blade. The real work happens before you even make your first pass. When you're setting blade depth, you need to find that sweet spot where the tool is taking a shaving thin enough to see through, but not so shallow that it just skims the surface without doing anything. I always start by taking a scrap piece of the same timber. If you're cleaning out mortises, set the blade just a hair deeper than your intended floor. It's much easier to take one more light pass than it is to try and fix a floor that's been gouged too deep because you were chasing a mark.
I've seen too many lads try to force a dull blade through a joint, thinking they can make up for a bad setting with brute strength. That’s how you end up with uneven shoulders or a wonky groove. Instead, listen to the tool. You want a steady, rhythmic sound—a crisp shuck-shuck—not a heavy scraping noise. If it feels like you're fighting the wood, your depth is likely too aggressive or your edge has gone blunt. Take your time; the wood isn't going anywhere.
Cleaning Out Mortises With Unmatched Control
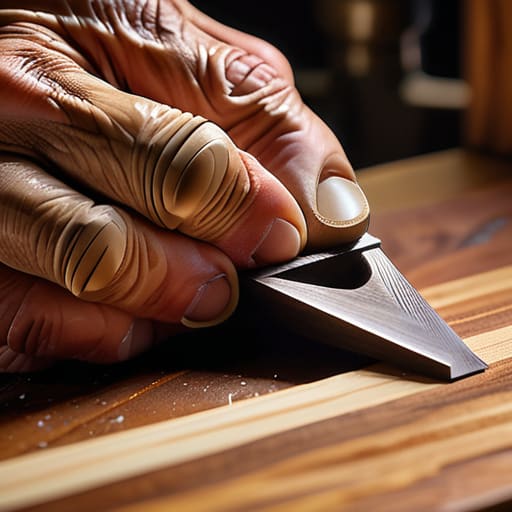
When you’re cleaning out mortises, the biggest mistake I see is trying to rush the process. People think they can just dive in and clear the waste in one go, but that’s how you end up with a wonky, uneven hole. Instead, I always take shallow, successive passes. It’s much easier on your wrists and, more importantly, it keeps the tool from wandering. If you’ve done your router plane sharpening tips homework and your iron is truly keen, you’ll feel it slicing through the grain rather than tearing at it.
Once you’ve got the bulk of the waste out, the real work begins in ensuring you're achieving flat bottom grooves that actually sit flush. Don't just push the tool in one direction; I prefer a slight rocking motion to ensure the blade stays true against the walls. This bit of extra care is what separates a job done in a hurry from a job done right. It’s about that tactile feedback—feeling the blade bite into the wood tells you more about your progress than any digital gauge ever could.
Five ways to stop fighting your router plane
- Don't try to hog the work. If you find yourself leaning your whole body weight into the tool, your blade is either blunt or you're trying to take too much in one pass. Slow down and take shavings thin enough to see through; it’ll save your shoulders and your sanity.
- Keep your eyes on the grain, not just the tool. If the plane starts to chatter or jump, you’ve likely hit a change in the wood direction. Stop, turn the piece around, or adjust your angle. You can't force a tool to ignore the physics of the timber.
- Check your fence more often than you think you need to. A millimeter of drift halfway through a job means you'll be fighting a wonky shoulder for the rest of the afternoon. Give it a quick tap with your finger to ensure it hasn't nudged loose before you start your next pass.
- Use the tool for what it was meant for. A router plane is a precision instrument, not a heavy-duty scraper. If you're trying to clear out a massive, deep trench, use a chisel first. Let the plane do the final, surgical leveling that makes the joint sit flush.
- Listen to the sound of the cut. A good, clean pass has a steady, rhythmic whisper. If you hear a high-pitched rasp or a heavy thudding, something is wrong—either the blade is dulling or your depth is set too deep for the wood density. Trust your ears more than your eyes.
Putting the Plane to Work
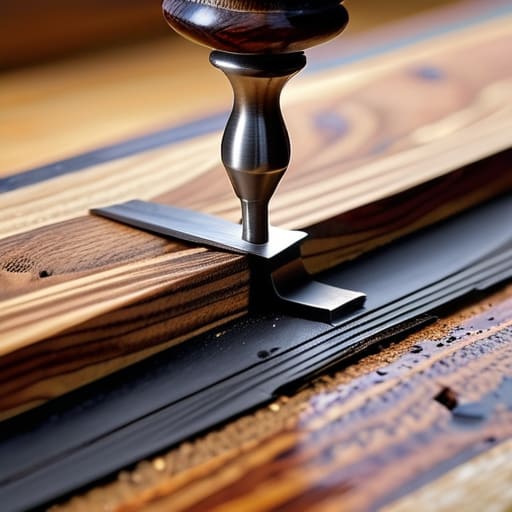
At the end of the day, mastering the router plane comes down to two things: a blade that can actually cut and the patience to let the tool do the work. We've looked at how a proper depth setting prevents you from gouging your timber, and how using the tool to clean out mortises gives you a level of control no electric router could ever touch. It isn't about rushing through the job; it’s about setting the blade true and making sure every pass is purposeful. If you take the time to keep that iron razor-sharp, you'll find the tool practically pulls itself across the grain, leaving a surface so clean you won't even need to reach for the sandpaper.
I know there's a temptation to reach for the plug and the motor when a job gets tedious, but I’m telling you, stay with the hand tool. There is a specific kind of satisfaction that comes from hearing that crisp, rhythmic shaving fall onto the bench, knowing that you are in complete command of the wood. It’s about more than just making a joint fit; it’s about reclaiming a bit of the craft that gets lost in our rush to finish everything yesterday. Pick up the plane, feel the grain, and remember that a steady hand will always beat a noisy machine.