A Dowel Jig That Actually Lines Up
 Callum Reith-Sowande
I remember standing in a workshop back in the eighties, watching a young lad try to force a joint together with a cheap, plastic jig that was wobbling like a jelly on a plate. He was sweating, cursing, and fighting the tool more than the timber, and all the expensive power accessories in the world weren't helping him. Most people today think you need a computer-guided setup to get a straight line, but they’ve got it all wrong. When you're learning how to review a dowel jig, you shouldn't be looking at how many bells and whistles it has or how shiny the packaging is. You need to look at whether the damn thing actually holds its position when the pressure is on.
I’m not here to sell you on some high-tech gadget that’ll end up in a landfill in two years. I’m going to show you how to test for the things that actually matter: stability, ease of adjustment, and whether you can actually maintain it when it gets knocked around. We’re going to strip away the marketing fluff and focus on the mechanics. By the end of this, you'll know exactly how to spot a tool that’s built to last from one that’s just expensive rubbish.
Dowel Alignment Accuracy vs Power Tool Chaos
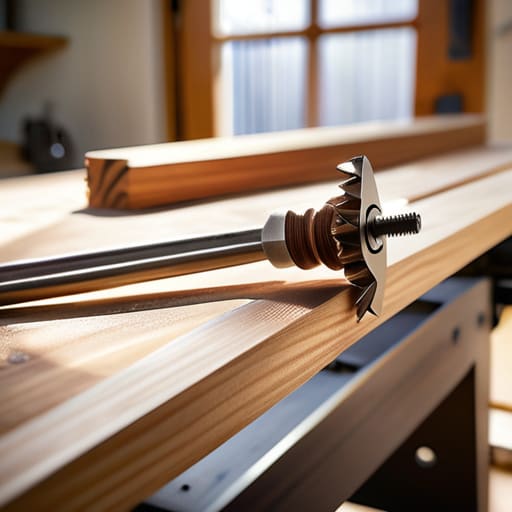
I’ve spent more years than I care to admit watching young lads rush through a job with a drill and a prayer, wondering why their joints look like they’ve been chewed by a dog. They think the speed of a power tool is progress, but they’re just creating more work for themselves in the sanding stage. When I’m looking at dowel alignment accuracy, I’m not just looking for a hole that’s straight; I’m looking for a jig that refuses to budge when the bit starts biting. If a jig shifts even a fraction of a millimetre under pressure, your workpiece is ruined, and you’ve just traded ten minutes of careful work for an hour of regret.
A proper test comes down to jig stability and clamping. You need to see if the mechanism actually holds the timber tight or if it just skims the surface. In my experience, the best way to judge a tool is to see how it handles the struggle. If you have to fight the jig to get it to stay put, it’s not a tool—it’s a nuisance. A decent piece of kit should do the heavy lifting so you can focus on the cut, not on holding the damn thing in place.
Woodworking Tool Testing Criteria for the Discerning Eye
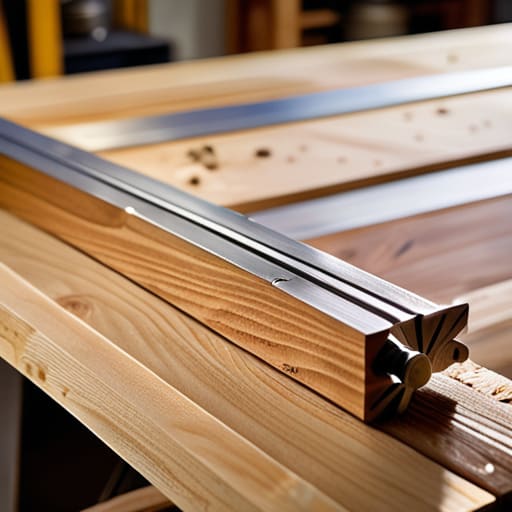
When I was teaching apprentices, I’d always tell them that a tool is only as good as the person using it, but a rubbish jig will make even a master look like an amateur. When you’re setting your own woodworking tool testing criteria, don't just look at the price tag or the fancy packaging. You need to look at the bones of the thing. I start by checking the build quality—is it heavy-duty aluminum or just thin, flimsy plastic that’ll flex the moment you apply pressure? If the body of the jig isn't rigid, your measurements don't mean a damn thing.
The real test, though, is jig stability and clamping. I put every new piece of kit through a stress test: I clamp it down tight, then I try to nudge it. If there's even a hair’s breadth of movement, it’s useless to me. You also need to look at how easy it is to set up. I’ve seen plenty of "professional" kits that take twenty minutes just to calibrate; that’s not helping your woodworking shop efficiency, that’s just wasting your life. If it isn't dead simple to repeat, it isn't worth the bench space.
Five things I look for before I let a jig into my workshop
- Check the build quality of the body. If it's made of thin, flimsy plastic that feels like it’ll crack the first time you tighten a screw, leave it on the shelf. I want something substantial, preferably metal or a heavy-duty composite, that won't flex when you're applying pressure.
- Look at how the bushings are seated. A good jig should have bushings that are pressed in tight and won't wiggle. If there's even a hair of play between the bushing and the jig body, your holes will be crooked, and you'll spend more time fixing mistakes than actually working.
- Test the clamping mechanism. A jig is useless if it slips halfway through a bore. I check whether it uses a screw-down clamp or a lever, and I look to see if it actually holds the workpiece steady without marring the timber. If it's a struggle to get it tight, it’s a bad design.
- Examine the ease of bit changes. I don't have the patience for fiddly, over-complicated setups. If you have to spend ten minutes wrestling with a tiny hex key just to swap a bit, you’ve already lost the battle against the clock. It should be straightforward and repeatable.
- See if it's built to last. I look for replaceable parts. If a single guide pin snaps or a screw strips, is the whole unit scrap? I won't buy a tool that's designed to be thrown in the bin the moment something small goes wrong. If you can't maintain it, I don't want it.
The Final Verdict
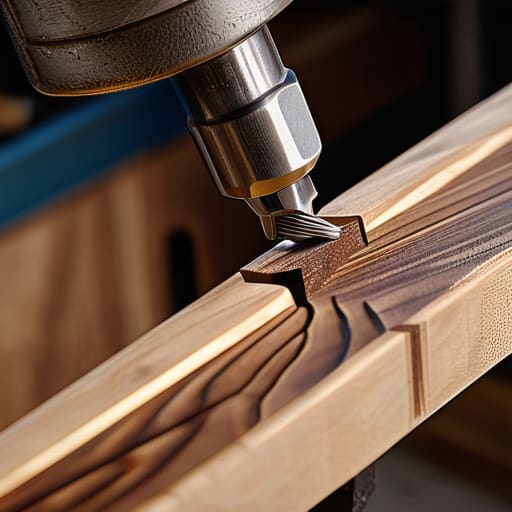
At the end of the day, reviewing a dowel jig isn't about reading a fancy spec sheet or looking at how many bits it claims to support. It’s about how it behaves when you’re halfway through a project and the clock is ticking. You need to know if the bushings are true, if the clamping mechanism holds steady without slipping, and if the whole unit is built to last a lifetime or if it’s just more plastic junk destined for a skip. If the jig can’t maintain its alignment through a dozen repetitive holes, it’s not a tool—it’s a distraction. Don't let a cheap, flimsy setup ruin a good piece of timber; test for precision, not for promises.
I’ve spent forty years seeing men try to make up for poor layout with more power and more noise. They think a drill press can fix a bad joint, but they’re wrong. A decent jig, used with a steady hand and a bit of patience, will give you a clean, honest connection every single time. Invest your time in finding gear that respects the craft. When you stop fighting your equipment and start working with it, you'll find that the work gets easier and the results get better. Buy once, buy well, and keep your tools honest.