Reroofing a Shed in a Day
 Callum Reith-Sowande
Most people think that fixing a leaking shed requires a trip to the big-box hardware store for a mountain of plastic sealant and a noisy nail gun. They spend a fortune on "quick-fix" sprays that peel off after the first frost, leaving them right back where they started. But if you want to know how to repair a shed roof properly, you don't need more gadgets; you need a bit of patience and a steady hand. I remember a rainy Tuesday back in my teaching days when a student tried to patch a rotted fascia with nothing but expanding foam. It looked fine for an hour, but it was a complete waste of time that ended up rotting the timber even faster.
I’m not here to sell you on some miracle chemical or a heavy-duty power tool that’ll be sitting in your garage gathering dust by next month. In this guide, I’m going to show you the honest way to tackle the job using the skills that actually last. We’ll go over how to identify the real source of the rot, how to strip back the damage without ruining the structure, and how to use a few well-maintained hand tools to make those repairs tight and permanent.
Guide Overview
Tools & Supplies
- Hammer for driving nails and removing old shingles
- Utility knife for cutting roofing felt or shingles
- Pry bar for lifting shingles and removing debris
- Ladder for safe access to the roof surface
- Asphalt shingles 1-2 bundles depending on area
- Roofing nails 1 box of galvanized nails
- Roofing cement/sealant 1 tube or small can
- Roofing felt or underlayment 1 roll
Step-by-Step Instructions
- 1. First, clear the deck. You can't fix what you can't see, so get up there and clear away the moss, the dead leaves, and any old, crumbling felt that's just sitting there waiting to rot the timber underneath. I’ve spent many an afternoon sweeping a shed roof clean, and I tell you, you’ll find more problems once the debris is gone than you ever would have guessed.
- 2. Inspect the rafters and the decking. Once it's clear, take a close look at the wood itself. If you see soft spots or anything that gives way when you press a screwdriver into it, you’re looking at rot. You can't just slap new felt over a decaying structure; you'll be right back where you started in six months. If a board is gone, pull it out and replace it with something solid.
- 3. Assess the joints and fix the leaks. If the issue is a gap between boards or a loose corner, don't go reaching for a massive tub of cheap sealant. Get yourself a decent chisel, make sure it's scary sharp, and trim back any splintered or rotted edges so the new material has a clean, flat surface to sit against. A clean cut makes for a watertight seal.
- 4. Lay down your underlayment. If you're using felt, start from the bottom edge of the roof and work your way up. This ensures that any water running down the slope goes over the laps rather than under them. If you overlap the sheets the wrong way, you might as well be building a water feature instead of a shed.
- 5. Fix the roofing material. Whether it's felt, shingles, or slate, make sure it's secured properly. If you're using felt, I prefer a torch to melt the bitumen, but if you're not comfortable with that, use a good quality roofing adhesive. Just remember: don't rush the process. I've seen many a young lad ruin a job by trying to finish before his tea was even cold.
- 6. Seal the ridge and the edges. The top of the roof and the edges where the wind catches it are your weakest points. Use a proper ridge cap or extra layers of felt to ensure the weather can't get a foothold. I always say, if you don't respect the wind, the wind will eventually find its way into your tools.
- 7. Final check and cleanup. Once everything is laid down, give it one last walk-through. Check that every edge is tucked in and every seam is tight. Then, get your tools cleaned and put away. A job isn't finished until the workshop is tidy, and the roof is ready for the next storm.
Ditch the Heavy Gear Essential Shed Roofing Tools and Materials
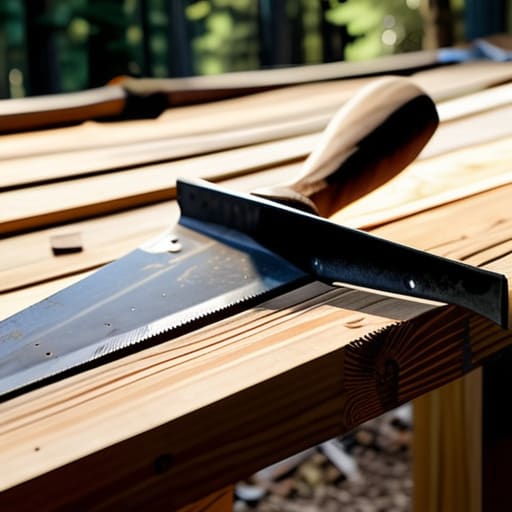
You don’t need a mountain of power tools to sort out a leaky shed roof; in fact, half of them will just get in your way. If you’re replacing damaged roof boards, a heavy circular saw is fine, but a sharp handsaw will give you much better control when you're working in tight, awkward corners where the rafters meet. I’ve always found that a decent hammer and a set of sturdy pry bars do more heavy lifting than any expensive electric demolition tool. If you can't fix it with a hammer and a chisel, you're probably using the wrong tool for the job.
When it comes to the actual shed roofing tools and materials, don't go skimping on the quality of your fasteners. I’ve seen too many blokes try to save a few pennies on cheap nails, only to find them popping up six months later. Grab some proper galvanized clout nails and a heavy-duty roofing brush. It’s about doing the job once and doing it right. If you invest in decent materials now, you won't be back up on that ladder next season fighting the same old leaks.
Replacing Damaged Roof Boards With a Steady Practiced Hand
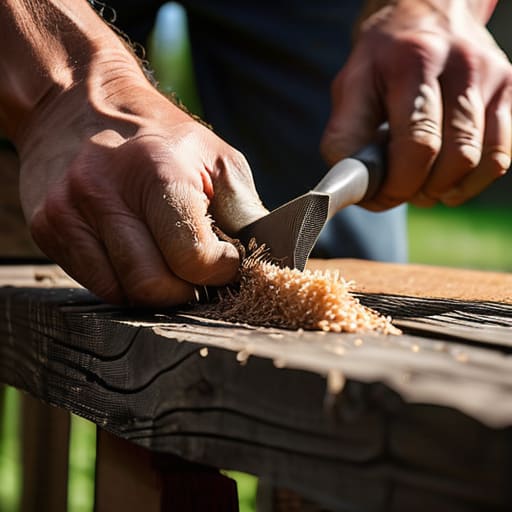
When you get to the stage of replacing damaged roof boards, don't go rushing in with a crowbar and a heavy hammer like you're trying to demolish a building. If you're too aggressive, you’ll split the good timber surrounding the rot, and then you’re looking at a much bigger job than you bargained for. I’ve seen plenty of lads make that mistake. Take your time. Use a sharp chisel to carefully score the edges of the rotten section first. It makes the separation much cleaner and keeps the structural integrity of the remaining boards intact.
Once the old wood is out, you need to ensure the new boards sit flush. If they aren't level, you're inviting trouble during the roofing felt replacement steps later on. A gap in your boarding is just a highway for moisture. I always check the seating with a hand plane if the new timber is a fraction off. It’s more work upfront, but it’s the only way to ensure you aren't fighting the materials halfway through the job. A steady hand and a bit of patience now saves you from a leaky mess come winter.
Five things I’ve learned from forty years of fixing what’s broken
- Don't rush the measurements; a mistake in the timber length means you're back at the saw, and a saw is a clumsy way to fix a precision error.
- Keep your chisels honed to a mirror finish before you start cutting into any old, weathered rafters, or you'll just mash the wood instead of slicing it.
- Check the integrity of the joists before you even think about laying new boards, because there's no point putting a fresh roof on a rotten skeleton.
- Avoid the temptation to use cheap, flimsy nails that bend the moment they hit a knot; get yourself some proper, heavy-duty fixings that stay where you put them.
- Listen to the wood while you work—if it sounds hollow or crunching, you've found more rot than you bargained for, so stop and reassess.
Finishing the job right
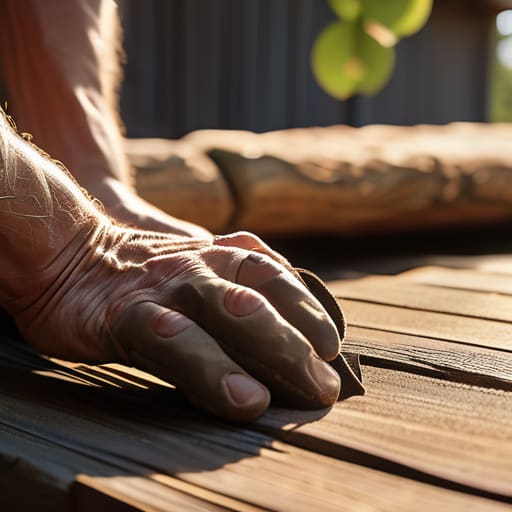
At the end of the day, repairing a shed roof isn't about how much noise you can make with a nail gun or a heavy-duty saw. It’s about the quiet precision of a well-set chisel and the patience to ensure every board sits exactly where it ought to. You’ve gone through the trouble of selecting the right timber, stripping away the rot, and making sure your cuts are clean rather than chewed up by a blunt blade. If you’ve followed these steps, you haven't just slapped a patch on a leak; you've restored the integrity of the structure. It’s that steady, methodical approach that separates a quick fix from a properly repaired roof that will actually stand the test of time.
I know there’s a temptation to just buy a new shed when things start looking grey and weathered, but there’s a different kind of satisfaction in fixing what’s broken. There is a dignity in working with your hands and tending to the things you own. When you finish this job, take a moment to look at those clean joints and smooth edges. You’ll find that when you respect your tools and take your time, the work speaks for itself. Don't rush the finish; master the craft one repair at a time, and you'll never find yourself at the mercy of a disposable world.