Replacing One Decking Board
 Callum Reith-Sowande
Most people think that when a piece of timber splits or rots, you’ve got two choices: rip the whole deck up or slap some cheap, plastic filler over the gap and hope for the best. They'll grab a heavy-duty sander or a tub of chemical wood putty, thinking they’re fixing the problem, but they’re really just masking the decay. I remember a lad I taught back at the college who tried to sand out a split in a cedar board with a power tool; he ended up making the hole twice as big and ruining the grain. If you want to know how to repair a decking board properly, you have to stop treating it like a disposable product and start treating it like real wood.
I’m not here to sell you on any fancy, expensive gadgets that'll end up in a landfill by next Christmas. I'm going to show you how to use a few well-maintained hand tools to clean out the rot and set a permanent fix that actually holds its ground. We'll walk through the proper way to prep the timber, the right way to pack a joint, and how to ensure the repair is seamless. This is about doing the job once, doing it right, and making sure that board stays where it belongs.
Guide Overview
Tools & Supplies
- Drill/Driver for removing old screws and driving new ones
- Circular Saw or Handsaw for cutting the replacement board to size
- Pry Bar for removing damaged boards without damaging joists
- Measuring Tape for accurate board sizing
- Replacement Decking Board (1 piece, matching existing wood species/profile)
- Deck Screws (Small box, stainless steel or coated for outdoor use)
- Wood Glue (Small bottle, exterior grade)
Step-by-Step Instructions
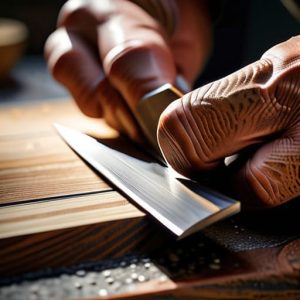
- 1. First thing you need to do is clear the area and get a proper look at the damage. Don't just eyeball it from a distance; get down on your knees and see if the rot is just on the surface or if it's gone deep into the heart of the timber. If the wood feels soft or spongy when you press it with your thumb, you'll need to cut back the rot until you hit solid, healthy wood. I always use a sharp chisel for this—it's much cleaner than hacking away with a screwdriver.
- 2. Once you've cleared out the bad stuff, you'll have a bit of a hollowed-out mess. You need to clean that cavity thoroughly. I use a stiff brush to get all the loose dust and old grit out of the grain. If you leave any debris in there, your repair material won't ever bond properly, and you'll be right back where you started in six months.
- 3. Now, you'll need to choose your filler. Most of the lads will tell you to grab a tub of ready-mixed wood filler from the big hardware stores, but most of that stuff is rubbish—it’s mostly plastic and it'll crack the moment the weather turns. If you're doing a proper job, I prefer a two-part wood epoxy. It sets hard, it's waterproof, and it actually behaves like wood once it's cured.
- 4. Mix your epoxy carefully. Follow the instructions on the tin, but don't rush it. If you mix it too fast, you'll trap air bubbles in the compound, and those bubbles will turn into tiny holes once the filler dries. Pack the mixture into the cavity in layers, pressing it down firmly with a spatula or a clean piece of scrap wood to make sure it's packed tight.
- 5. After you've filled the hole, you'll need to let it sit. Don't be tempted to go back and tinker with it while it's still tacky. Depending on the temperature, it might take an hour or it might take a day, but patience is a tool just as much as a mallet is. If you rush the drying time, the whole patch will eventually pop out.
- 6. Once it's bone dry and hard as a rock, it’s time to bring it level with the rest of the board. This is where people usually reach for a belt sander, but if you want a clean finish without rounding off the edges of the surrounding timber, get a sharp block plane or a well-sharpened chisel. Take small, controlled shavings until the patch is flush with the surface.
- 7. Finally, you can't just leave bare filler exposed to the elements. You'll need to treat the area. If you've used a wood-toned epoxy, you might be fine, but I always recommend applying a bit of the original decking oil or stain over the patch. It helps the repair blend in naturally and gives it that extra layer of protection against the rain.
Treating Wood Rot With Precision Over Power
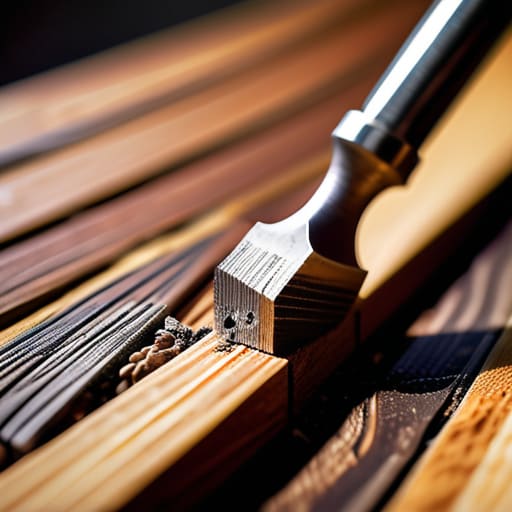
When you’re dealing with soft, spongy patches, the temptation is to grab a grinder or a heavy-duty sander and just blast through it. Don't. That’s how you end up with a mess of sawdust and a hole much larger than the rot itself. Instead, I always reach for a well-honed chisel. You want to carve out the decay precisely, following the grain until you hit solid, healthy timber. It’s a slower process, I'll grant you that, but it ensures you aren't just masking the problem. If you don't clear out every bit of that rot, any filler you use is just a temporary bandage on a terminal wound.
Once you've excavated the bad wood, you’re looking at proper treating wood rot with a specialist resin or wood hardener. This is where most people fail; they rush the drying time. If you don't let the hardener soak in completely, your decking surface restoration will peel away within a single season. I treat it like a fine joinery task: patience is your most important tool. If the rot is too deep for a chisel to reach safely, then—and only then—should you consider the headache of replacing the entire section.
Replacing Damaged Wood Planks Without the Chaos
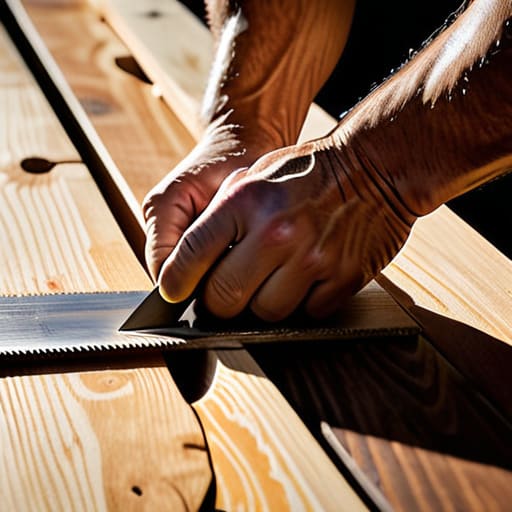
When the rot has gone too deep for a bit of filler or a surgical chisel, you’re looking at replacing damaged wood planks entirely. Now, most fellas will grab a circular saw and start hacking away, creating a mess of sawdust and splintered edges that’ll make the new board sit uneven. I’ve always found it better to take your time. Use a fine-tooth hand saw to get a clean, square cut at the ends of the boards. If you don't get a true, straight edge, that new piece of pressure treated lumber repair won't sit flush, and you'll be fighting it for the rest of the afternoon.
While you've got the old board out, take a moment to inspect the joists underneath. It's the perfect time for some proper decking maintenance tools—a decent scrap chisel and a stiff brush—to clear out any debris. Don't just hammer in new fixings, either. I always suggest a bit of decking screw replacement if the old ones are even slightly stripped or rusted. If you don't secure it right from the start, the whole job is just a temporary fix.
Five things I’ve learned from forty years of fixing what others break
- Don't go buying a whole new pack of boards just because one has gone soft; if you've cut out the rot properly, a single well-matched piece is all you need.
- Check your screws before you drive them in. There's no sense in using a rusted-out screw that'll snap halfway through and leave you staring at a mess.
- When you're fitting the new piece, use a sharp chisel to clean up the edges of the gap. It'll sit flush and tight, whereas a jigsaw will leave you with jagged edges that won't line up.
- Sanding is fine for a finish, but don't rely on a power sander to fix a bad joint. If the fit isn't right, use a block plane to take off thin shavings until it seats perfectly.
- Always test your wood stain on a scrap bit first. You don't want to find out too late that the new board looks like a different species compared to the old ones.
A bit of patience goes a long way
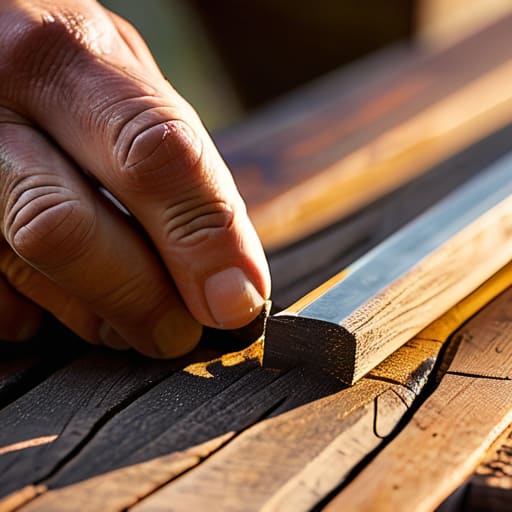
At the end of the day, fixing a deck isn't about how much noise you can make or how much dust you can kick up with a grinder. It comes down to the basics: identifying the rot, clearing it out cleanly with a sharp chisel, and ensuring the replacement timber is fitted tight. If you've followed the steps, you haven't just patched a hole; you've restored the integrity of the structure. Remember, the goal is to stop the decay in its tracks rather than just masking it with a heavy coat of stain. If you take the time to do the prep work properly, the actual repair becomes the easiest part of the job.
I know there's a temptation to just rip the whole thing up and buy pre-made composite boards that'll end up in a landfill in ten years. But there is a real, quiet satisfaction in taking something broken and making it whole again with your own two hands. When you choose to repair rather than replace, you're choosing to respect the material. Keep your tools sharp and your movements steady, and you'll find that handwork always outlasts the quick fix. It might take a little longer, but you'll sleep better knowing the job was done right.