Sharpening a Marking Knife
 Callum Reith-Sowande
I spent thirty years on-site watching young lads reach for a power saw the moment a task felt heavy, thinking they were saving time. They weren't; they were just fighting the material. I remember one particular afternoon at the college, watching a student struggle with a dull utility blade, hacking away at a piece of trim like he was trying to chop down an oak tree. It’s a common mistake to think that more motor equals more progress, but the truth is that knowing how to sharpen a knife for the workshop is the only way to actually work with the grain instead of against it. A blade that bites is a blade that respects the wood.
I’m not here to sell you some expensive, motorized gadget that'll end up in a landfill in two years. I want to show you the proper, steady way to get a shaving edge using nothing but a good stone and a bit of patience. We’re going to go over the exact angles you need, how to feel when the burr is set, and why you should never settle for a mediocre edge. By the time we're done, you'll see that a truly sharp hand tool is faster than any blunt power tool you've got in your kit.
Guide Overview
Tools & Supplies
- Whetstone (Double-sided grit stone)
- Honing rod (Steel rod for maintaining edge)
- Water or honing oil (Small amount for lubrication)
- Microfiber cloth (One for cleaning and drying)
Step-by-Step Instructions
- 1. First, you need to get your steel properly prepared. I don't care what kind of fancy electric pull-through gadget you've seen in the shops; those things are nothing but a way to ruin a good edge by chewing up the metal. Grab a coarse whetstone or a diamond plate. You want to start with something that can actually move metal, because if your edge is nicked or rolled, you aren't sharpening—you're just polishing a mistake.
- 2. Once you've got your stone, you have to find your angle. This is where most people lose their nerve and give up. For a workshop knife, I usually aim for about twenty degrees. It’s not a guess; it’s a discipline. Hold the knife steady and apply consistent pressure, pushing the blade away from you as you slide it across the stone. You aren't trying to rush through it; you're feeling for that consistent contact between the steel and the grit.
- 3. Now, you’re looking for the burr. This is the most important part of the whole process, and if you don't understand it, you're wasting your time. As you work the edge on one side, you'll eventually feel a tiny, microscopic lip of metal curling over the opposite side. That’s the burr. Once you feel it running along the entire length of the blade, it’s time to flip the knife over and repeat the exact same process on the other side.
- 4. After you've established that edge on both sides, you need to refine it. Move down to a finer grit stone—something smoother. You aren't trying to remove much metal now; you're just cleaning up the scratches left by the coarse stone. I like to use light, sweeping strokes here. You want to work until that burr becomes so fine that it almost disappears into the steel. If you skip this step, your knife will be sharp for five minutes and then dull the moment it touches a piece of pine.
- 5. The final stage is the strop. I don't use anything fancy, just a piece of thick leather glued to a flat block of wood. Apply a bit of honing compound and pull the blade backward across the leather, like you're trying to shave a hair off the surface. This isn't about removing metal anymore; it's about aligning the edge. A good strop will take a tool from "sharp" to "scary sharp," and that's the level you need if you want to work with precision.
- 6. Before you go putting that knife to work, give it a proper test. Don't just hack at a piece of scrap wood like a novice. Take a piece of end-grain timber or even a bit of heavy paper. If the blade glides through without any tearing or hesitation, you've done it right. If it catches, you haven't finished the job, and you need to head back to the stones. Remember, a tool is only as good as the man who maintains it.
Mastering Whetstone Sharpening Techniques for Precision
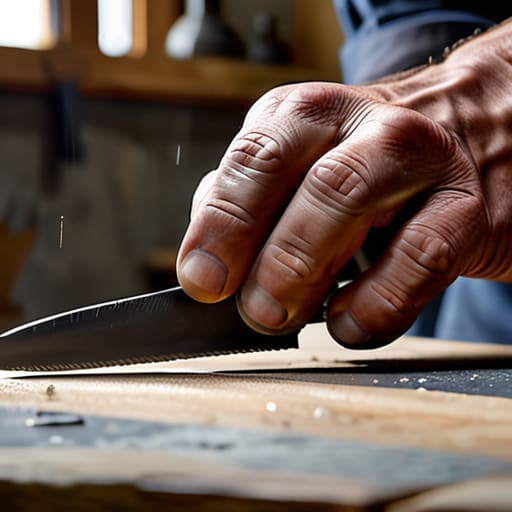
Now, if you think you’ve got the edge, don't go rushing off to the workbench just yet. There’s a massive difference between honing vs sharpening, and most lads I taught at the college used to get them mixed up. Sharpening is the heavy lifting—resetting that bevel and removing the metal to fix a damaged edge. Honing, on the other hand, is about refining what you’ve already built. If you skip the fine grits and try to jump straight to the work, you’ll find your edge rolls or chips the moment it hits a bit of seasoned oak.
To really get that razor finish, you need to respect your bevel angle for workshop tools. I always tell my apprentices: if you can't hold the angle steady, you're just making a shiny, blunt piece of steel. Once you've worked your way through the stones, don't let the edge sit idle. I make a habit of using a leather strop every single morning before I touch a piece of timber. It’s a small habit, but it’s the secret to maintaining tool edge longevity without having to go back to the coarse stones every time you feel a bit of drag.
Finding the Perfect Bevel Angle for Workshop Tools
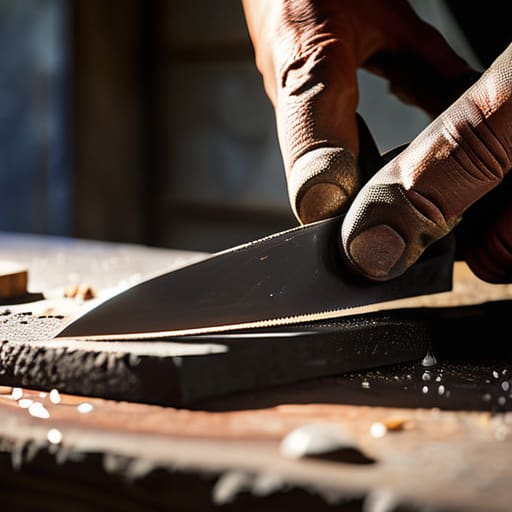
Now, don't go thinking there’s one magic number that fits every blade in your kit. If you try to use the same steep angle for a delicate paring knife that you use for a heavy-duty carving tool, you’re asking for trouble. For general workshop tasks, I usually settle on a 25-degree bevel angle for workshop tools, as it strikes a decent balance between a keen edge and a bit of durability. If you're working with something that takes a real beating, you might want to bump that up to 30 degrees. It’s about understanding the job before you ever touch the stone.
You also need to distinguish between the heavy lifting and the finishing touches. I tell my students that honing vs sharpening is the difference between building a house and painting it. Once you've ground your primary bevel, you move to a finer grit to refine that edge. This is where maintaining tool edge longevity really comes down to how much metal you've moved. If you're too aggressive, you'll wear the tool down to nothing in a year; if you're too timid, you'll never actually get a clean cut.
Five things I wish my apprentices had learned sooner
- Stop rushing the stone. You aren't racing a clock; you're working with steel. If you push too hard, you'll wander off your angle and end up with a burr that'll take you an hour to fix. Slow, steady pressure is the only way to get a true edge.
- Keep your stones wet. I don't care if it's a water stone or an oil stone—if that surface starts running dry, you're just grinding grit into the metal and scratching the bevel. A little slurry is your friend; it carries the metal away.
- Don't go hunting for fancy gadgets. You don't need a motorized sharpener that eats your steel for breakfast. A good, flat stone and a steady hand will do more for your tools than any electric machine ever could.
- Listen to the sound. You’ll start to hear the difference between a tool that's biting into the stone and one that's just sliding over it. That change in pitch tells you more about your progress than any visual check ever will.
- Check your edge often, but don't overdo it. You don't need to go through the whole process every time you pick the knife up. Sometimes a few light passes on a fine stone is all it takes to bring the edge back to life.
A sharp edge is a lifetime commitment
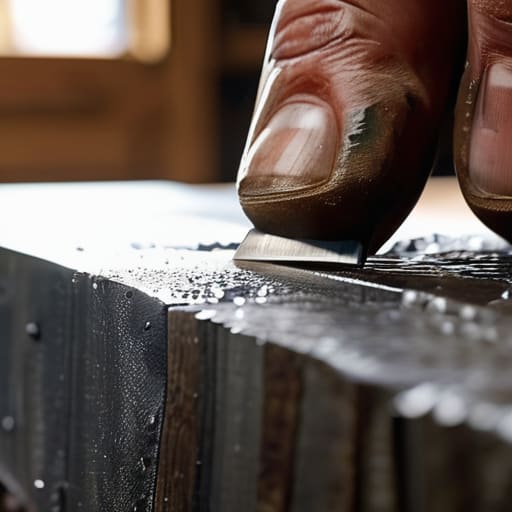
At the end of the day, sharpening isn't some chore you tick off a list; it’s the foundation of the work itself. You’ve learned how to find your bevel, how to respect the stone, and how to stop fighting the material. If you’ve done it right, you aren't just making a knife edge; you are reclaiming control over your workshop. Don't be tempted by those cheap, disposable blades that come in plastic packaging these days. They’re designed to fail. Stick to the fundamentals: steady pressure, a consistent angle, and the patience to feel when the burr has formed. Once you master this, you’ll realize that maintaining your tools is just as important as the joinery itself.
I’ve spent forty years on site and another ten in the classroom, and I’ve seen plenty of young lads try to make up for a dull blade by pushing harder with a power tool. It never works. All they do is burn the wood and ruin the finish. There is a quiet, steady satisfaction in taking a piece of steel that’s gone tired and bringing it back to a shaving edge. It takes time, and it requires a bit of discipline, but it’s worth every second. Remember, a tool you can't maintain is a tool you shouldn't own. Keep your stones ready and your edges keen, and you'll find that the work becomes easier than you ever thought possible.