A Garden Bench Worth Saving
 Callum Reith-Sowande
Most people think they need a shed full of expensive, battery-operated sanders and a pile of new timber to fix a weathered seat, but they've got it all wrong. I spent forty years on site and another ten in the classroom, and I can tell you that most folks make a mess of it by trying to mask rot with cheap fillers and heavy machinery. If you actually want to learn how to repair a garden bench properly, you don't need more gadgets; you need a sharp chisel and a bit of patience. I remember a lad in my college class who tried to power-sand a rotted joint back to life—all he did was create a cloud of dust and a wobbly mess that wouldn't last a week.
In this guide, I’m going to show you how to do things the right way. We aren't going to hide the damage under layers of plastic; we are going to strip it back, assess the wood, and fix the structural bones. I'll walk you through selecting the right timber, cleaning out the soft spots with precision, and ensuring your joints are tight enough to last another decade. It’s about honest work and tools that actually do what they're told.
Guide Overview
Tools & Supplies
- Sandpaper (various grits for smoothing surfaces)
- Screwdriver or Drill (for removing and replacing hardware)
- Paintbrush (for applying stain or sealant)
- Hammer (for adjusting loose joints)
- Wood Glue (1 bottle for structural repairs)
- Exterior Wood Screws (small pack for securing slats)
- Wood Stain or Outdoor Sealer (1 quart for protection)
- Replacement Wood Slats (if needed, depending on damage)
Step-by-Step Instructions
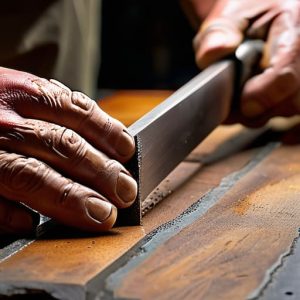
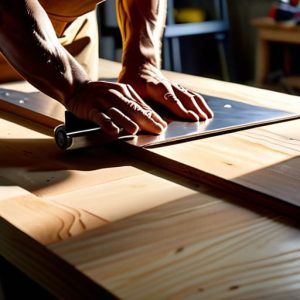
- 1. First, you need to strip the thing back. Don't go reaching for that noisy orbital sander just yet; it'll only burn the wood and clog your pads. Get yourself a sharp scraper or a well-honed chisel and work through the old, flaking paint or varnish. You want to see the actual grain of the timber before you decide how much damage you're really dealing with.
- 2. Once the wood is bare, go through it with a keen eye for rot. If the timber feels soft or spongy under your thumb, it's gone. You can't patch a hole that's structurally unsound. If it's just a bit weathered, you can work with it, but if it's crumbling, you'll need to cut out the bad sections entirely using a fine-toothed saw. I'd rather replace a single slat than try to build a bench on a rotten foundation.
- 3. Now, look at your joints. Most garden benches fail because the glue has dried out or the fixings have rusted through. Take a chisel and carefully clean out the old glue from the mortise and tenon joints. If you leave that old, crusty residue in there, any new glue you apply won't have a chance of biting. It’s tedious work, but it's the only way to ensure a solid connection.
- 4. If the wood has split, don't go slapping on a cheap, watery wood filler from a tub. That's just masking the problem. Instead, I prefer to make a simple epoxy resin repair or, if the split is significant, use a small wedge of matching hardwood. It takes a bit more patience, but a wedge driven into a split is far more permanent than any chemical sludge you'll find in a hardware shop.
- 5. Before you even think about the finish, check your fastenings. If there are rusted screws or bolts, pull them out. Don't try to drive a new screw into old, weathered wood; you'll just split it. Drill a fresh pilot hole—and make sure it's the right size—then use stainless steel or brass fixings. It's a small expense that saves you from having to do this whole job again in two years.
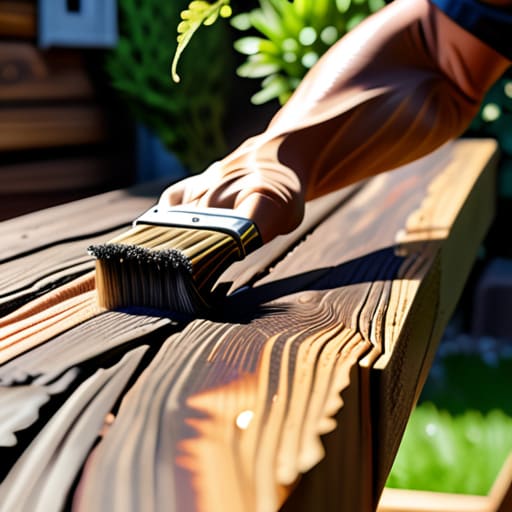
- 6. Finally, it's time to protect the wood. I’ve seen people spend a fortune on fancy oils, but for a bench that lives outdoors, you need something that actually penetrates the fibers. Apply your oil or sealant in thin, even coats. If you go too heavy, you're just creating a sticky mess that will peel off by next spring. A little bit of elbow grease goes a long way here.
Treating Wood Rot Before the Decay Wins
Once you’ve cleared out the soft, punky bits with your chisel, you can't just slap some glue on it and call it a day. If you leave any trace of that fungus behind, it’ll just keep eating through your hard work. I always tell my students that treating wood rot is about being thorough; if you leave a single pocket of decay, it’s like leaving a crack in a dam. You need to get a dedicated wood hardener into those deep grain recesses. It soaks in and turns that spongy mess into something solid enough to actually work with.
While you're at it, don't be stingy with the protection. After the repair is set, I apply a heavy coat of wood preservative for outdoor furniture to the entire piece, not just the patch. It’s better to overdo it now than to be back out here in six months. While the timber is drying, take a moment to look at your fixings. If you see any orange staining around the holes, stop what you're doing and start replacing rusted screws with stainless steel or brass. There's no point in a sturdy bench if the hardware is busy rotting the wood from the inside out.
Replacing Rusted Screws With Precision Not Force
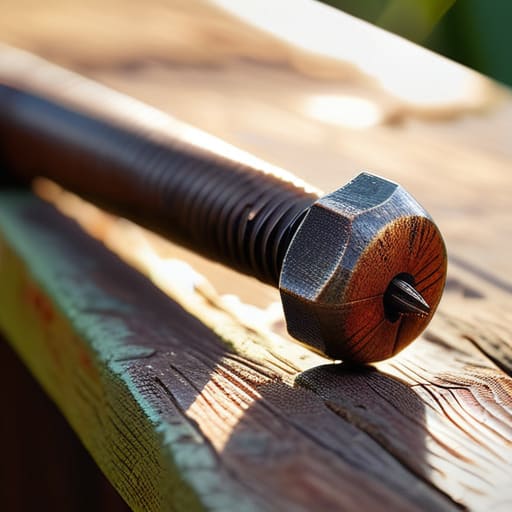
You’ll often find that once you’ve finished treating wood rot, the next headache is the hardware. Most people see a rusted screw and think the only way out is a heavy-duty screwdriver and a lot of swearing. That’s a mistake. If you try to force a seized screw, you’ll just strip the head, and then you’re looking at a much bigger job involving drills and extraction kits. I’ve spent forty years seeing men ruin good timber because they lacked patience. Instead of brute force, I use a bit of penetrating oil and let it sit. If it’s really stuck, a light tap with a hammer can sometimes break the rust seal just enough to let it turn.
When you’re finally replacing rusted screws, don't just grab the first cheap box of zinc-coated ones you find at the local DIY shop. They’ll be gone in two seasons. If you want this bench to last, you need stainless steel or high-quality brass. It’s a small investment in proper outdoor furniture maintenance tips that pays off tenfold. While you have the holes open, take a moment to ensure the timber is clean; it’s much easier to apply your waterproof wood sealant once the new hardware is seated firmly.
Five things I’ve learned from forty years of fixing what others throw away
- Don't just slap new wood on. If you're replacing a slat, make sure the new piece is seasoned and dry; otherwise, it'll warp and pull your repair apart before the season's out.
- Stop using those cheap, gold-coated screws. They’ll rust through in two summers. Get yourself some proper stainless steel or brass—tools and fixings should be built to last, not to be replaced every year.
- Sanding is a lazy man's way out. If you have a soft spot in the timber, use a sharp spoke shave to clean it up properly instead of burying the grain under a mountain of dust with a power sander.
- Check your joinery before you even think about the finish. A bench is only as good as its connections; if the mortise and tenon are loose, no amount of varnish is going to save it from wobbling.
- Invest in a decent quality wood preservative, but don't just paint it on thick. Work it deep into the grain where the moisture hides, or you're just putting a pretty face on a dying piece of wood.
Putting the Work to Bed
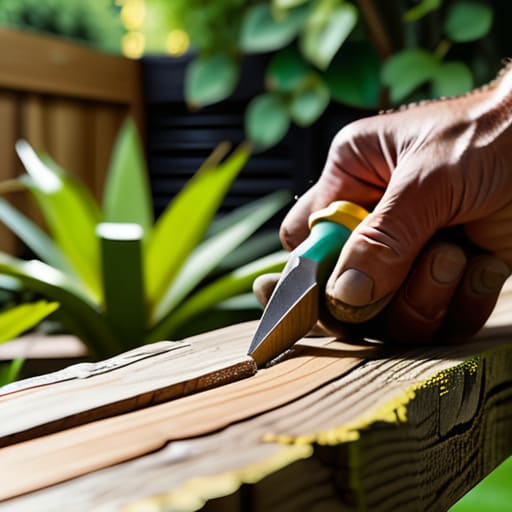
At the end of the day, fixing that bench isn't about rushing through to the finish line. You’ve dealt with the rot, you’ve swapped out those stubborn, rusted screws, and you’ve likely spent more time than you’d care to admit with a chisel in hand. It’s easy to get frustrated when the wood doesn't cooperate, but that's exactly why we don't reach for the heavy machinery the moment things get difficult. By taking the time to treat the decay properly and replacing the hardware with precision rather than brute strength, you haven't just patched up a seat; you've actually stabilized the structure. You’ve done the job the right way, ensuring the repairs actually hold when the weather turns.
There’s a certain satisfaction in looking at a piece of furniture that was headed for the skip and seeing it standing tall again. Most people see a broken bench and think it’s rubbish, but they’re usually just too impatient to pick up the right tools. I’ve spent forty years seeing men throw away perfectly good timber simply because they didn't want to put in the effort to sharpen a blade or clean a joint. Don't be one of them. Take pride in the slow work, because a well-repaired bench tells a better story than a brand new one bought from a catalogue. Now, get that chisel back on the stone and keep it ready for the next one.