A Honing Guide Until Your Hands Learn
 Callum Reith-Sowande
I spent thirty years on site watching young lads struggle with a dull chisel, trying to force it through a piece of seasoned oak like they were fighting a losing battle. They’d swear the steel was rubbish or that they needed a fancy electric grinder to get the job done, but they were wrong. The problem wasn't the tool; it was the angle. Most people think they need a steady hand and years of muscle memory to get a razor edge, but if you want to stop guessing and start cutting, you need to learn how to use a honing guide properly. It’s not about cheating the craft; it’s about consistency, and once you get it right, you’ll realize a sharp hand tool can outpace a clumsy power tool every single time.
In this guide, I’m going to strip away the nonsense and show you the exact way I set up my bench to get a mirror finish. I won't bore you with technical jargon that doesn't matter; instead, I’ll walk you through the practical steps of securing your blade, choosing your stones, and making those precise micro-adjustments that actually matter. We’re going to turn those blunt, frustrating edges into tools you can actually rely on.
Guide Overview
Tools & Supplies
- Honing guide (to hold the blade at a fixed angle)
- Sharpening stones or sandpaper (to provide the abrasive surface)
- Chisel or Plane blade (1 piece)
- Honing oil or water (as required by stone type)
Step-by-Step Instructions
- 1. First, you need to get your chisel or plane iron seated properly in the guide. Don't just shove it in there; make sure the blade is held dead level against the clamping mechanism. If the blade is sitting crooked from the start, you'll spend the next twenty minutes fighting a geometry problem instead of actually sharpening. Tighten the screw just enough so it won't budge, but don't go so heavy that you start to warp the metal.
- 2. Next, pick your stone. I don't care what the fancy catalogs say, you want a flat, stable surface. I usually go for a diamond plate for the heavy lifting or a good quality water stone if I'm doing the fine finishing work. Once your stone is ready, wipe it down and make sure it’s perfectly level on your bench. If your stone is rocking, your edge will be too.
- 3. Now, set your angle. This is where most people trip up. Most chisels need about 25 or 30 degrees, but you need to check what you've actually got in your hand. Adjust the guide's setting screw until the blade sits at that specific angle. I always say, measure twice and grind once; there's no sense in rushing into a stroke if you're aiming for the wrong degree.
- 4. Start your first pass. Hold the guide firmly with both hands—one on the adjustment knob and one on the body—and push it across the stone with steady, even pressure. You aren't trying to race a power sander here; you're looking for consistent contact across the entire width of the bevel. If you feel the blade "skipping" or digging in, your pressure is uneven.
- 5. Once you've ground a flat bevel, it's time to find the micro-bevel. This is the secret to a lasting edge. Back the guide off just a hair—maybe a degree or two—and run it across your finest stone. This creates a tiny, incredibly sharp surface at the very tip. It’s a small movement, but it makes all the difference when you finally put that tool to a piece of timber.
- 6. Don't forget the back of the tool. A common mistake I saw for years when I was teaching at the college was students sharpening the bevel but leaving the back dull. Lay the back of the chisel completely flat on your finest stone and rub it until it shines like a mirror. If the back isn't perfectly flat, that bevel you just worked so hard on won't ever actually cut.
- 7. Finally, test the edge. Don't just look at it; feel it. Take a piece of scrap softwood and see how it bites. If it slices through the grain without tearing or hesitating, you've done it right. If it feels "toothy" or drags, you've missed a step and need to go back to the stones. A tool that doesn't cut is just a heavy piece of metal taking up space in your kit.
Mastering Sharpening Knife Angles Without the Freehand Struggle
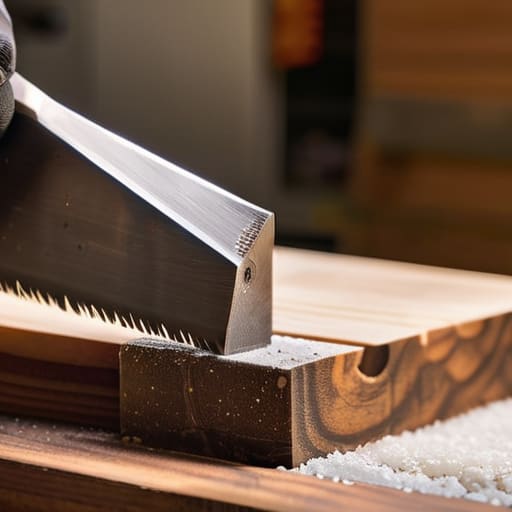
Now, I know what some of the lads will say. They’ll tell you that a real craftsman should be able to feel the angle in his wrists, doing it all freehand. I’ve spent enough years at the bench to know they aren't entirely wrong, but there is a massive difference between feeling an angle and actually hitting it every single time. When you're working on a fine piece of joinery, even a degree of deviation can ruin a clean shoulder. That’s where the real value of a guide comes in; it takes the guesswork out of maintaining edge consistency so you can focus on the steel rather than your shaky hands.
If you want to get really efficient, I suggest looking into the micro bevel technique. Instead of trying to reset your entire bevel every time the edge gets a bit tired, you use the guide to polish just a tiny sliver at the very tip. It’s faster, it uses less stone, and frankly, it’s much more reliable. You aren't just chasing sharpness; you're building a repeatable system. Once you stop fighting the tool and start working with it, you'll find you spend far less time at the sharpening station and more time actually making things.
Maintaining Edge Consistency Through the Micro Bevel Technique
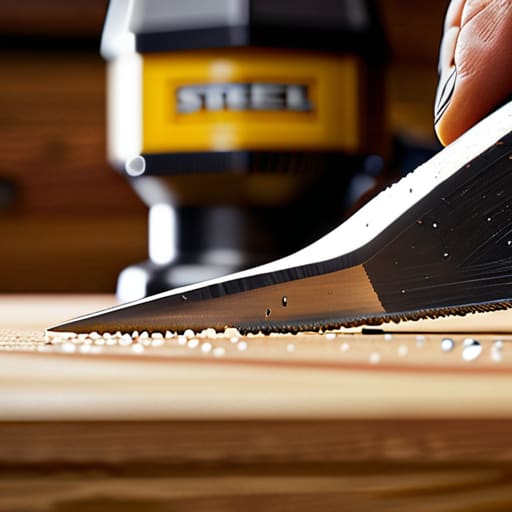
Once you’ve got the basics down, you’ll find that the real secret to a long-lasting edge isn't just about the grind; it’s about how you finish it. I always suggest the micro bevel technique for anyone tired of spending half their afternoon at the stones. Instead of trying to reset the entire primary bevel every time the tool gets a bit tired, you only hone a tiny sliver at the very tip. By using your honing guide to set a slightly steeper angle—just a degree or two more than your main bevel—you create a much more robust edge that holds its bite far longer.
This approach is a massive time-saver and is essential for maintaining edge consistency over years of use. When you’re working with a chisel or a plane iron, you don't want to be fighting the steel; you want the tool to do the work. A micro bevel means you spend less time grinding away metal and more time actually making shavings. It’s a bit of a shortcut, I suppose, but as I always say, a tool that stays sharp is a tool that works for you, not the other way around.
Five Ways to Stop Wasting Stone and Start Cutting Clean
- Check your clamping pressure every single time. If you tighten that screw down like you’re trying to crush a walnut, you’ll pull the blade out of alignment, and you might as well be sharpening with a spoon. Firm enough to hold, but don't fight the steel.
- Keep your stones wet and clean. I’ve seen lads use a honing guide on a stone that was caked in slurry, and all they did was polish the muck onto the bevel. If the water isn't flowing or the oil isn't moving, you aren't cutting anything.
- Don't forget to flatten the back of the chisel first. A honing guide is useless if you're trying to hone an edge against a back that isn't perfectly flat. If the foundation is wonky, the angle won't matter a bit.
- Listen to the sound of the stone. When you're using a guide, you'll hear a change in the grit's "bite" as you move from coarse to fine. If it sounds like you're just sliding on glass, you've lost your edge or your stone is too clogged.
- Watch for the "rocking" motion. Sometimes the guide itself can wobble if it isn't seated flush against the stone. Ensure the base of the guide is sitting dead level on your honing plate, otherwise, you're just creating a fancy way to make a crooked edge.
Getting It Right for the Long Haul
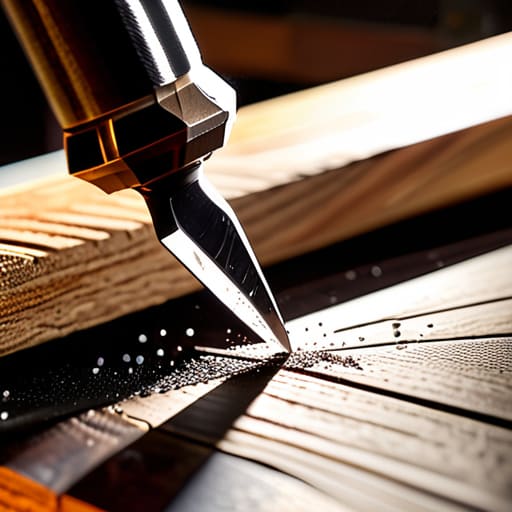
At the end of the day, a honing guide isn't about taking the skill out of your hands; it’s about removing the frustration from the process. We’ve covered how to set your initial angle, how to stop that blade from wandering, and how that micro bevel saves you a mountain of work in the long run. By letting the guide do the heavy lifting of maintaining a consistent plane, you stop fighting the steel and start actually working with it. It’s the difference between spending your afternoon cursing a nicked edge and spending it actually making something worth keeping. Remember, the goal isn't just a shiny bevel—it's repeatable precision that you can rely on every single time you walk into the workshop.
I’ve spent forty years watching people buy expensive power sanders to fix mistakes that a properly sharpened chisel could have avoided entirely. They think speed comes from a motor, but they’re wrong. Real speed comes from confidence in your edge. When you master the guide, you aren't just sharpening a tool; you are reclaiming your time and your craft. Don't let a blunt edge dictate how you work. Pick up the guide, find your angle, and get back to the bench. You'll find that once your tools are truly keen, the wood starts to behave, and you might just find yourself proving my old manifesto right.