Honing a Plane Iron in Four Minutes
 Callum Reith-Sowande
I spent thirty years on site watching young lads reach for a power sander the second a piece of timber looked a bit rough, thinking they could just grind their way out of a problem. They don't realize that a blunt tool is just a way to make more work for yourself. I remember an apprentice of mine once trying to force a plane through a piece of oak, sweating and cursing, only to end up with a surface like a plowed field. He thought he needed a better machine, but the truth is he just didn't know how to sharpen a hand plane blade properly. Once he learned to respect the edge, he stopped fighting the wood and started working with it.
I'm not here to sell you some fancy, overpriced electric sharpening system that'll end up in a landfill in three years. I want to show you the honest, manual way to get a mirror finish on your steel using nothing but basic stones and a bit of patience. We’re going to go through the grit progression, the importance of the bevel, and how to know when you've actually hit that razor edge. If you follow these steps, you'll stop buying disposable tools and start owning ones that last a lifetime.
Guide Overview
Tools & Supplies
- Honing guide (to maintain consistent angle)
- Sharpening stones (water, oil, or diamond)
- Flat honing plate (for flattening stones)
- Microplane or honing guide (for bevel setting)
- Honing compound (for final polish)
- Lubricant (water or honing oil)
- Microfiber cloths (for cleaning)
Step-by-Step Instructions
- 1. First things first, you need to get that metal flat. Most blades you pick up these days come from the factory with a slightly wonky bottom, and if you don't fix that, you'll be chasing your tail forever. Take your finest stone and work the back of the blade until you can see a consistent, dull shine across the entire surface. If the back isn't flat, the edge won't be either, and you'll never get a clean cut.
- 2. Once the back is sorted, it’s time to tackle the bevel. Set your sharpening stone at the correct angle—usually about 25 or 30 degrees depending on the wood you're working with—and start working the primary bevel. You aren't looking for speed here; you're looking for steady, even pressure. I like to use a honing guide for this because it keeps the angle true, and I've learned the hard way that a wandering angle is just a waste of time.
- 3. Now, you need to hunt for that burr. As you work the bevel, you'll feel a tiny lip of metal curling over the back of the blade. Don't stop until you can feel that rough ridge with your thumb across the entire width of the edge. If you don't have a burr, you haven't gone far enough, and you'll just be polishing a blunt edge.
- 4. This is where most people rush, but it's the most important bit. Flip the blade over and lay the flat back onto your finest stone. You want to lightly stroke the back to snap that burr off. It’s a delicate movement—don't grind the bevel away, just kiss the edge with the flat side to clean it up. You do this until the edge is perfectly clean and the burr is gone.
- 5. If you're looking for a truly surgical edge, move up to your stropping leather. A bit of polishing compound on a piece of scrap leather will do more for your tool than any expensive electric grinder ever could. Give it a few light pulls, always trailing away from the edge, until that steel starts to look like a mirror.
- 6. Before you go putting that blade back into the plane, give it the old litmus test. Take a scrap piece of soft pine and see how it behaves. If the tool is doing its job, it should slice through the grain like it’s cutting through warm butter. If it tears or chatters, you've missed a spot, and you'll need to go back to the stones.
Choosing Sharpening Stones for Woodworking Over Loud Grinders
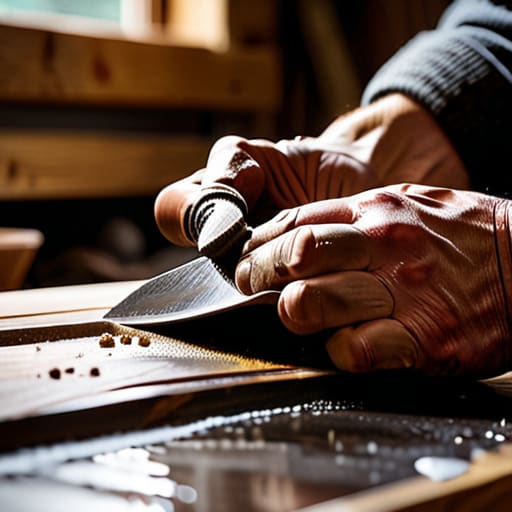
I’ve seen too many young lads walk into a workshop and head straight for the bench grinder. It’s loud, it’s messy, and more often than not, they’ve burnt the temper right out of the steel before they’ve even started. If you want to actually get somewhere, you need to invest in proper sharpening stones for woodworking. Whether you prefer the traditional feel of a waterstone or the steady reliability of an oil stone, the goal is control. A grinder gives you speed, but a stone gives you a true edge that you can actually feel under your fingers.
When you’re setting up your bench, don't overcomplicate it. You don't need a laboratory; you just need a flat surface and the right grit progression. I always tell my students that achieving a razor edge isn't about how much force you use, but about how much patience you have with your honing guide setup. If your stones aren't flat, your blade won't be either. Spend the time on your whetstone maintenance early on, and I promise you, the tool will reward you for it.
Achieving a Razor Edge With the Micro Bevel Technique
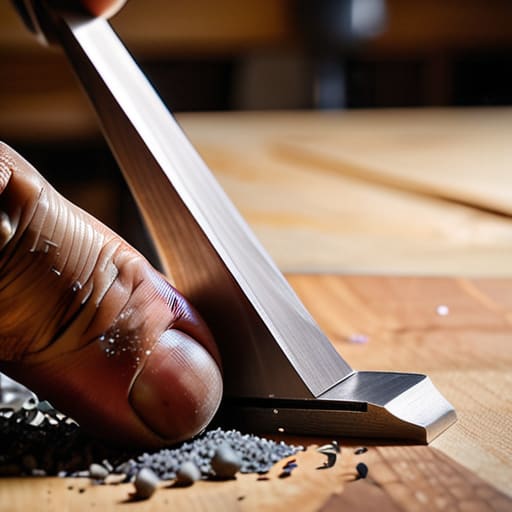
Now, once you’ve got your primary bevel established at the correct sharpening angle degrees, you don't want to keep grinding that entire face every time the edge goes a bit soft. That’s where the micro bevel technique comes in handy. Instead of working the whole surface, you’re just kissing the very tip of the edge with a slightly steeper angle. It’s a bit like a quick touch-up on a worn boot; you aren't rebuilding the whole thing, just fixing the part that takes the brunt of the work.
I always tell my former students that this is the secret to achieving a razor edge without spending half your afternoon hunched over a stone. By only honing that tiny sliver at the tip, you spend far less time on the abrasive. Just make sure your honing guide setup is rock solid before you start. If your guide is wobbling or your stone isn't level, that micro bevel will be uneven, and you'll find yourself fighting the tool instead of the wood. Do it right once, and it'll stay sharp long enough to make you wonder why you ever bothered with a sander.
Five bits of wisdom before you start grinding
- Stop looking for the "perfect" stone and start looking for the right grit; a coarse stone won't fix a chipped edge, and a fine stone won't flatten a wonky one.
- Keep your water or oil moving; if you let the slurry build up and dry, you're just rubbing grit around instead of actually cutting the metal.
- Check your flatness more often than you think you need to, because if your stone isn't dead flat, your blade won't be either.
- Don't get impatient and rush the angle; if you force the blade against the stone, you'll end up with a rounded edge that'll never take a clean shaving.
- Always test the edge on a piece of scrap pine before you go near your good timber—there's no sense in ruining a fine piece of oak because you were too lazy to check your work.
The Work Starts Now
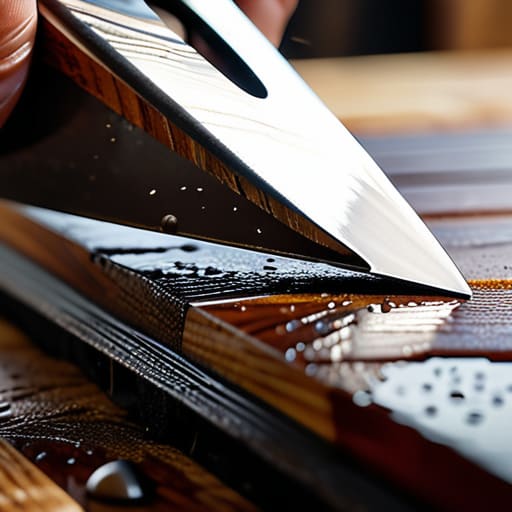
At the end of the day, sharpening isn't some chore you tick off a list; it’s the foundation of everything you do in the shop. We’ve gone through the grit, from selecting the right stones to mastering that micro bevel, and it all boils down to one thing: control. You can have the most expensive workbench in the world, but if you’re fighting a dull blade, you’re just fighting yourself. Remember that a little patience on the stones saves a massive amount of frustration when you actually pick up the plane. If you take the time to do it right, you’ll find that the tool becomes an extension of your hand rather than a heavy piece of iron you're struggling to push.
I know it’s tempting to reach for the electric grinder when you’re in a hurry, but I’m telling you, don't do it. There’s a specific kind of satisfaction that comes from seeing a shaving so thin you can read a newspaper through it. That’s the moment you realize you aren't just making sawdust; you're making something that lasts. Keep your tools sharp, keep your edges true, and never settle for a blunt edge just because it's easier. Once you feel the difference in your own hands, you won't ever want to go back to the way things are done in those big-box workshops.