Storing and Moving Plywood Alone
 Callum Reith-Sowande
I remember a rainy Tuesday back in '84, standing in a cramped workshop with a stack of birch plywood leaning against a wall like a row of drunk soldiers. Every time I reached for a sheet, the whole pile would shudder and groan, threatening to come down on my head or, worse, snap a corner on a jagged edge. Most people think you just need a fancy, expensive kit from a catalogue to solve your space problems, but they’re wrong; learning how to use a sheet goods storage rack isn't about buying the most expensive steel uprights, it's about understanding how weight and gravity actually behave in a working shop.
I’m not here to sell you a lifestyle or a set of over-engineered gadgets that'll end up in a landfill in five years. I’m going to show you how to set up a system that actually works for a real craftsman, focusing on stability and ease of access. We’ll skip the fluff and get straight to the mechanics of loading, securing, and retrieving your boards without breaking your back or your timber. If you want to stop wrestling with your materials and start working with them, then let’s get to it.
Vertical vs Horizontal Sheet Storage Choosing Your Edge
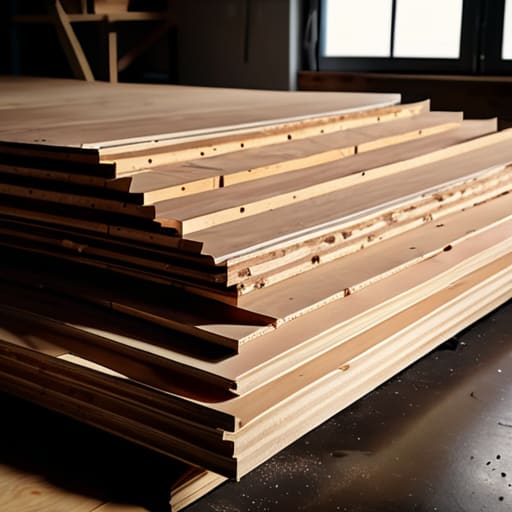
Now, you’ve got to decide how you’re going to house these sheets, and there’s no one-size-fits-all answer. If you go with horizontal storage, you’re stacking them flat. It’s fine for a handful of boards, but if you start piling them up high, you’re asking for trouble. The weight alone can cause the bottom sheets to bow, and if you aren't careful, you'll end up preventing wood warping only to create a massive, heavy headache that requires two men and a hoist just to find a single piece of MDF.
On the other hand, vertical storage is often the better bet for most of us working in tight quarters. It keeps everything upright and easy to grab, which is one of those basic workshop organization tips I used to hammer into my apprentices. However, you can't just lean them against a wall like a pile of discarded scrap. If they aren't supported properly in a dedicated rack, they’ll tip or slide, and that's when you run into real woodworking shop safety issues. In my experience, a sturdy vertical rack is the way to go—it keeps your footprint small and your materials ready to work.
Lumber Management Systems That Actually Save You Time
You can buy all the fancy cabinets in the world, but if you haven't got a proper system for your larger stock, you're just moving clutter around. Real lumber management systems aren't about looking pretty for a magazine; they’re about reducing the time you spend wrestling with a heavy piece of birch just to get a single cut. I’ve seen too many lads waste twenty minutes fighting a sheet that’s stuck or bowed, only to end up with a ruined edge because they were rushed.
A decent setup should focus on accessibility and, more importantly, preventing wood warping. If you lean your sheets against a wall without any support, gravity will eventually turn your expensive plywood into a collection of expensive potato chips. Whether you opt for a cantilevered rack or a floor-based system, the goal is to keep the grain stable and the edges clear. When your shop is organized this way, you aren't just following workshop organization tips—you’re making sure that when you reach for a tool or a board, it’s exactly where it should be, ready to work.
Five Ways to Stop Fighting Your Material
- Don't overstuff the rack. I’ve seen lads try to jam twenty sheets into a space meant for ten, and before you know it, you're fighting a heavy, bowing mess just to get one piece of MDF out. Leave some breathing room.
- Sort by thickness and material. If you've got your birch ply mixed in with your cheap construction grade, you'll spend half your morning digging through the pile like you're looking for lost keys. Keep the good stuff separate.
- Mind the edges. When you're sliding a sheet into the rack, do it straight. If you're dragging it in at an angle, you're going to nick the corners or, worse, strain your back trying to correct the tilt.
- Label your sections. It sounds simple, but if you've got a rack, use it. A bit of masking tape or a chalk mark telling you what's in which slot saves you from the wasted effort of pulling out the wrong board only to find it's not what you needed.
- Check your supports regularly. Wood is heavy, and it moves. If your rack's uprights start to lean or the supports look dodgy, fix them. A rack that isn't sturdy is just a way to turn a pile of expensive timber into a pile of kindling.
Getting Your Workshop in Order
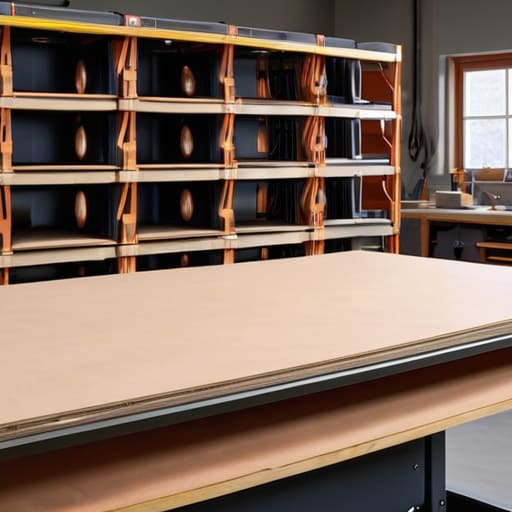
At the end of the day, a sheet goods rack isn't just about tidying up the mess; it’s about knowing exactly where your material is before you even pick up a marking knife. Whether you’ve opted for a vertical rack to save floor space or a horizontal system to prevent that dreaded bowing in your plywood, the goal is the same: accessibility without the struggle. Don't let your workshop become a graveyard of warped sheets and wasted motion. If you invest the time to build or buy a proper system, you’re investing in your own ability to work without fighting your own inventory every time a job comes across the bench.
I’ve spent forty years watching lads rush into a project only to lose half their momentum because they were hunting for a decent piece of birch under a pile of scrap. It’s a waste of talent and a waste of time. A well-organized shop allows you to focus on the actual craft—the grain, the joinery, and the precision of the cut—rather than the logistics of the mess. Set your racks up right, treat your materials with respect, and you'll find that the work flows much smoother when you aren't wrestling with the wood. Now, stop reading and go sort your shop out.