Cutting Mitres That Close
 Callum Reith-Sowande
You don't need a massive, expensive table saw or a loud miter saw to get a clean corner; in fact, most of the time, those machines are just a way to hide a lack of patience. I remember one of my first apprentices trying to force a sloppy joint together with a pneumatic nailer, thinking the noise would mask the gap. He ended up with a mess that wouldn't sit flush no matter how much glue he used. If you're looking for how to build a picture frame that actually lasts, you need to stop relying on brute force and start looking at your grain. A well-tuned hand saw and a chisel that can shave the hair off your arm will do more for your joinery than any power tool ever could.
In this guide, I’m going to show you the proper way to approach this task, from selecting the right timber to cutting those crucial miters by hand. I won't be wasting your time with fancy gadgets you'll never be able to fix yourself; instead, we'll focus on the fundamentals of precision. You'll learn how to ensure your corners are tight, your edges are square, and your final piece looks like it was made by a craftsman, not a factory machine.
Guide Overview
Tools & Supplies
- Miter saw or miter box for cutting 45-degree angles
- Measuring tape for precise dimensions
- Sandpaper for smoothing edges
- Wood glue for securing joints
- Clamps to hold frame together while drying
- Wood strips or molding (approx. 4-6 feet)
- Picture glass or acrylic (1 piece)
- Backing board/cardboard (1 piece)
- Small nails or brads for the back
- Hanging hardware (1 set)
Step-by-Step Instructions
- 1. Start by getting your timber sorted. Don't go grabbing some cheap, soft pine from a big-box retailer if you want this to last; find something with a tight grain like oak or walnut. Once you've got your wood, use a fine-tooth tenon saw to cut your lengths. Remember, if your saw is pulling to one side, you aren't cutting a frame, you're making kindling.
- 2. Now, we tackle the miters. This is where most people reach for a mitre box and a cheap saw, but if you want a joint that actually closes without gaps, you need to use a sharp chisel. Mark your 45-degree angles clearly with a marking knife—not a pencil, a knife—and pare the wood down slowly. It’s better to take off a shaving than to try and force a gap shut with glue.
- 3. Once your four corners are cut, you need to check them. Lay the pieces out on a flat surface and look for light passing through the joints. If you see light, your angle is off. I’ve spent many an afternoon re-grinding a bevel just to ensure a corner sits flush. Don't settle for "close enough"; in joinery, close enough is just a fancy word for a mistake.
- 4. Before you even think about glue, dry-fit the whole thing. Use a few spring clamps to hold the corners together and see how the frame sits. This is your chance to see if the rabbet—the groove where the glass and picture will sit—is deep enough. If you find a wonky corner now, it's a five-minute fix with a chisel rather than a ruined project later.
- 5. If the dry fit is true, it’s time for the glue. Apply a thin, even layer to the miters. Don't go overboard; too much glue will just squeeze out and prevent your finish from soaking in properly. Use a few clamps to pull the joints tight, but don't over-tighten them to the point where you're squeezing every drop of moisture out of the joint, or it'll be brittle.
- 6. While the glue is drying, get to work on the rabbet. This is the channel on the inside back of the frame. Use a wide, sharp chisel to carefully pare out the waste. If you try to do this with a router, you'll likely end up with chatter marks that look terrible. A steady hand and a keenly honed edge will give you a floor that is as smooth as glass.
- 7. Finally, once the glue is fully cured, give the frame a light sand with a high grit, maybe 240 or 320. Avoid using a power sander here; you'll just round off those crisp, sharp corners you worked so hard to get. Wipe away the dust, apply your oil or wax, and you'll have a frame that's actually worth hanging on a wall.
Choosing Wood for Picture Frames Grain Over Gadgets
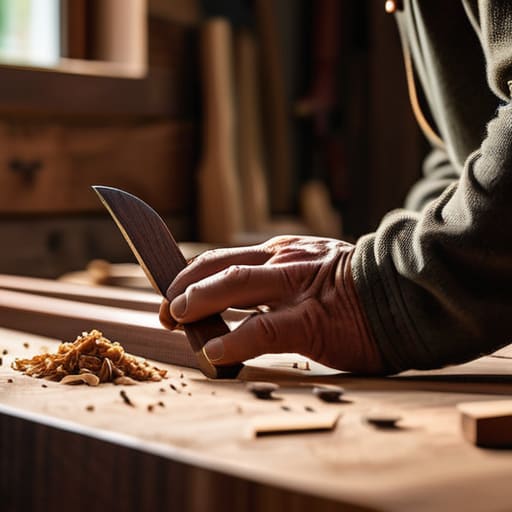
Now, don't go running to the big-box hardware store and grabbing the first sheet of cheap, pressed pine you see. If you want a frame that lasts longer than a season, you need to look at the grain. When I’m choosing wood for picture frames, I look for straight, tight grain patterns that won't warp the moment the humidity shifts in your workshop. A piece of oak or walnut might cost a bit more upfront, but it behaves predictably under a chisel. If the wood is knotty or unstable, you'll spend more time fighting the material than actually working it.
I see too many youngsters relying on fancy woodworking miter saw techniques to hide poor material choices. A machine can cut a line, but it can't fix a piece of wood that wants to twist. You want something stable that holds a crisp edge. If you pick timber with wild, swirling grain, your joinery will fight you every step of the way. Take your time at the timber yard; look at the end grain and feel the weight. It's better to spend twenty minutes picking the right board than two hours cursing a piece of rubbish that won't stay square.
Mastering How to Cut Precise Mitre Joints Without a Table Saw
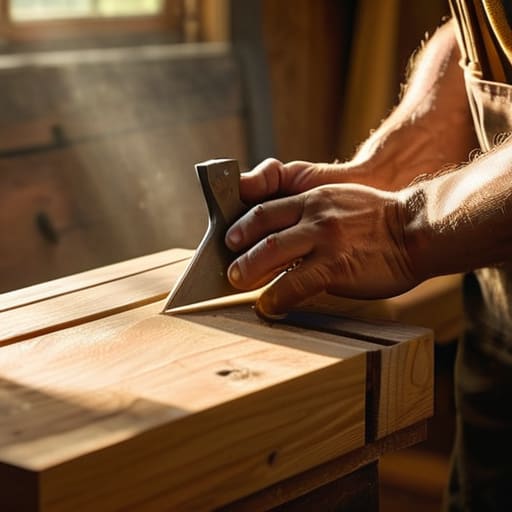
Now, most people will tell you that you need a fancy mitre saw to get a clean corner, but they’re often wrong. If you’re looking at how to cut precise mitre joints without a massive power tool taking up half your workshop, you need to rely on a sharp tenon saw and a decent mitre box. The secret isn't in the machine; it's in the setup. I always tell my students that if your guide isn't square, your joint won't be either. Take the time to check your box against a known true square before you even touch the timber.
Once you’ve made your cuts, don't just hope for the best. Use a fine-tooth file or a razor-sharp chisel to lightly pare back the face of the miter. This is where most beginners fail—they try to force a gap shut with glue. Instead, you should be refining the surface until the two pieces meet like a handshake. These manual picture frame joinery methods might take a few minutes longer, but they produce a seamless fit that no noisy, vibrating blade can ever match.
Five things I wish my apprentices had learned before they started cutting
- Don't trust your eyes alone; use a try square to check that your mitres are actually square before you glue them up. If you're even a hair off, that gap will haunt you every time the sun hits the frame.
- Stop trying to force a joint together with a hammer. If a mitre isn't seating properly, it’s because your cut is wrong or your chisel is blunt. Fix the cut, don't punish the wood.
- Use a bit of blue painter's tape to hold your mitres in place while the glue sets. It’s a lot more forgiving than a heavy-duty clamp and it won't mar the surface of your good timber.
- Sanding is for finishing, not for fixing mistakes. If you find yourself sanding down a corner to make a joint fit, you’ve already lost the battle. Get the cut right the first time.
- Always leave a tiny bit of breathing room for the glass and the backing. Wood moves, and if you cram everything in there tight, the frame will eventually crack itself apart.
Putting the Pieces Together
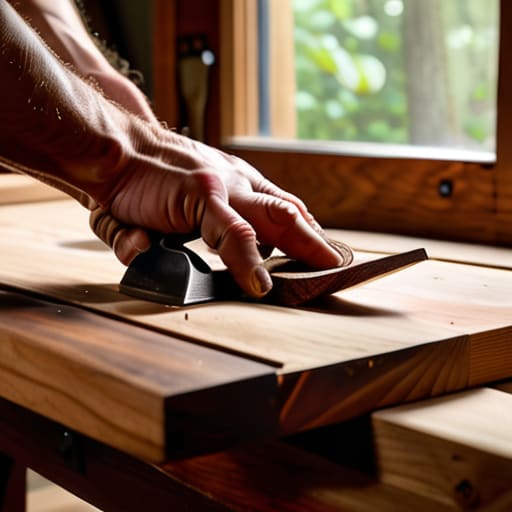
At the end of the day, building a proper frame isn't about having the most expensive mitre saw in the shed; it’s about the patience you put into the preparation. We’ve talked about selecting wood with a stable grain, the importance of hand-cutting those mitres to ensure they actually meet, and why you shouldn't be rushing the glue-up. If you’ve taken the time to keep your chisels keen and your measurements honest, the wood will reward you. It’s a simple process, but it requires you to respect the material and, more importantly, to respect the tools you’re using to shape it.
I know it’s tempting to just go out and buy a pre-made frame from a big-box store, but there’s a different kind of satisfaction in looking at a piece of joinery you finished with your own two hands. There is a quiet pride in knowing that every joint is tight because you took the time to do it right, rather than just doing it fast. Don't let the modern rush to buy everything disposable get to you. Stick to the old ways, keep your edges sharp, and remember that true craftsmanship is measured in years, not minutes. Now, get to work.