A Chair Leg That Broke Across the Grain
 Callum Reith-Sowande
Most people think that if a chair leg is wobbling or snapped, they need to go hunting for a heavy-duty drill and a bag of expensive wood fillers to hide the mess. They treat it like a structural disaster that requires a power tool intervention. But let me tell you something I learned after forty years on the tools: most of that's just masking the problem. If you want to know how to repair a chair leg properly, you don't need more hardware; you need a clean joint and a bit of patience. I remember a student of mine back at the college who tried to fix a mahogany dining chair with a modern construction adhesive and a cordless driver; he ended up ruining the timber because he was rushing the job.
I'm not here to sell you on any fancy, disposable gadgets that'll end up in a landfill by next Christmas. In this guide, I’m going to show you the honest way to get a joint tight again using nothing more than a sharp chisel and a bit of common sense. We’ll go through cleaning out the old, crusty glue, prepping the wood, and setting it so it stays put for another fifty years. No hype, no shortcuts—just proper joinery.
Guide Overview
Tools & Supplies
- Wood glue and applicator for bonding joints
- Rubber mallet for tapping joints into place
- Clamps to hold the leg steady while drying
- Sandpaper for smoothing rough edges
- Wood glue (1 small bottle)
- Microfiber cloth for cleaning excess glue
- Sandpaper (various grits)
Step-by-Step Instructions
- 1. First things first, you need to get that chair on a steady workbench and strip it down. Don't just start slapping glue into a wobbly joint; you've got to see what you're actually dealing with. Use a rubber mallet to gently tap the leg free from the seat frame. If it's being stubborn, don't force it with a hammer or you'll split the timber. You want to remove the old glue entirely, because new glue won't stick to the old, crusty residue left behind by some cheap hardware store brand.
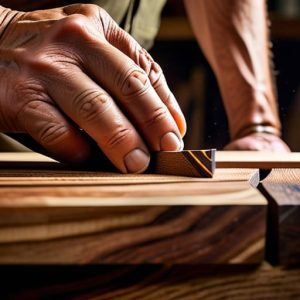
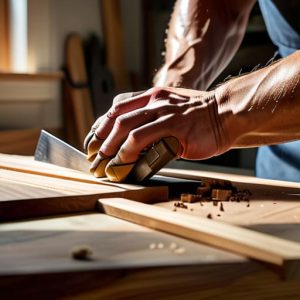
- 2. Once the leg is off, grab a single-edge scraper or a very sharp chisel to clean the tenon and the mortise. This is where most people get lazy, but it’s the most important bit. You need to scrape away every bit of that dried, yellowing glue until you see fresh wood grain in both the hole and on the end of the leg. If the surfaces aren't clean, you aren't repairing a chair; you're just masking a failure.
- 3. Take a look at the fit. A good joint should be snug—it should resist being pushed in by hand, but slide in with a firm, even pressure. If the hole has become too wide because the wood has shrunk or someone's been hacking at it, you'll need to shim it. I usually take a thin shaving of hardwood, something like oak or beech, and glue it directly onto the tenon to bring the fit back to perfection.
- 4. Now, apply your adhesive. I steer clear of those quick-drying, watery glues that run everywhere. Use a decent, slow-setting PVA or a traditional hide glue if you want to do it properly. Spread it thin and even across both surfaces using a small brush or even a scrap piece of wood. You don't want big globs; you want a consistent film that coats the entire mating surface.
- 5. Push the joint back together. If you're working alone, you might need a couple of clamps to hold the frame steady while you work. Don't go overboard with the pressure, though. If you tighten the clamps too hard, you'll squeeze every last drop of glue out of the joint, leaving you with nothing but dry wood and a weak bond. You want just enough squeeze-out to know the glue has gone where it needs to go.
- 6. Wipe away the excess glue immediately with a damp rag. Don't let it dry into a hard, crusty bead that you'll have to sand off later; that's just more work for no reason. Once the mess is cleared, leave the chair clamped up and stay out of its way. It needs time to cure undisturbed. I usually leave mine overnight, regardless of what the bottle says, because patience is a tool you can't buy in a shop.
Choosing the Right Wood Glue for Furniture Repair
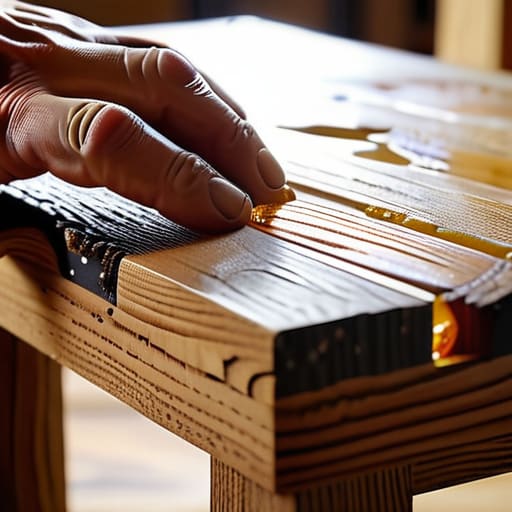
Now, don't go running to the hardware store and grabbing the first cheap bottle of PVA you see just because it's easy. If you’re serious about fixing broken wooden chair legs, you need to understand that the glue is just as important as the fit of the joint. For most indoor furniture, a decent yellow carpenter's PVA is fine, but it needs to be the right grade. I’ve seen too many lads use watered-down school glue or some flimsy craft stuff, only to have the joint fail the moment someone sits down. You want something that actually penetrates the fibres, not something that just sits on the surface like a film of plastic.
If you're dealing with an heirloom or something that might see a bit of moisture, I’d suggest looking into a proper polyurethane glue or even a traditional hide glue. Hide glue is a bit more work—you have to heat it—but it’s what we used back in the day, and it allows you to undo the repair later if you absolutely have to. When you're strengthening chair joints, remember that the glue isn't a filler; it's not there to fix a gap caused by a sloppy cut. If the joint is loose, no amount of expensive glue will save it. Get your chisels out, clean the old gunk away, and make sure it's a tight fit first.
Mastering the Art of Strengthening Chair Joints
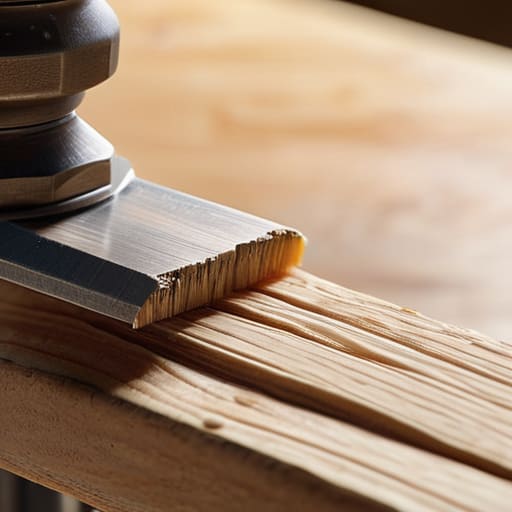
When you’re strengthening chair joints, the biggest mistake people make is trying to force a joint back together without cleaning it out first. If you just pour fresh wood glue for furniture repair into a gap filled with fifty-year-old dried resin, you aren't actually bonding anything; you're just making a mess. I always tell my students to take a sharp chisel and gently scrape away that old, crusty glue until you see fresh wood fibers. If the tenon is loose, don't just hope the glue holds. You need to add a thin veneer of wood—a bit of shaving from a scrap piece—to make that fit snug and intentional again.
Once the fit is right, it’s about patience. When you're re-gluing chair rungs, the pressure needs to be even. I don't trust those cheap, plastic clamps that flex under tension. Use something solid that won't slip. You want to see a little bead of glue squeeze out when you tighten things up; that’s how you know the joint is fully seated. Remember, a joint that feels solid now but wobbles under a person's weight is a failure. Do it once, and do it right.
Five things I’ve learned from forty years of fixing what others break
- Don't just slap glue on a dirty joint. If there is old, crusty adhesive in that mortise, scrape it out clean with a sharp chisel first. New glue won't bond to old glue; it'll just sit there like a layer of grease.
- Stop relying on those cheap plastic clamps. If you can't find a clamp that fits the shape of the chair leg, use a bit of scrap timber to bridge the gap. You want even pressure, not a dent in the wood.
- Check your alignment before the glue sets. Once that PVA starts to grab, you've only got a few seconds to get it right. I always dry-fit the whole leg twice before I even touch the glue bottle.
- A blunt chisel is your worst enemy here. If you're trying to clean out a joint and you're bruising the wood fibers instead of slicing them, stop. Get to the stones and get that edge back to a mirror finish.
- Don't be afraid to add a little more wood if the joint is loose. If the leg is wobbling because the tenon has shrunk, a thin shaving of veneer or a bit of timber glue can bring that snug fit back.
A job well done
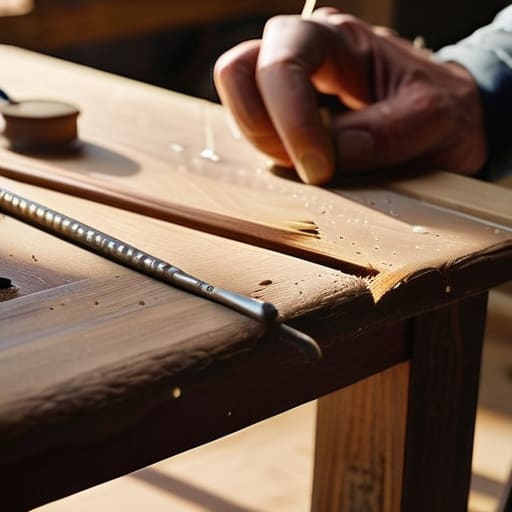
At the end of the day, fixing a chair leg isn't about rushing to get it back in use; it’s about doing it so it stays fixed. You’ve picked the right glue, you’ve cleaned out those old, crusty joints, and you’ve taken the time to strengthen the connection rather than just slapping some timber on top. If you’ve followed what I’ve said, you haven't just patched a hole; you've respected the piece of furniture. Remember, the strength of the repair relies entirely on the cleanliness of the joint and the patience you show while the glue sets. Don't be in such a hurry to sit down that you compromise the work.
I know it’s tempting to just head to the hardware store and buy a new, cheap chair when things start to wobble, but there is a real satisfaction in bringing something old back to life. There is a quiet sort of pride in knowing that because you took the time to do it right, that chair will outlast the next three pieces of flat-pack rubbish that come through your door. Keep your tools sharp, keep your hands steady, and trust the process. A bit of honest work and a keen edge will always get you further than a quick fix ever could.