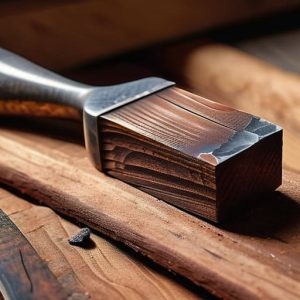
A Dust Free Corner for Finishing
 Callum Reith-Sowande
I spent thirty years watching young lads ruin a perfectly good piece of oak because they thought a high-speed orbital sander was a substitute for a clean workspace. They’d spend hours buffing a surface, only to watch a single speck of dust settle and turn their hard work into a grit-filled mess. Most people think they need a massive, expensive shop full of extractors to get a decent result, but they've got it wrong. Learning how to set up a finishing area isn't about buying every gadget in the catalogue; it’s about controlling your environment so the dust doesn't win.
I'm not going to waste your time with fancy marketing or complicated ventilation systems you can't afford to fix when they break. Instead, I’m going to show you how to build a dedicated, sensible space that respects the wood and the effort you've put into it. We’ll talk about lighting that doesn't lie to you, bench layouts that actually make sense, and the simple, low-tech ways to keep your air clear. If you want a finish that looks like it was done by a professional rather than a machine, this is where you start.
Guide Overview
Tools & Supplies
- Workbench or sturdy table to serve as the primary surface
- High-intensity LED task lighting for shadow-free visibility
- Dust extraction system or shop vacuum to maintain cleanliness
- Measuring tape for layout and spacing
- Ventilation fan or air purifier to manage fumes
- Drop cloths or heavy-duty plastic sheeting to protect floors
- Sandpaper assortment (various grits) for surface preparation
- Storage bins for organizing brushes, rags, and solvents
Step-by-Step Instructions
- 1. First, you need to sort your lighting. Most people make the mistake of working under a single, dim bulb that casts shadows right where the blade meets the wood. You want cross-lighting—one source from the side and one from above. If you can't see the grain clearly, you're just guessing, and guessing leads to ruining a good piece of timber.
- 2. Clear a dedicated bench that isn't cluttered with your heavy-duty assembly tools. A finishing area needs to be a sanctuary of sorts. I don't care how many projects you have going; you cannot finish a surface if you're constantly moving a heavy vice or a pile of scrap to make room. Keep the surface dead level and free from any grit or stray sawdust that might have drifted over from the cutting station.
- 3. Set up your sharpening station within arm's reach, but not so close that you're knocking over your oil or water. You’ll be returning to your stones more often than you think. I keep my honing guides and oil stones on a small, stable secondary bench nearby. If you have to walk across the workshop every time a chisel loses its bite, you've already lost your rhythm.
- 4. Organize your hand tools by frequency of use. I don't believe in big, heavy tool chests for a finishing area; they're just a way to hide clutter. Use a small rack or a few simple tool rolls for your planes, scrapers, and chisels. You want to be able to reach for a tool without having to hunt through a drawer of junk. If you haven't used it on a finishing job in a year, it doesn't belong on this bench.
- 5. Manage your dust, but do it properly. Don't just grab a shop vac and blast everything with air; that’s a quick way to embed grit into your finish. Instead, keep a few soft-bristled brushes and a clean, lint-free cloth at your station. You want to lift the dust away, not push it around like a child with a broom.
- 6. Finally, establish a "clean zone" for your consumables. This means your oils, waxes, and rags need their own dedicated spot, away from any metal shavings or heavy grit. Keep your rags in a sealed metal container—it’s not just about being tidy, it’s about safety. A workshop that respects the edge of a blade is a workshop that stays in order.
Mastering Dust Extraction Methods for a Surgical Workspace
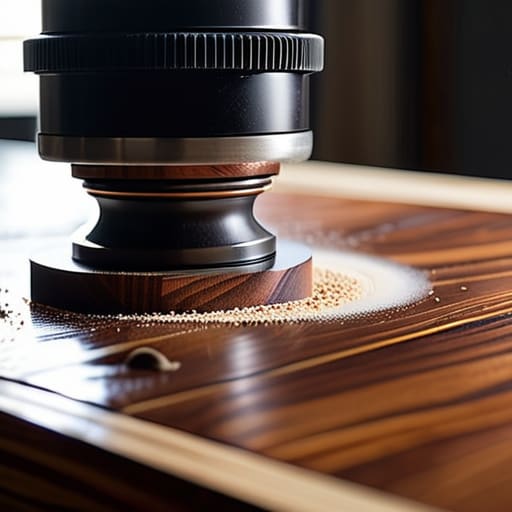
You can have the finest bench in the world, but if you’re working in a cloud of fine grit, you’ve already lost the battle. Most people think a shop vac is enough, but for real finishing work, you need to get serious about your dust extraction methods. If you're just blowing dust around with a handheld unit, you're merely moving the problem from the timber to your lungs and your eyes. I’ve always found that a dedicated, high-volume extraction point at the source is the only way to keep a surface truly "surgical." If you can’t pull the dust away the moment it’s created, you aren't cleaning; you're just rearranging the mess.
It isn't just about the vacuum, though. You have to consider how the air moves through the entire room. Relying on a single fan is a rookie mistake that leads to uneven settling. To maintain a clean environment, you need to integrate your extraction with proper workshop ventilation systems that create a consistent, one-way flow. You want the air moving away from your workpiece, not swirling it into a vortex around your project. Keep the air moving, keep the surface clean, and you won't spend half your afternoon sanding off the grit that settled while you were busy applying your finish.
Why Ambient Light for Painting Beats a Heavy Spotlight
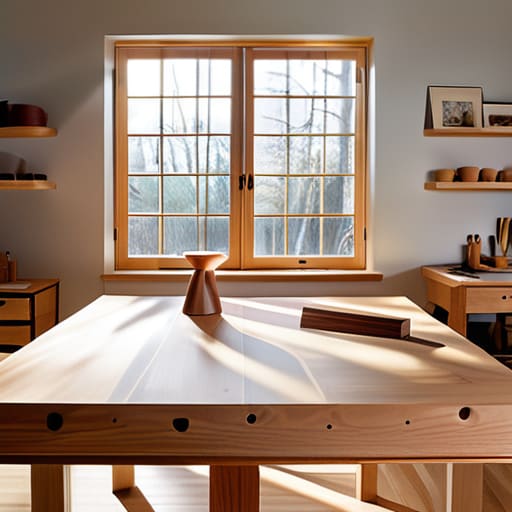
I’ve seen too many young lads walk into a shop with a massive, single-point LED spotlight, thinking they’re ready to finish a piece. They turn it on, point it straight at the timber, and suddenly they’re blinded by the glare. All that does is create harsh shadows and hide the very defects you're trying to smooth out. If you want to see the true character of the grain or catch a slight unevenness in your lacquer, you need ambient light for painting that fills the room rather than attacking the workpiece.
The trick is to bounce your light. You want soft, even illumination that comes from multiple angles, ideally using large windows or diffused overhead panels. When the light is even, your eyes don't have to work overtime adjusting to sudden shifts in brightness. It’s about steady, reliable visibility. If you’re working in a corner with poor natural light, don't just grab a desk lamp; set up several lower-wattage sources around the perimeter. It’s the difference between seeing a finished surface and merely guessing that it's done.
Five things you’ll regret if you ignore them
- Clear the clutter before you start. You can't get a clean finish if you're constantly brushing sawdust off your workpiece just to find a spot to rest it. A dedicated, empty bench isn't a luxury; it's a requirement.
- Stop relying on overhead shop lights. They create shadows that hide every little swirl and scratch you've made. Get some side-lighting at eye level so you can see the grain and the finish as they actually appear.
- Check your bench stability. If your table wobbles every time you apply pressure, you're going to end up with uneven strokes. A solid, heavy bench is the foundation of a smooth finish.
- Keep your consumables separate. Don't store your abrasives or oils next to your heavy-duty grit or oily rags. You'll end up contaminating your finishing materials, and then you're just wasting good stock.
- Respect the air. If you’ve got a breeze blowing through the workshop, you’re just inviting dust to land in your wet lacquer. Control the airflow or wait for a stiller day; your patience will pay off in the final shine.
Setting the Stage for the Final Cut

At the end of the day, setting up a proper finishing area isn't about buying the most expensive kit from a catalogue; it's about discipline. You need a bench that doesn't wobble, light that doesn't hide your mistakes, and a way to manage the dust so it doesn't settle in your wet varnish. If you've sorted your workspace to respect the light and keep the air clear, you've already done half the work. A cluttered, dark, or dusty corner will only lead to a finish that looks rushed and amateur. Remember, you cannot fix a bad environment with more effort; you can only correct your mistakes once the job is already ruined.
I spent forty years on sites and another ten in a classroom, and I've seen more good wood ruined by poor preparation than by a shaky hand. People think the skill is in the movement of the hand, but the real skill is in the respect you show the material before you even pick up a tool. When your workspace is steady and your eyes can actually see the grain, the work begins to flow. Don't be in such a hurry to get to the finish that you neglect the space where it happens. Build your area with intention, keep it clean, and you'll find that the wood eventually starts to work with you, rather than against you.